Introduction: Wooden Round Maya Aztec Jewelry Box
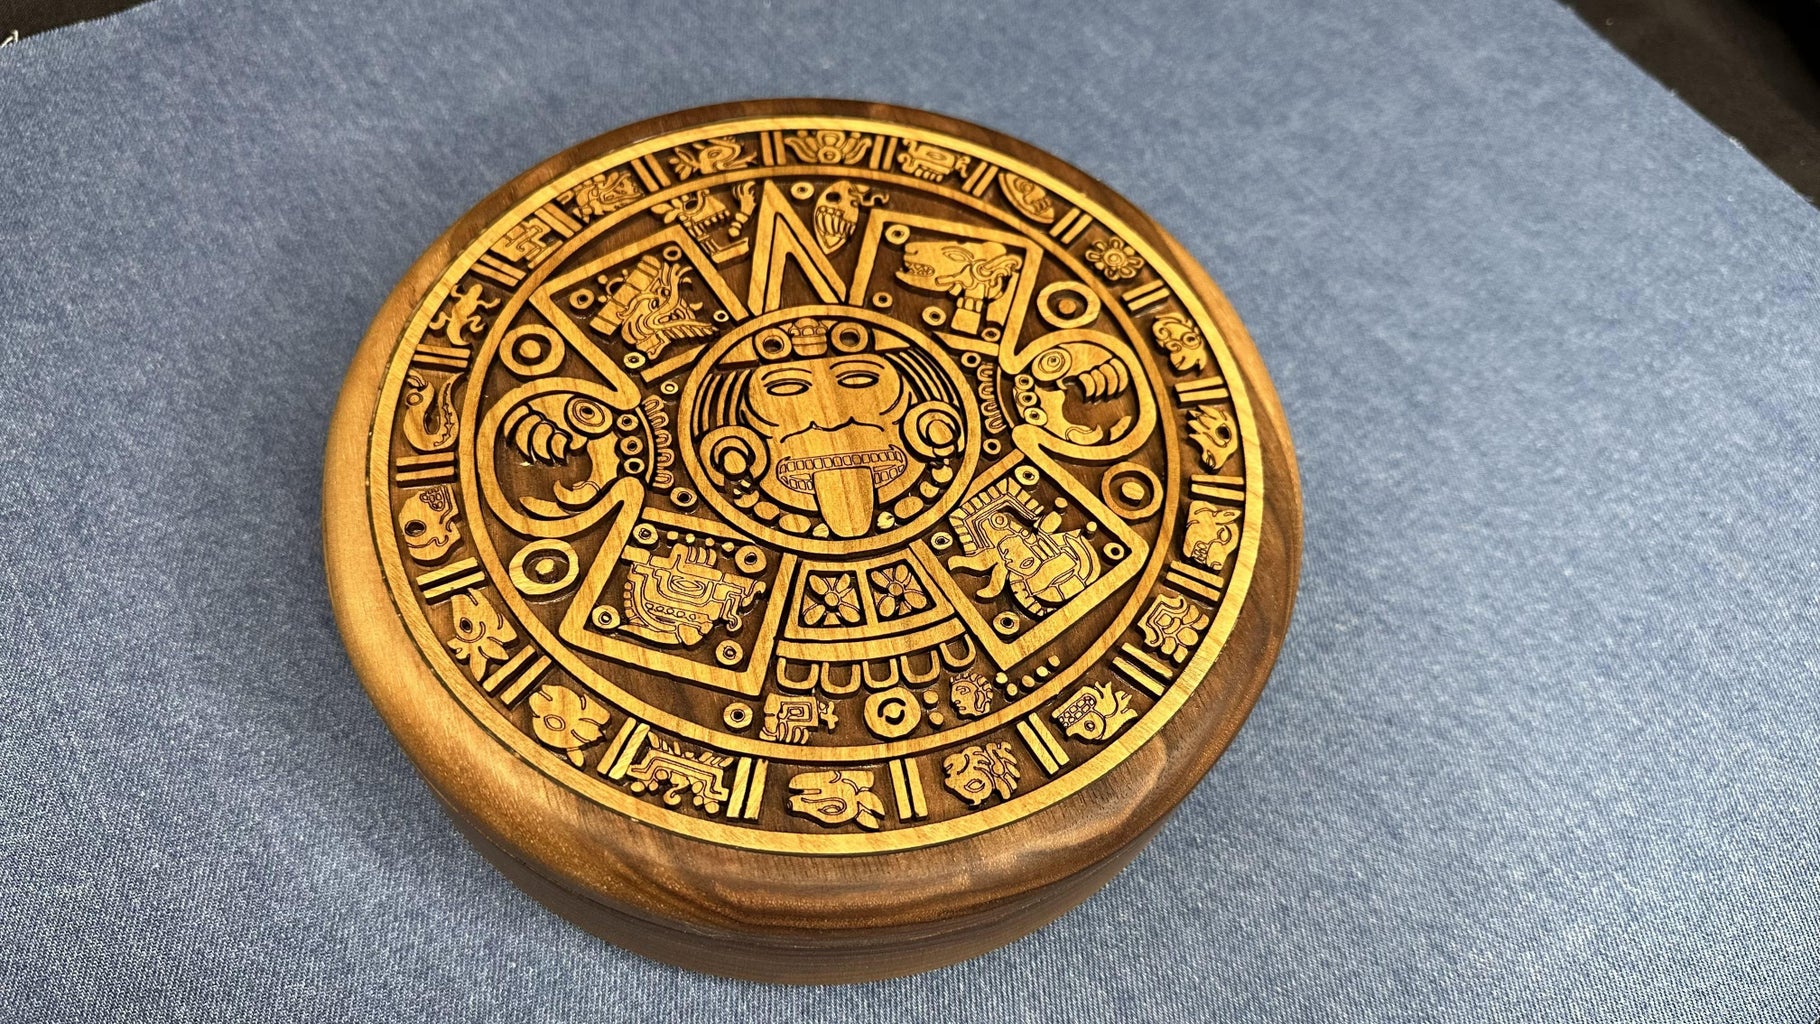
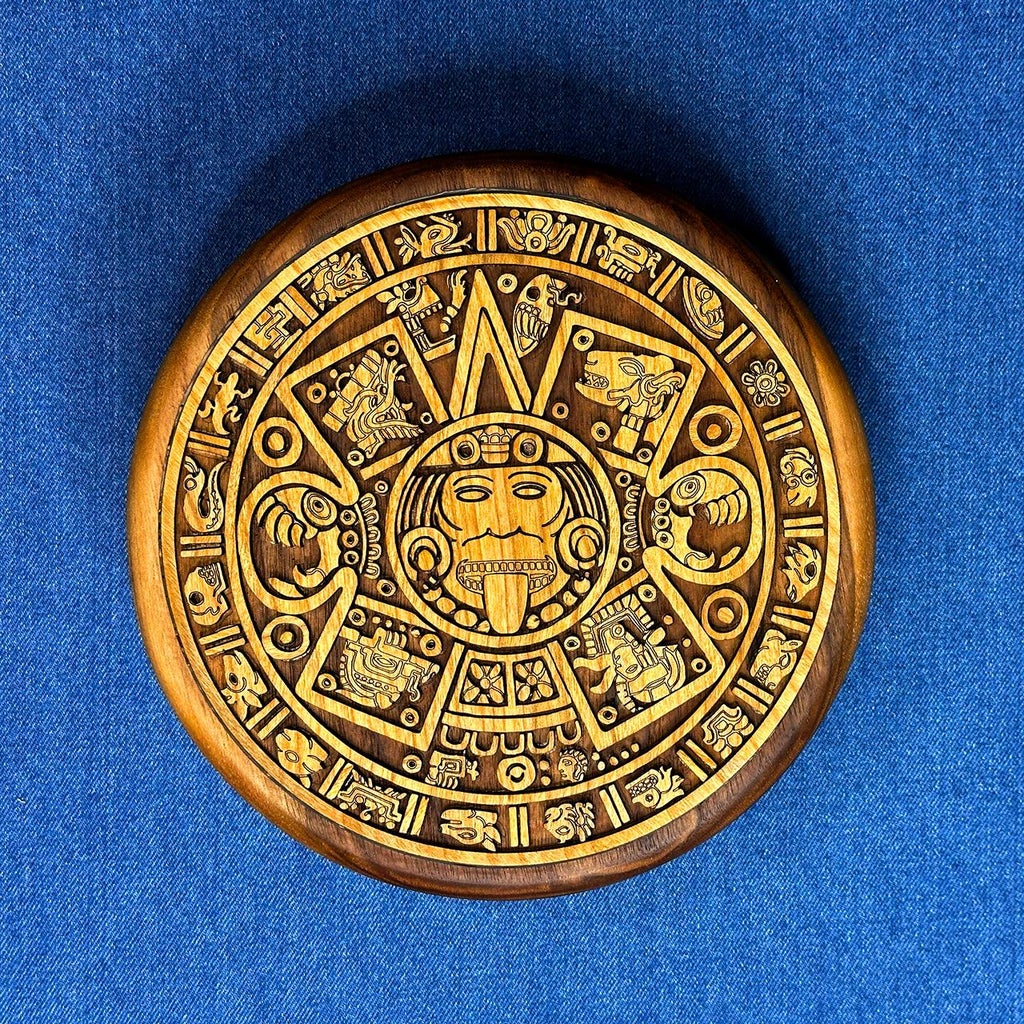
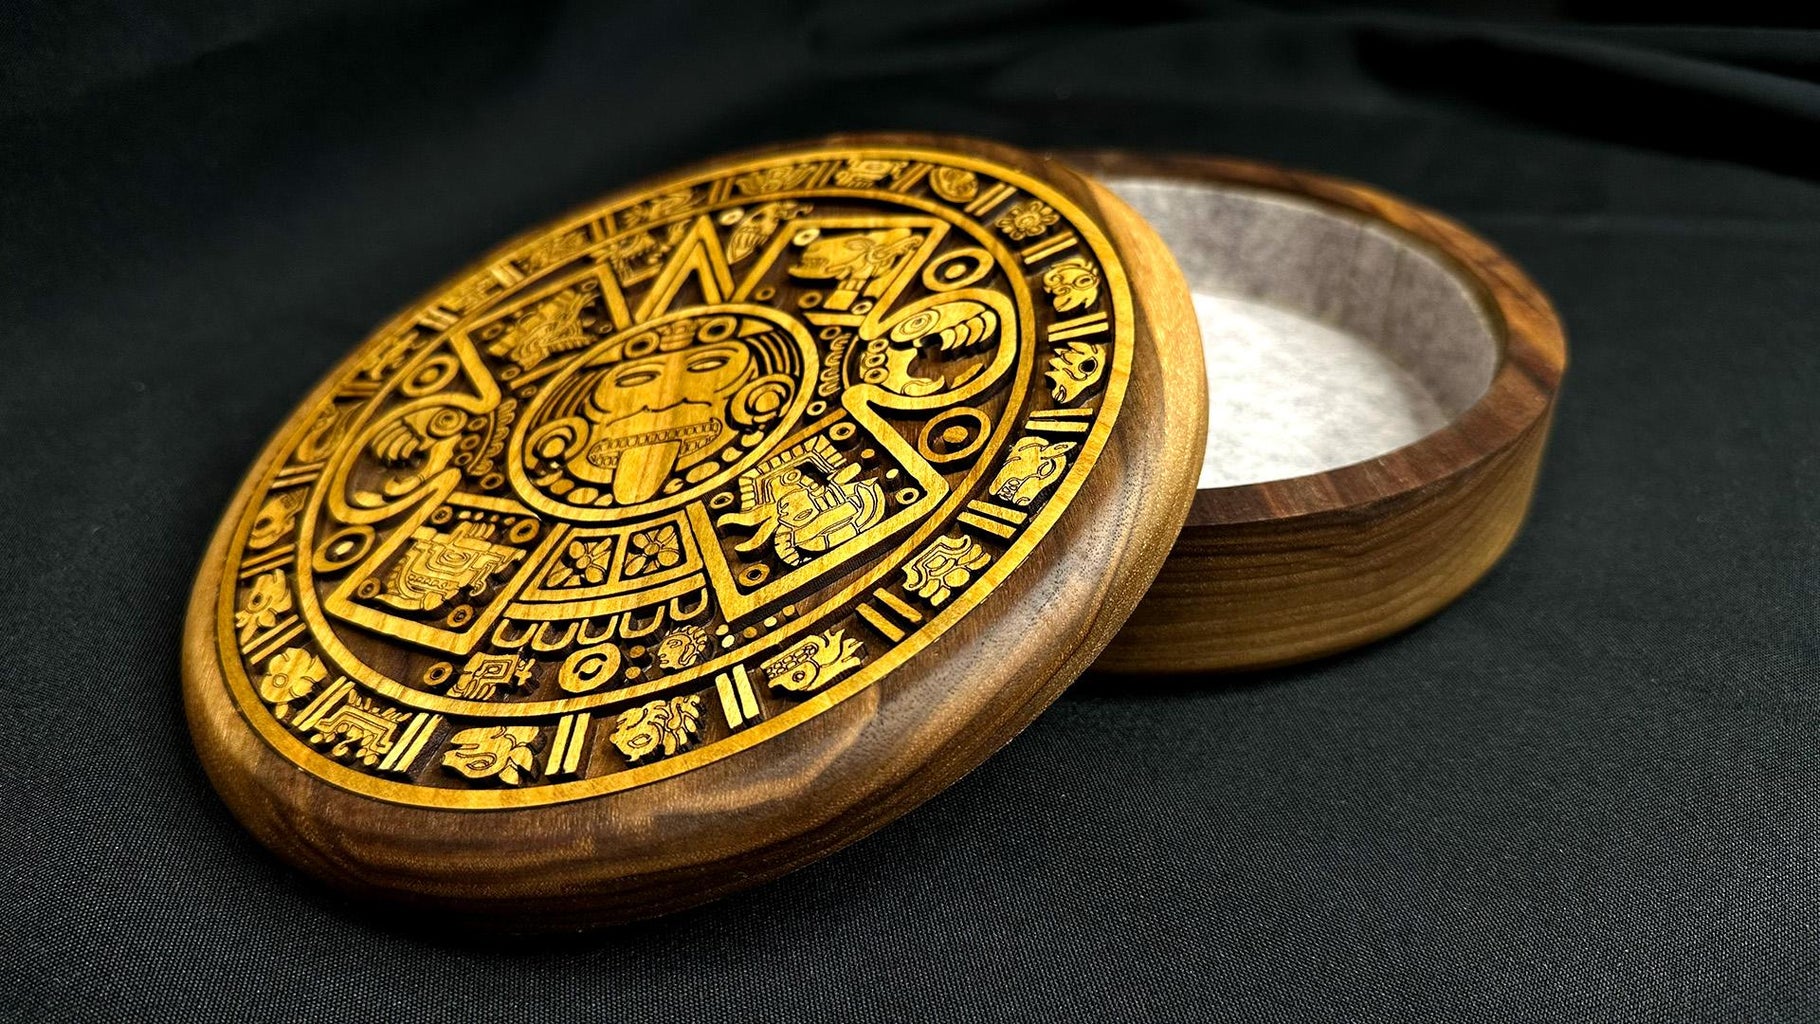


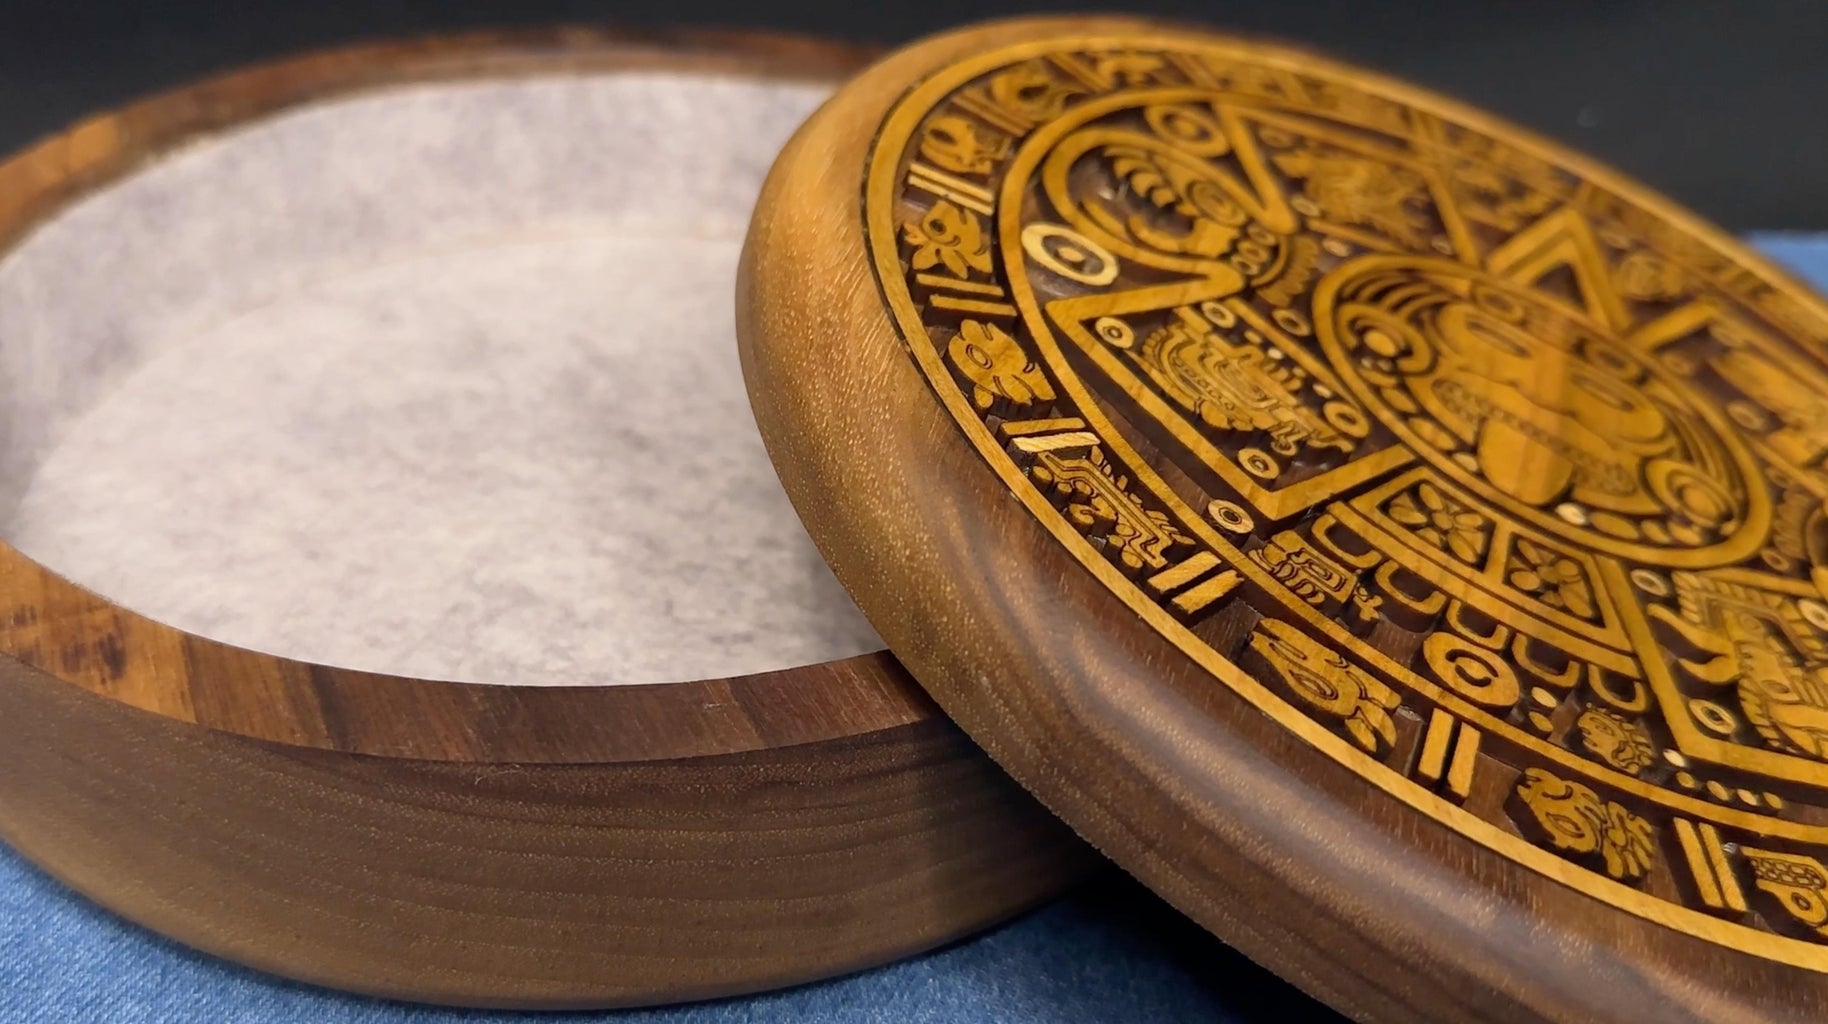
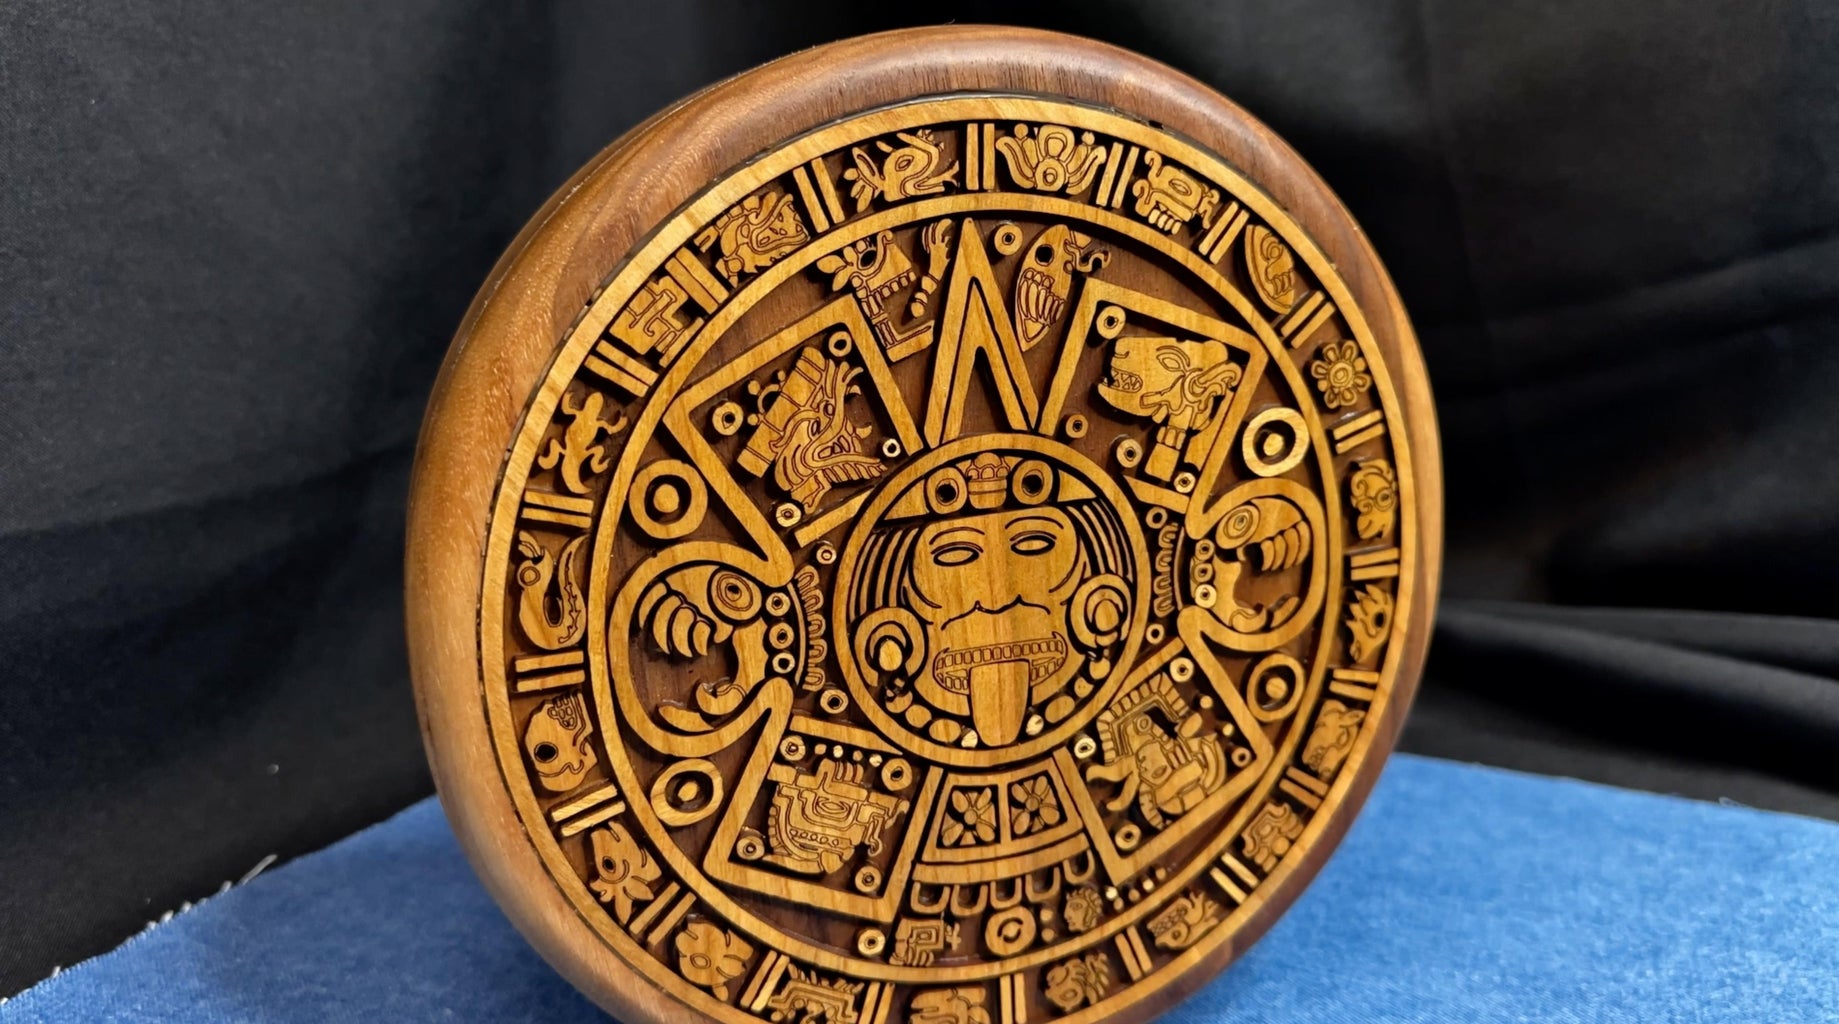
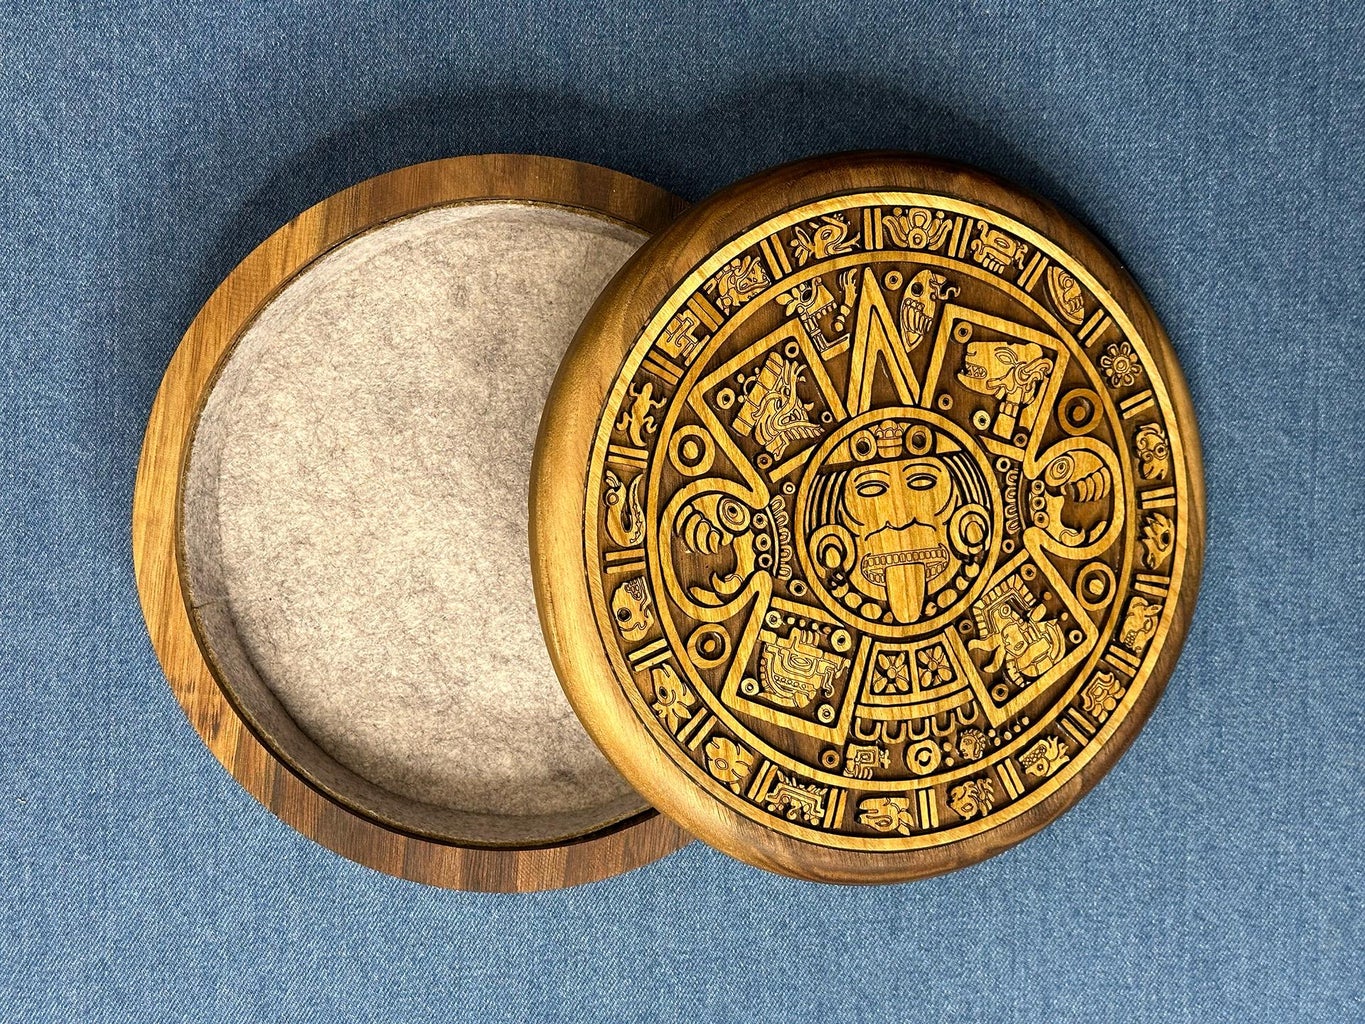
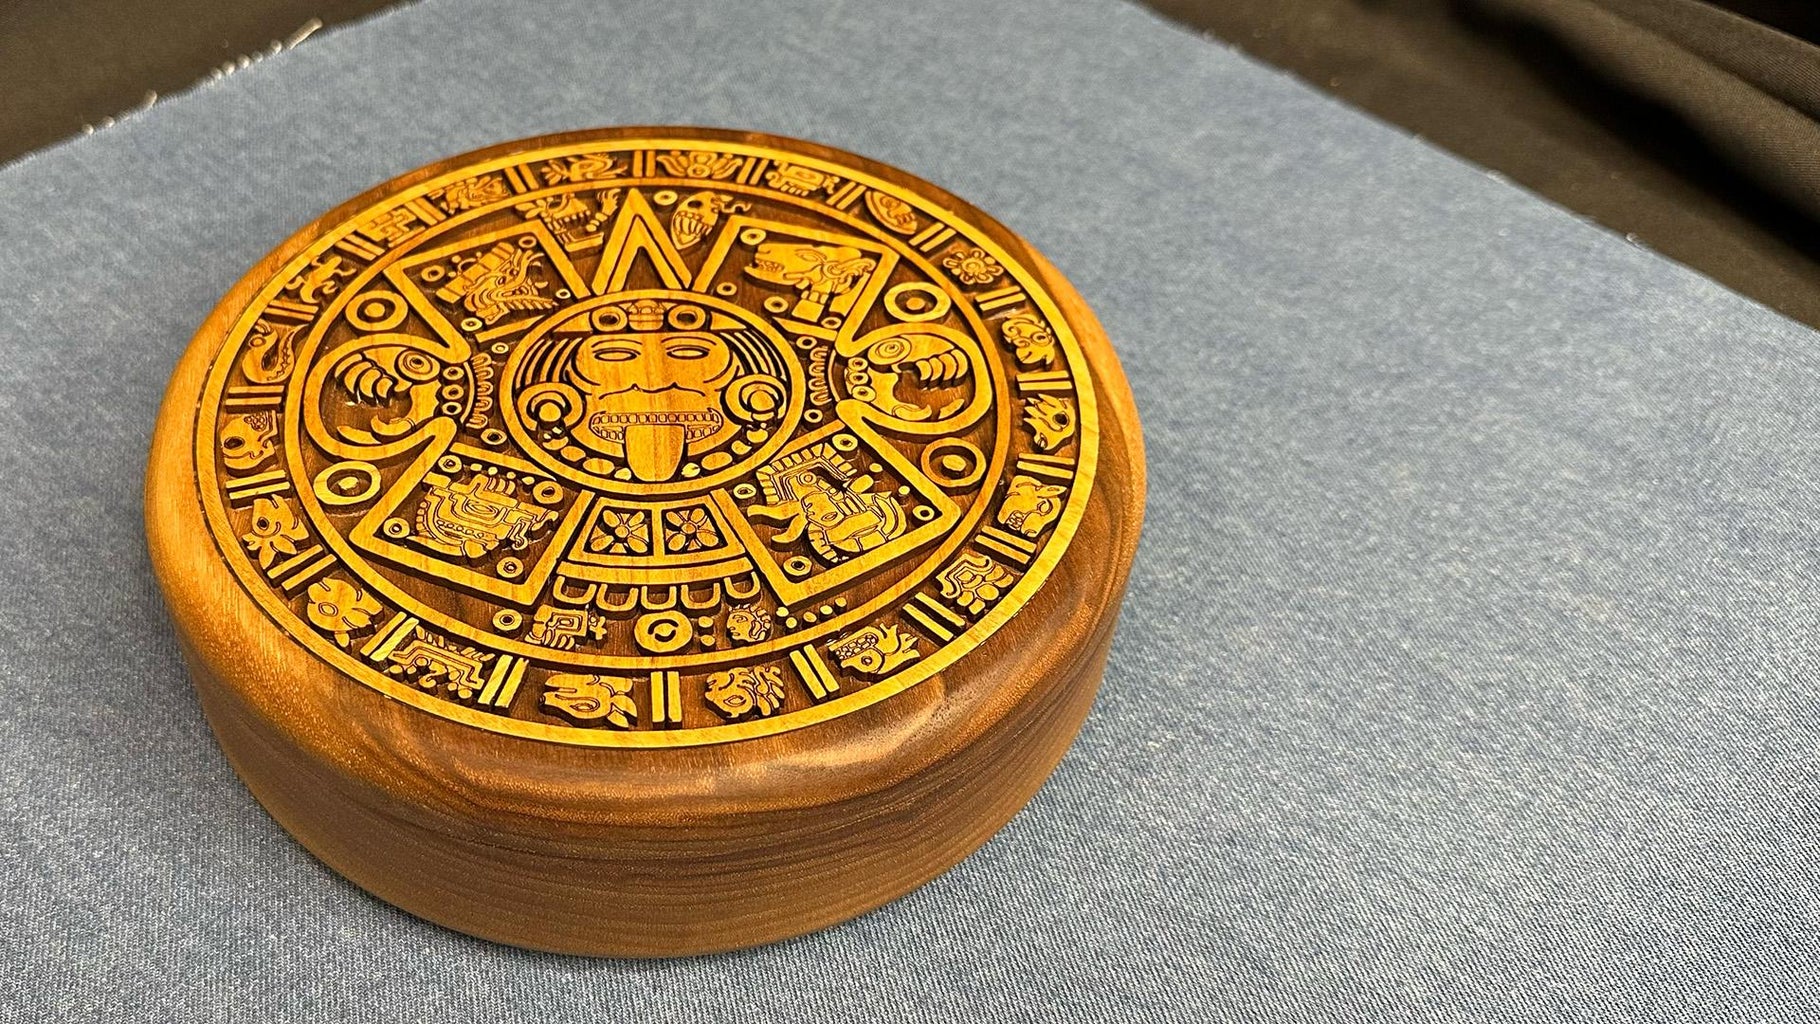
Round Aztec jewelry box with walnut, top side decorated with laser cut Maya ornament.
Felt inside.
Finish with natural mineral oil.
The video is about the process of
Making Wooden Round Maya Aztec Jewelry Box
#jewelrybox #woodworking #lasercutting #laserengraving #maya #aztec
Supplies
Tools:
- DIY Laser cutter/engraver 520x520mm, 5.5w
- Handsaw IRWIN UltraFine
- Hand router 1600 W,
- Flat bit 50mm Diameter,
- Roundover bit 10mm Radius,
- Straight bit 12mm Diameter
- Disk Sander
Components:
- Walnut board 38 mm thickness, 210 mm width
- Walnut sliced veneer 4.5 mm
- Cherry sliced veneer 2.5 mm
- Felt 3 mm
- Glue: Titebond 3
- Oil: Natural mineral oil for wood
- 3M two-side stick tape
- Wax
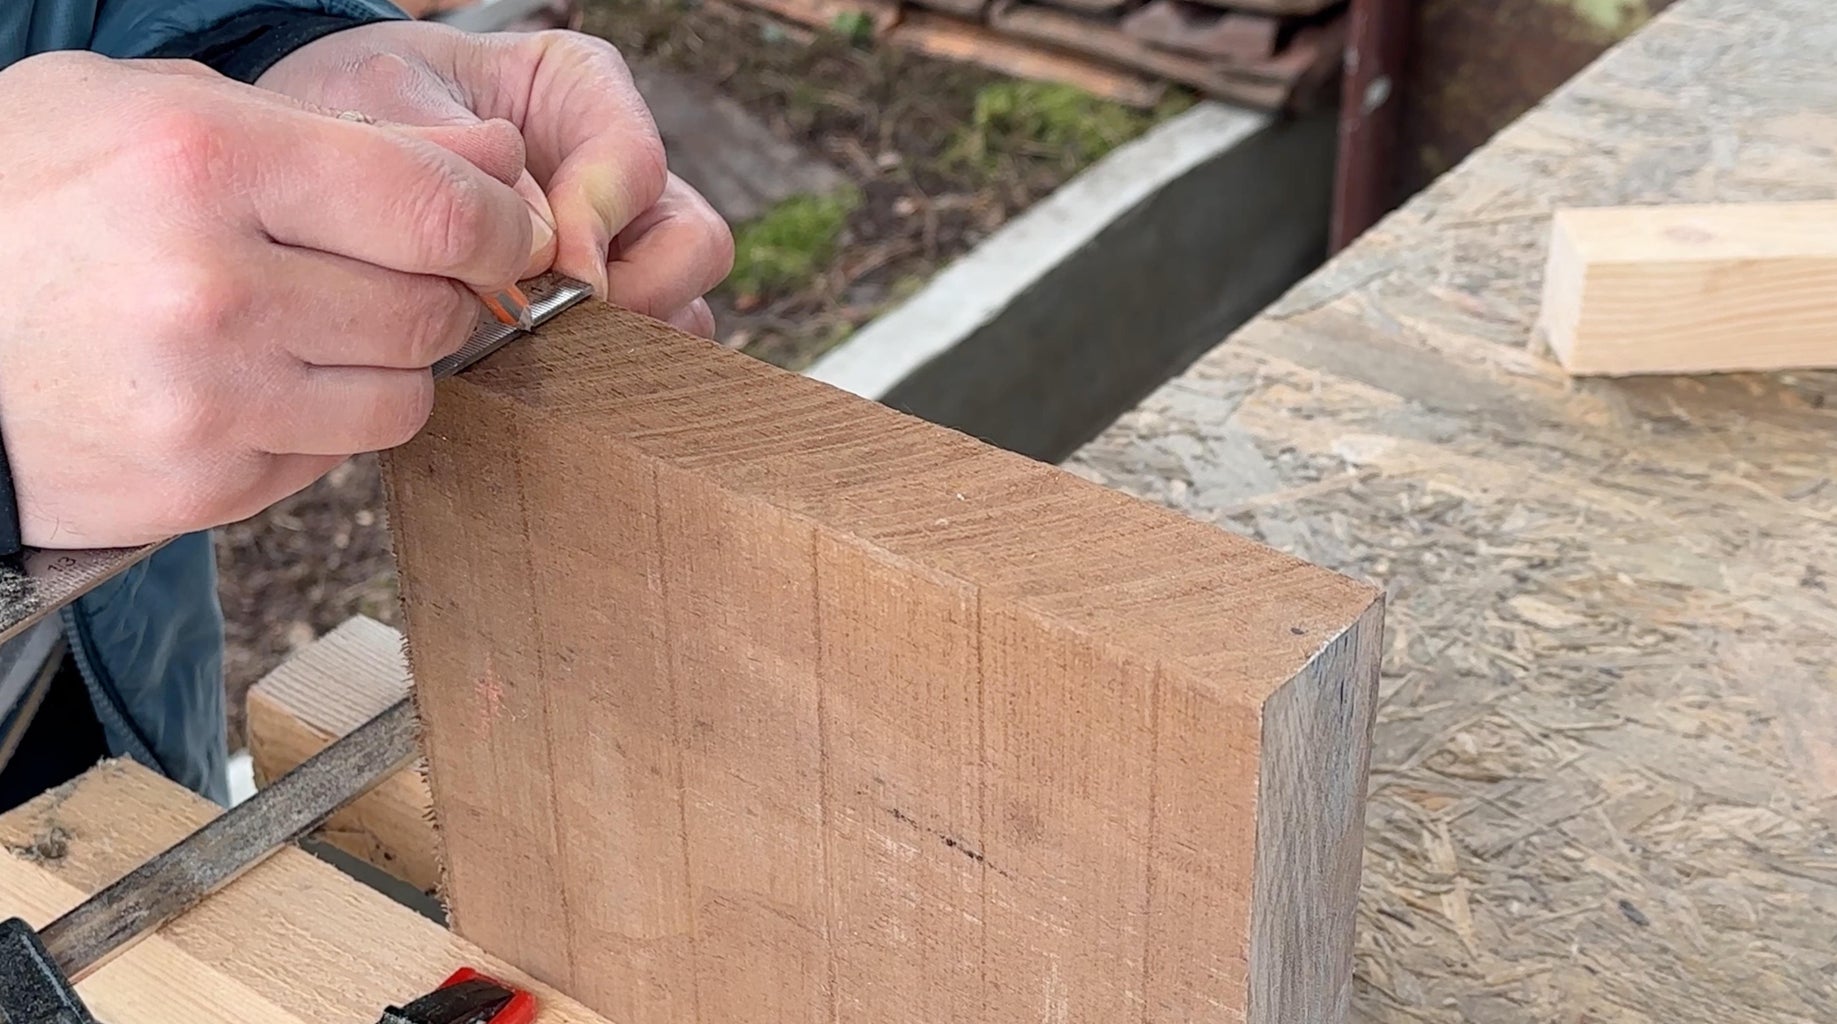
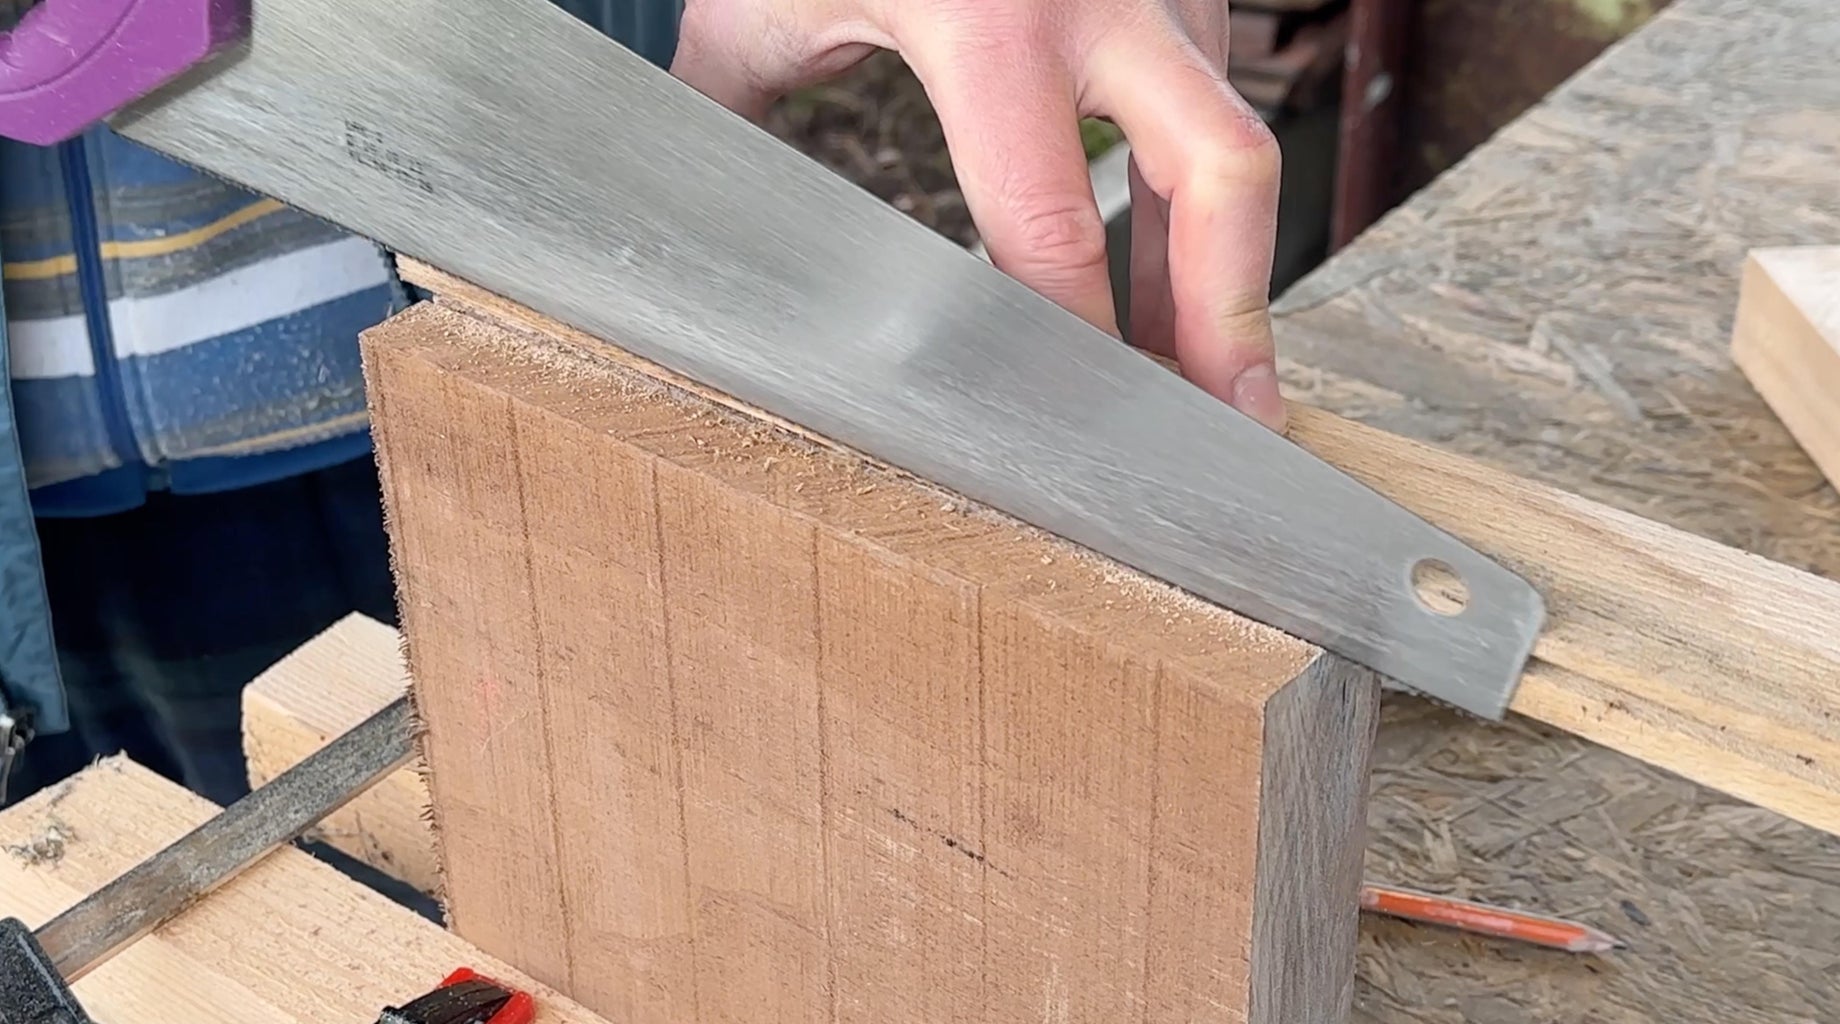
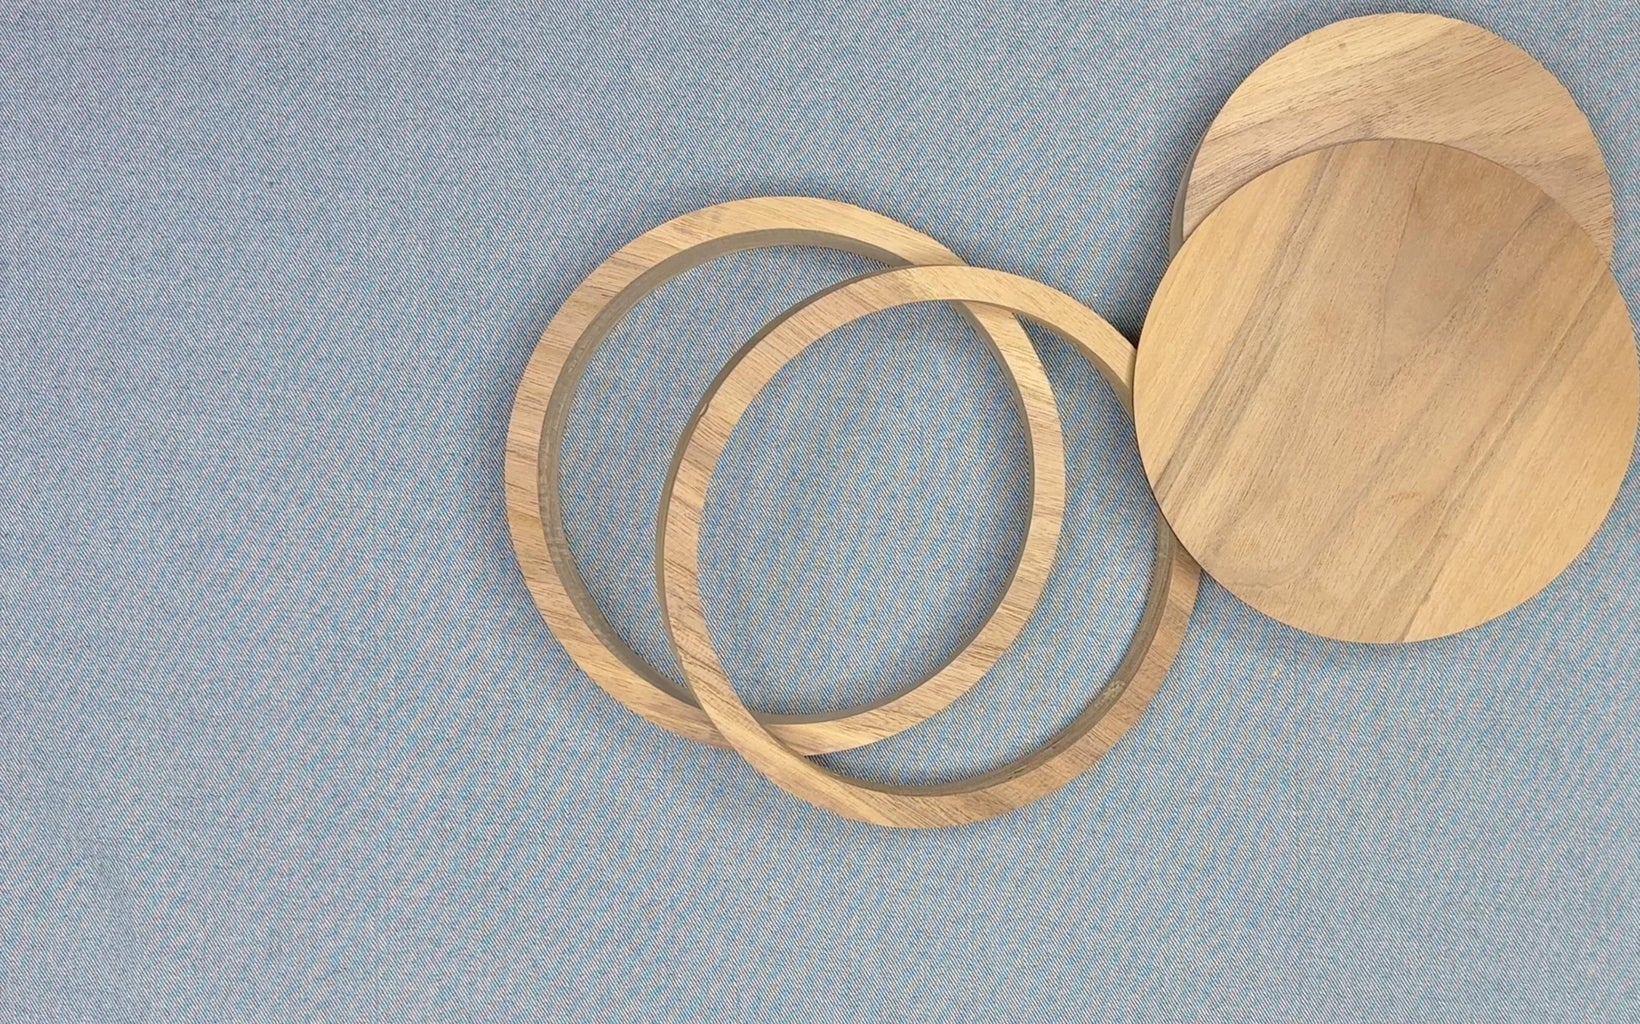
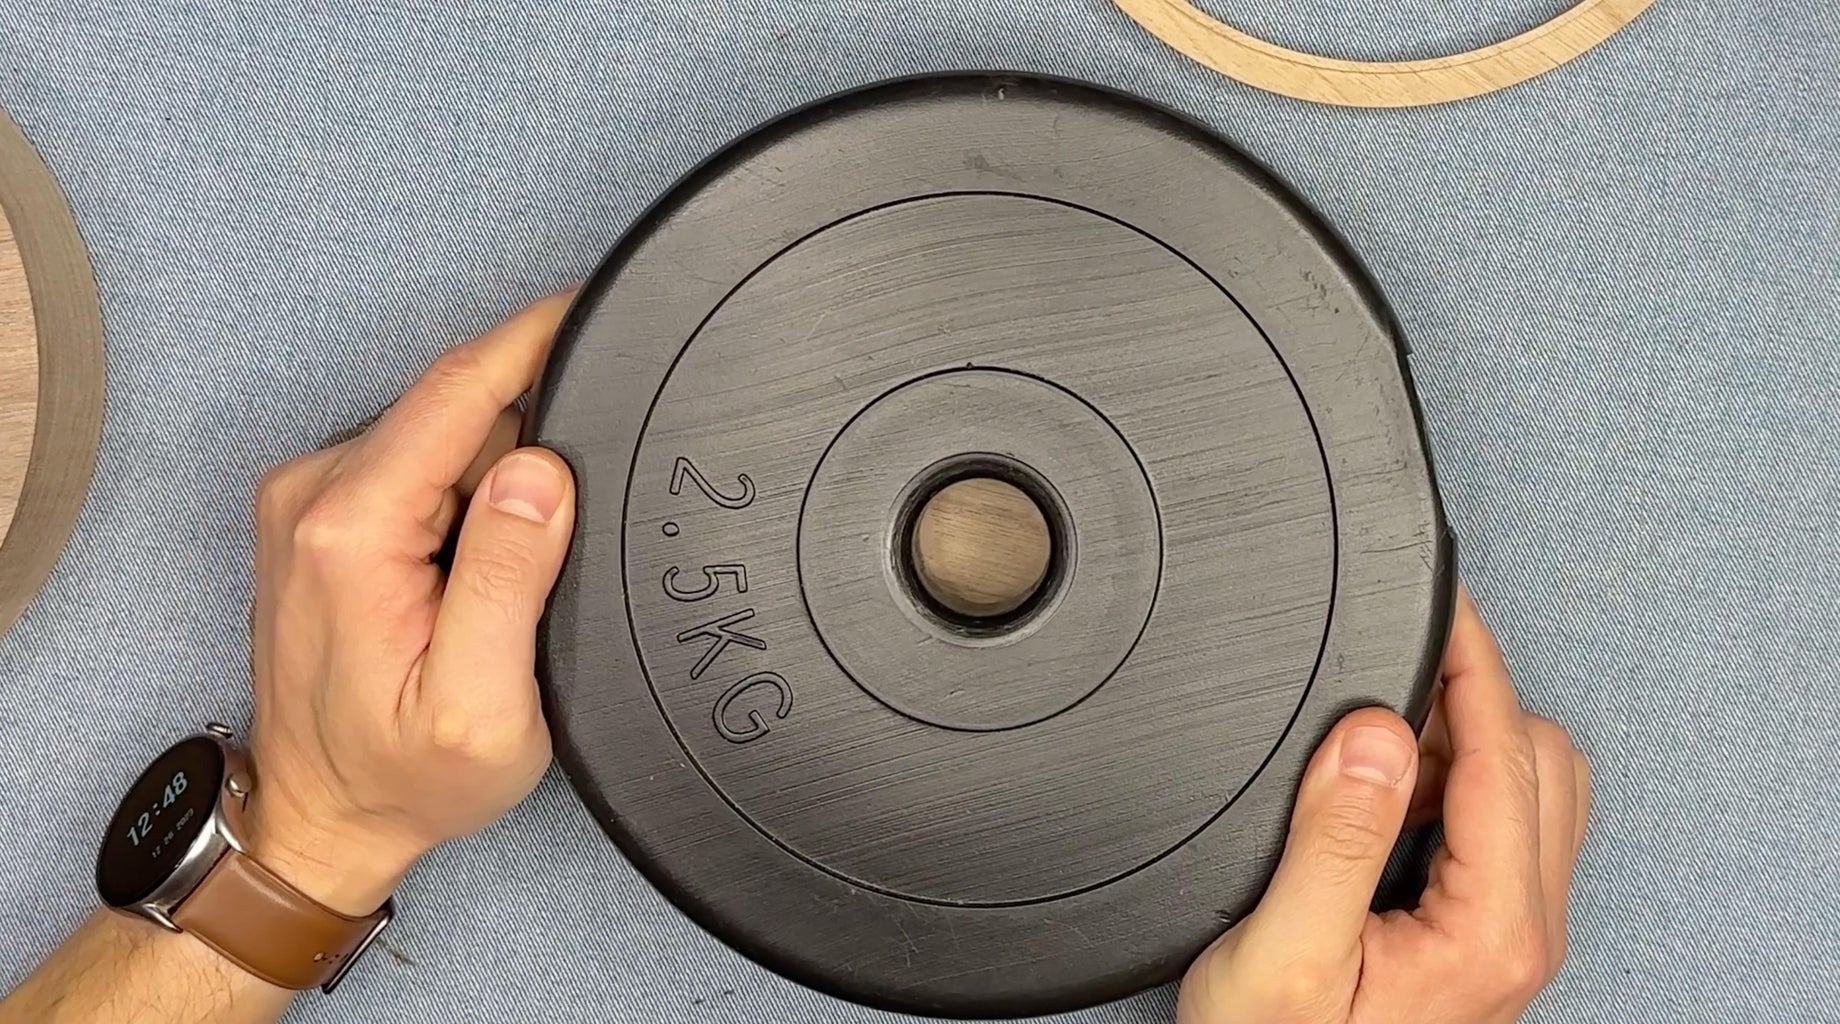
Step 1: Saw Off Two Identical Squares From the Board
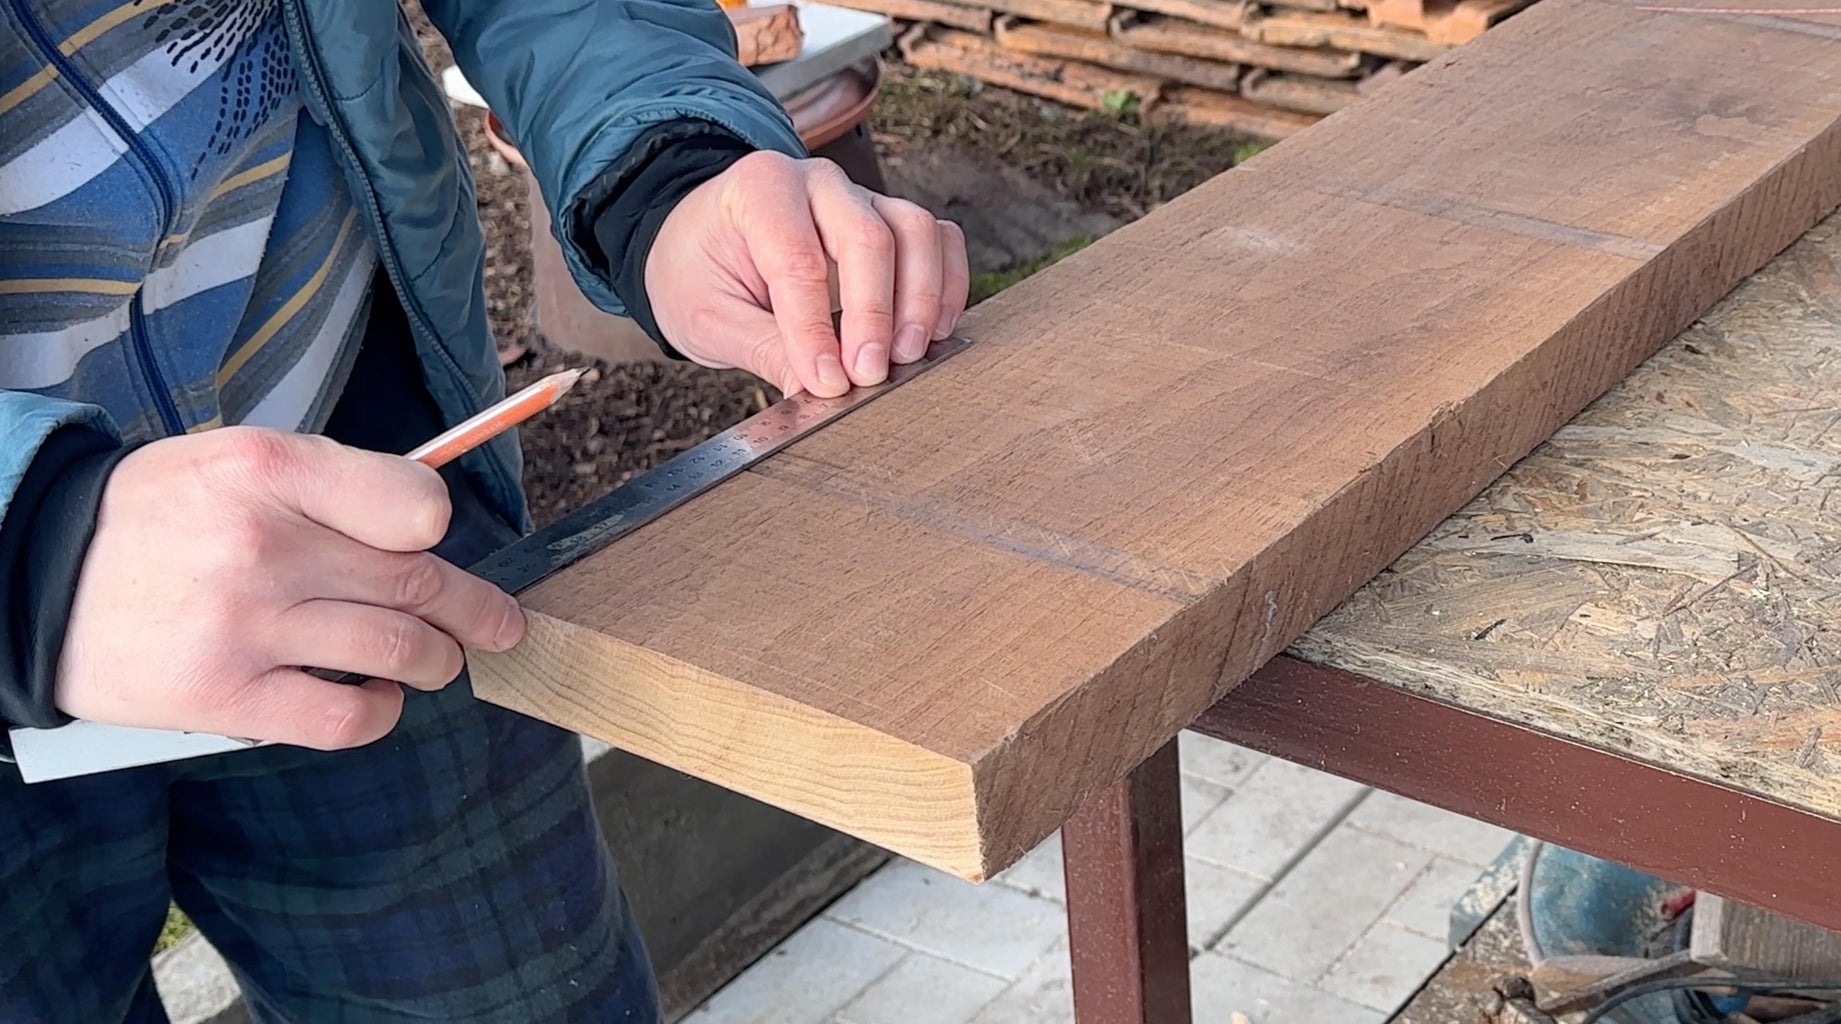
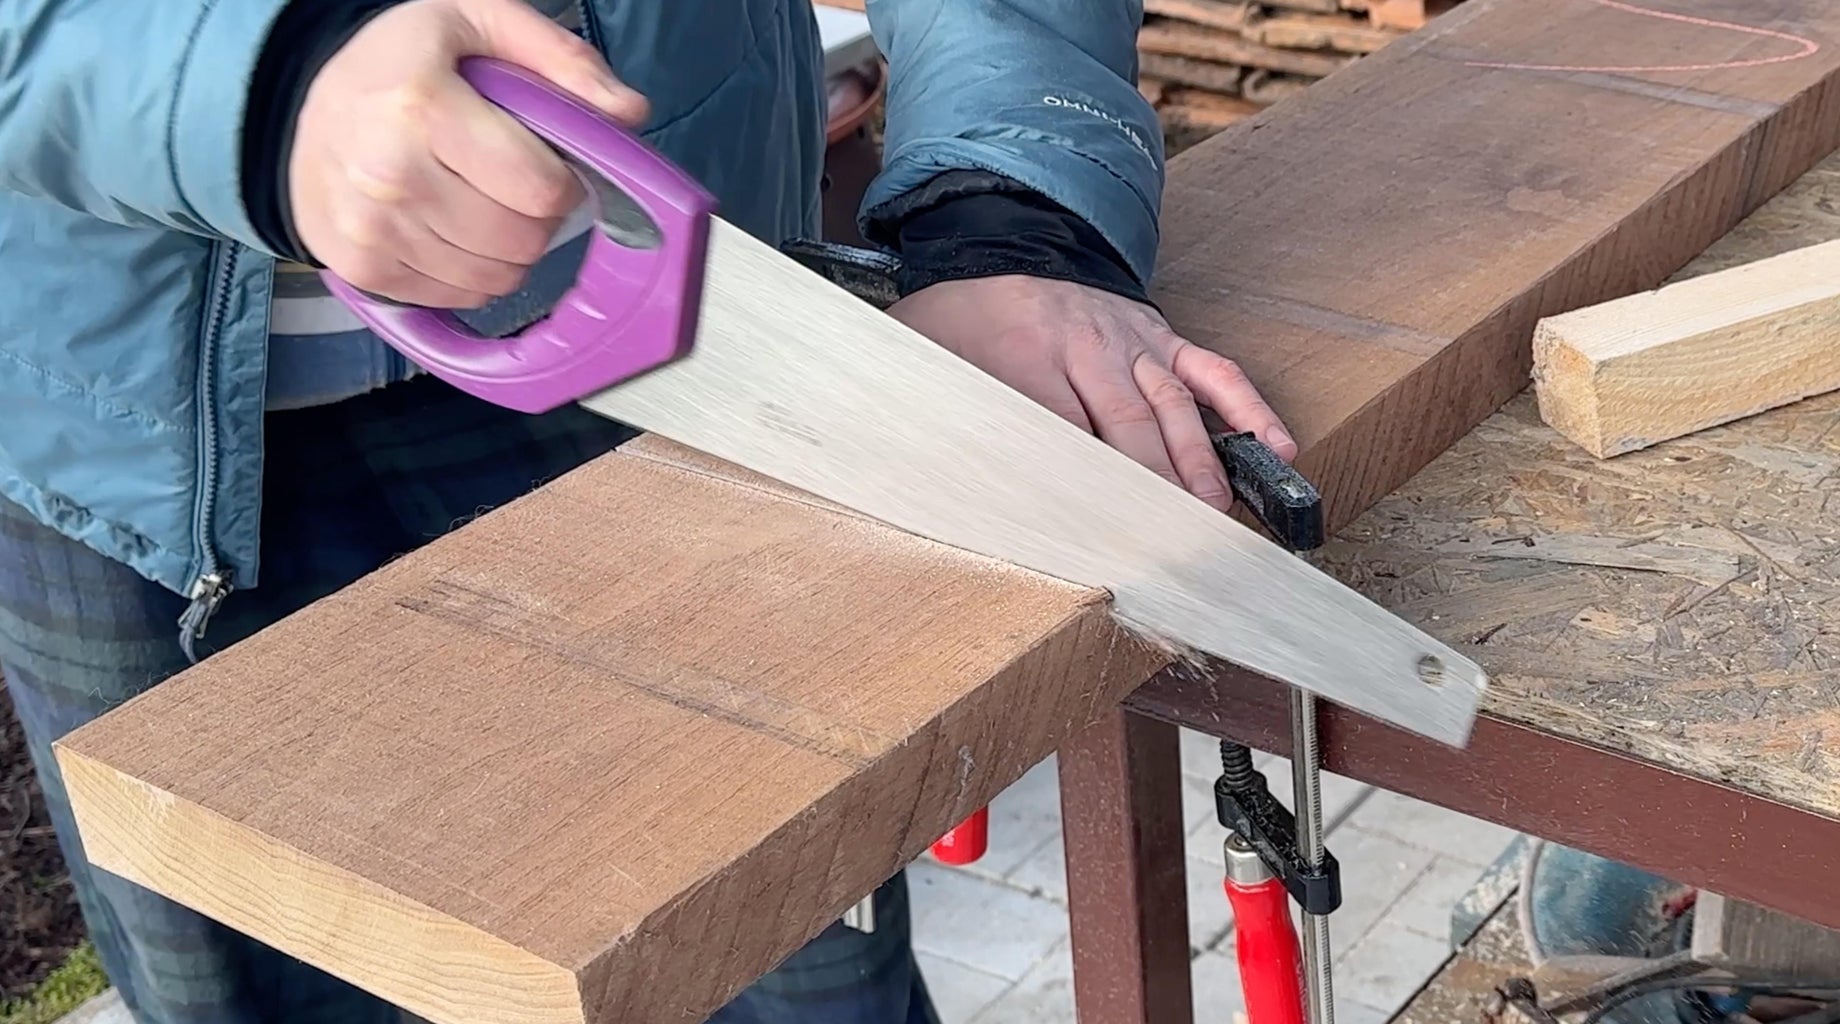
All sizes can be customized.
I took the sizes based on the material I have.
Material used: Walnut board 38 mm thickness, 210 mm width
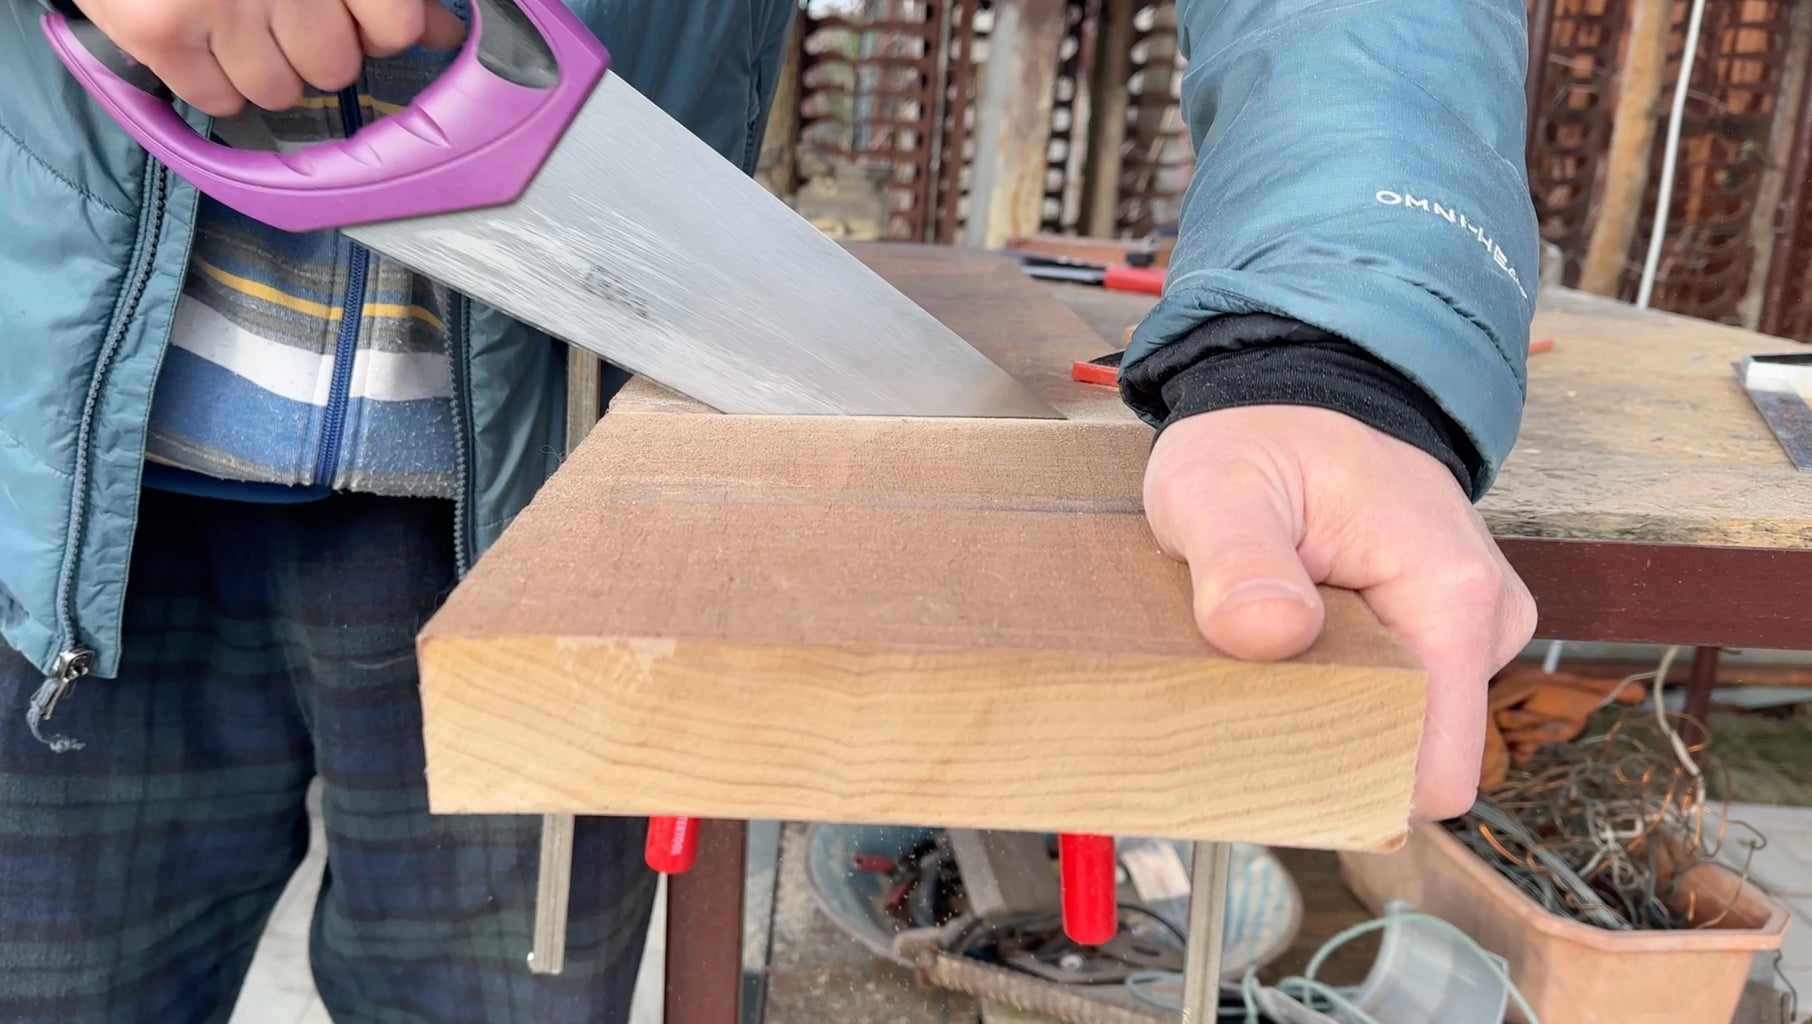
Step 2: Split One of the Pieces in Half Thickness
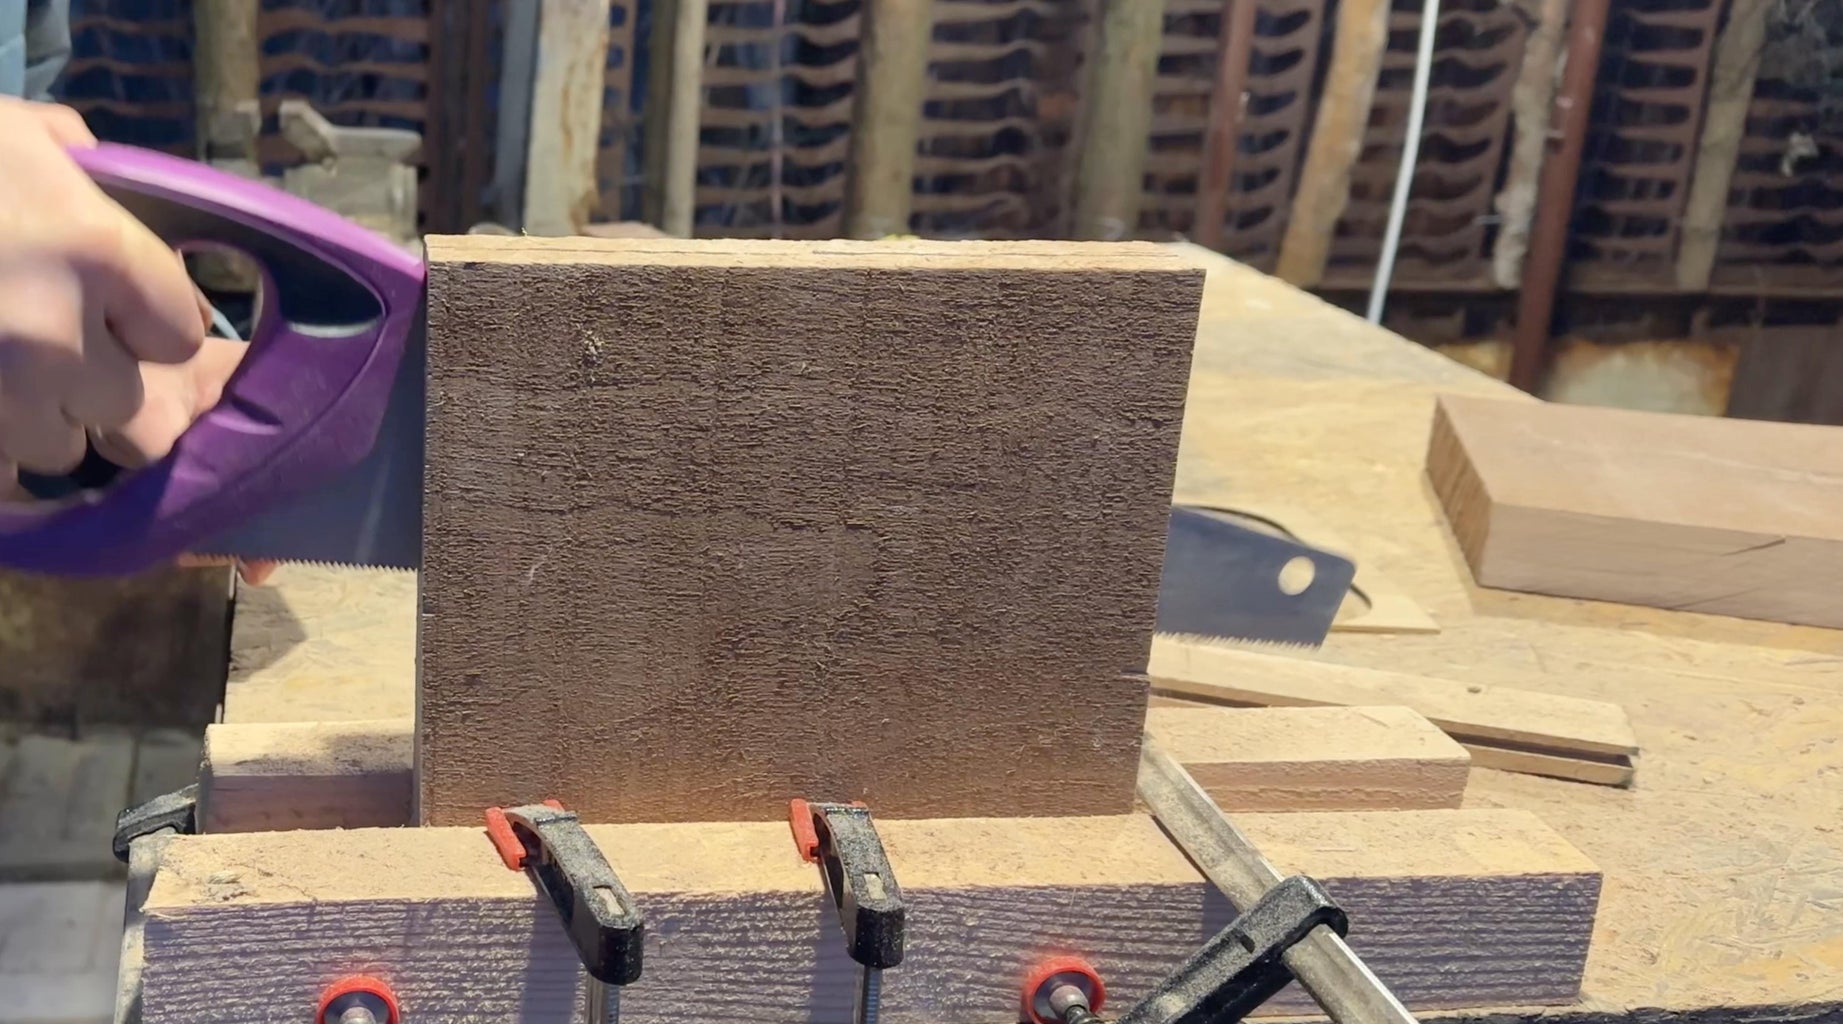

The thicker one will be the base of the box, and the thinner one will be the top.
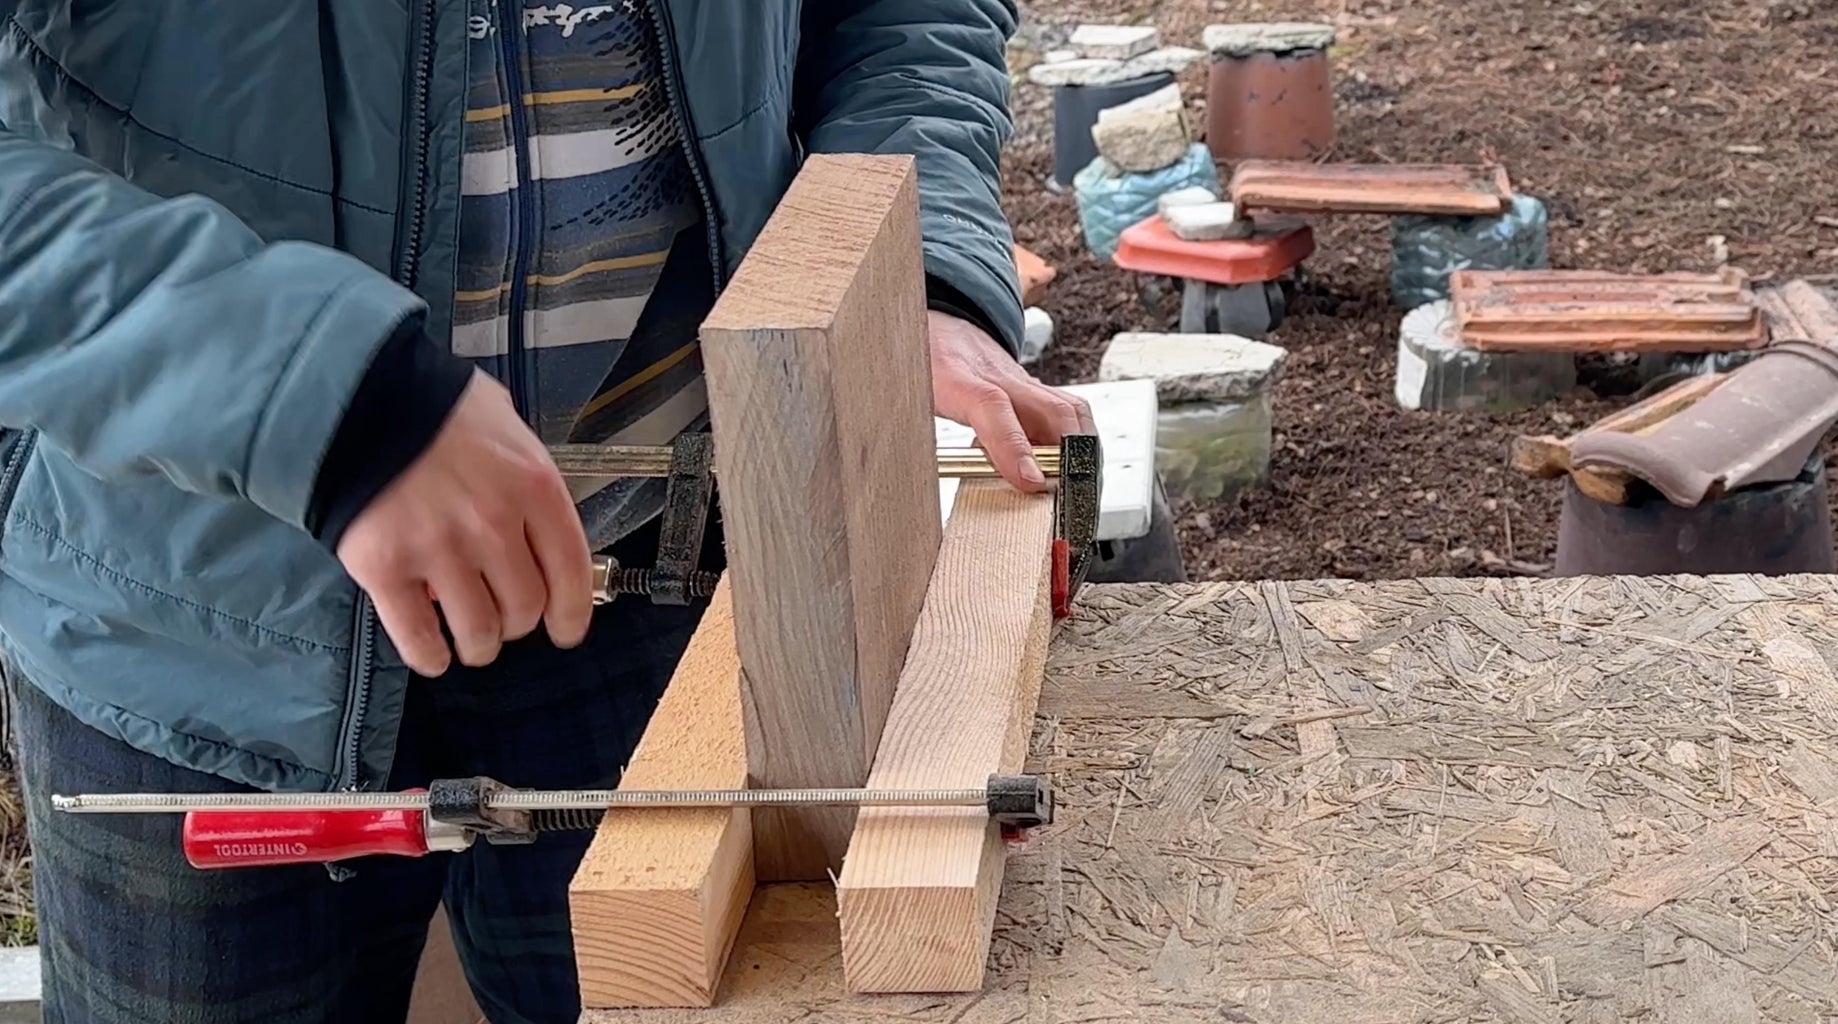
Step 3: Flatten the Top and Bottom Sides of the Workpieces
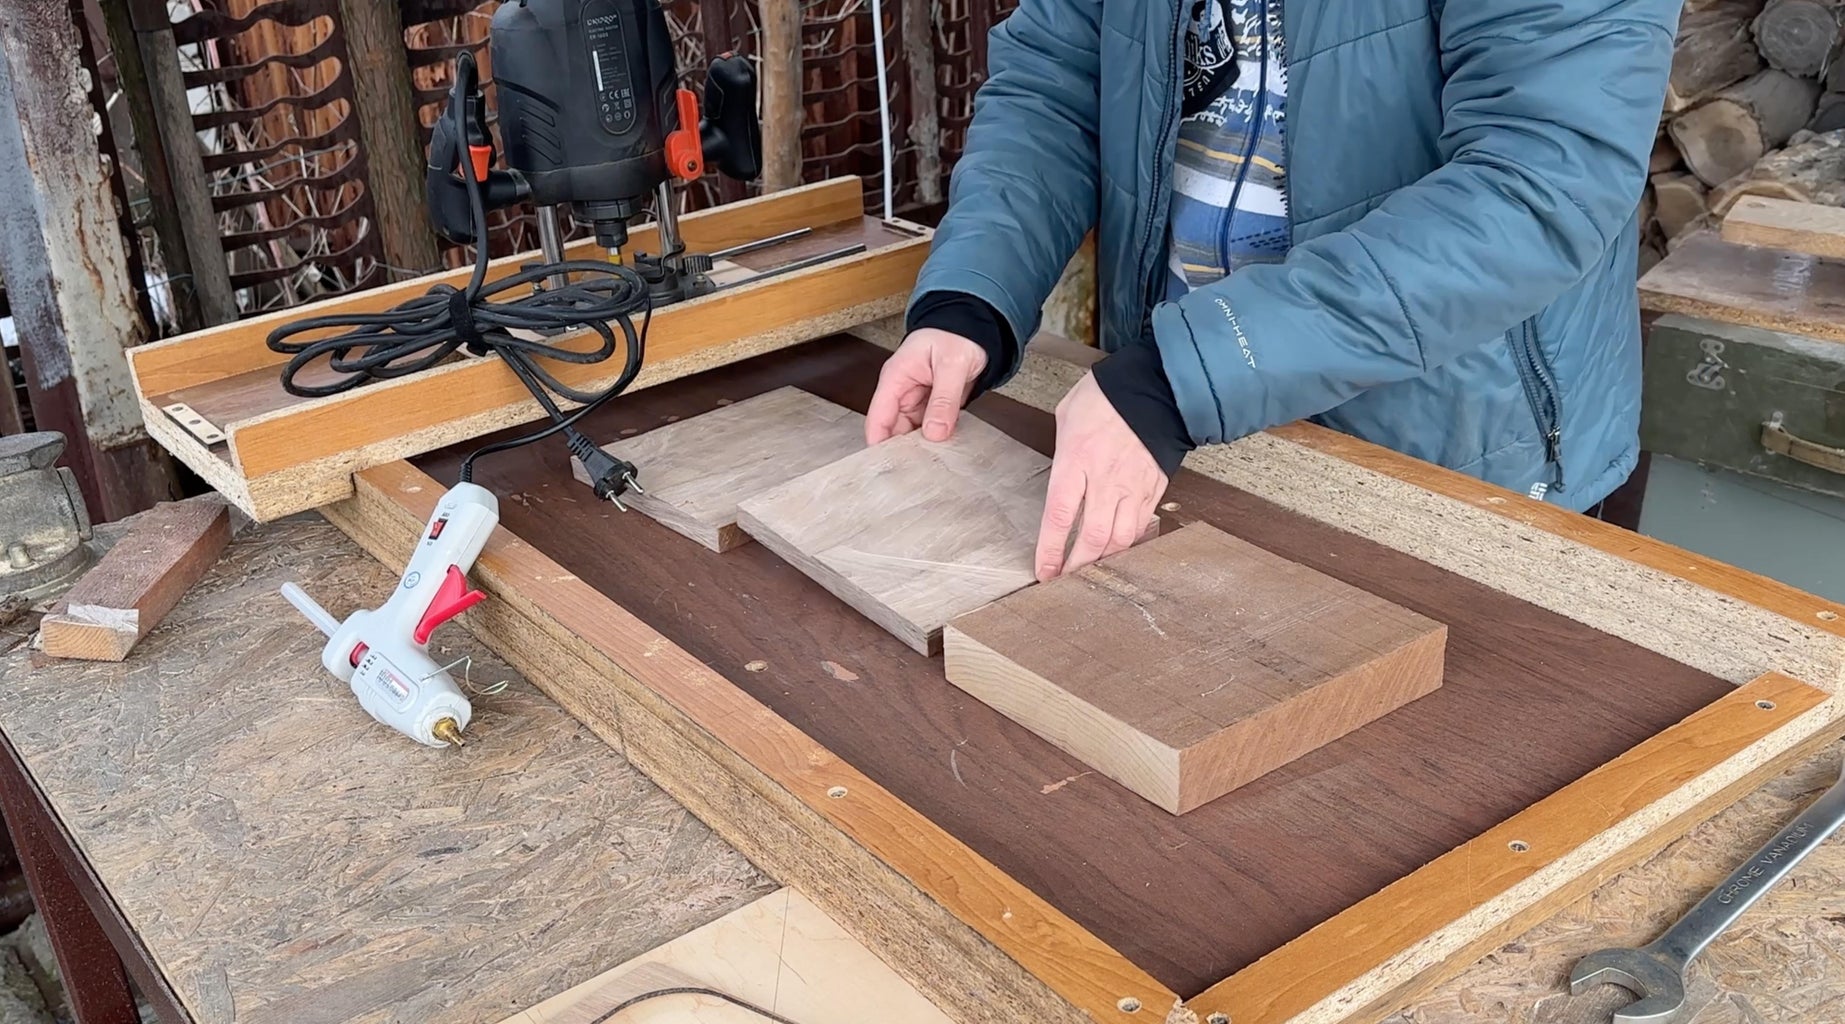
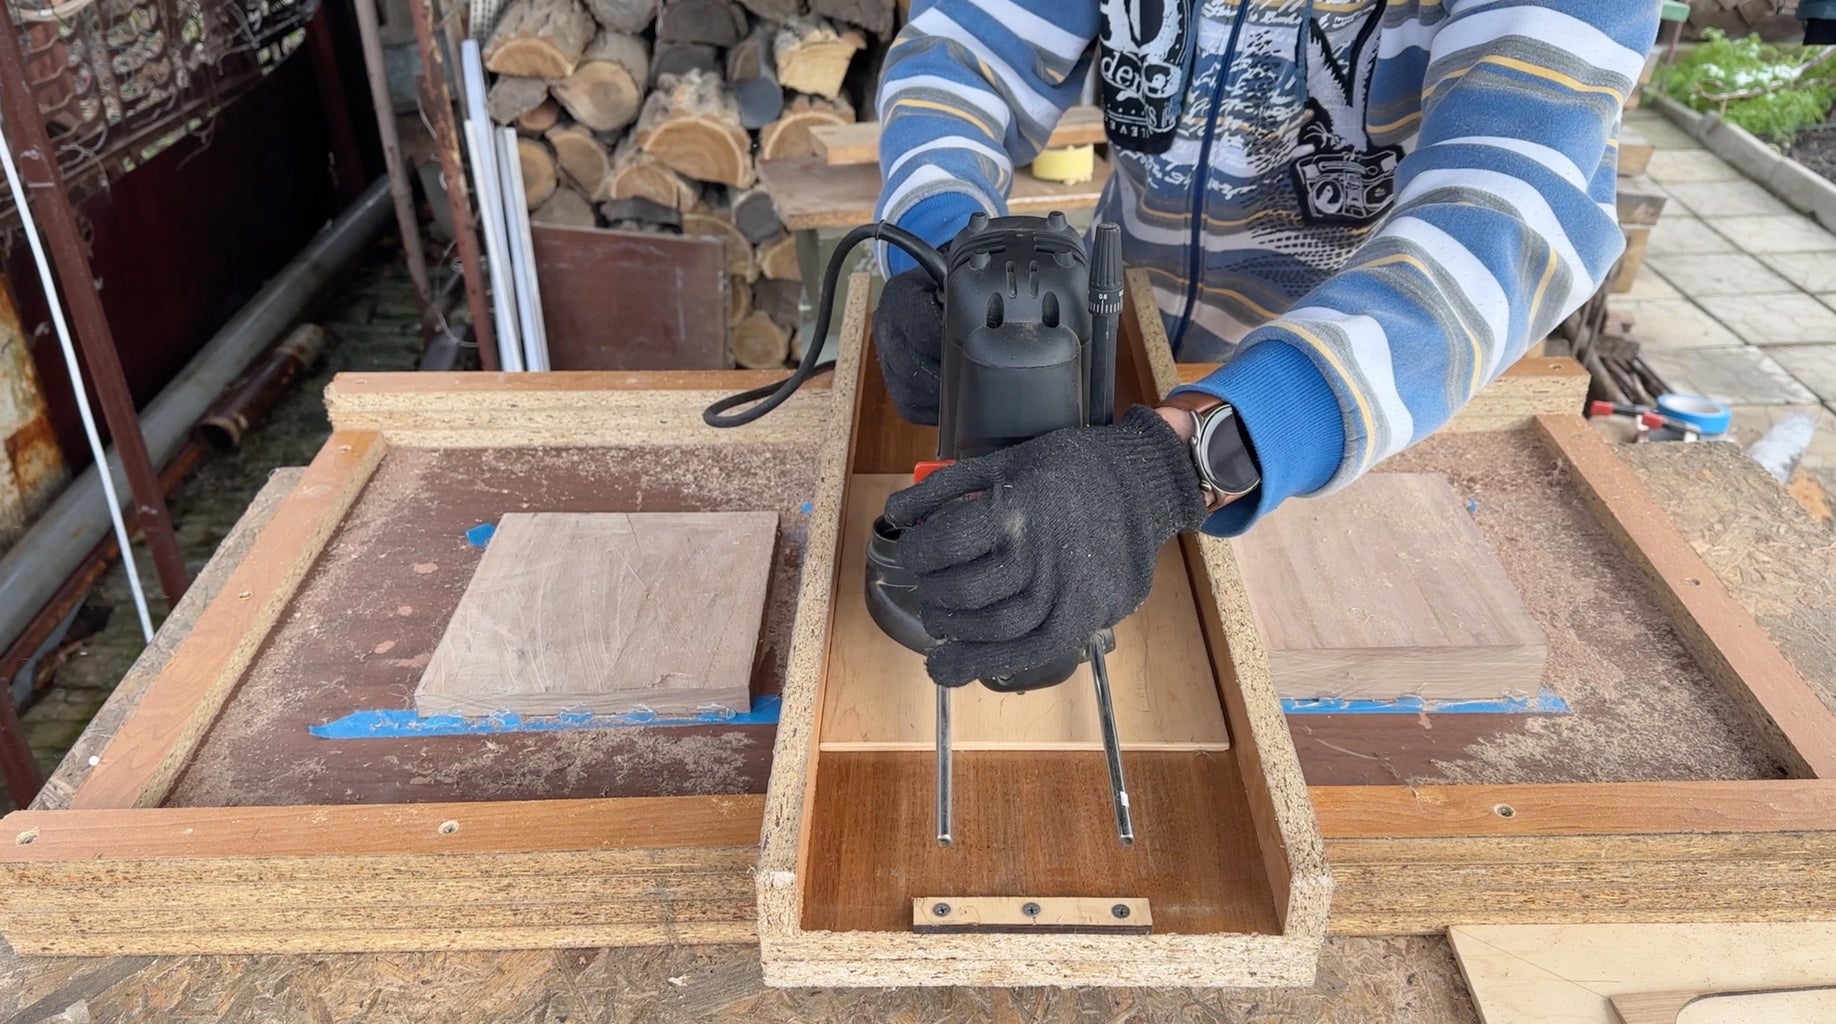
I don't have a planer, so I used a DIY tool with a hand router and flat bit
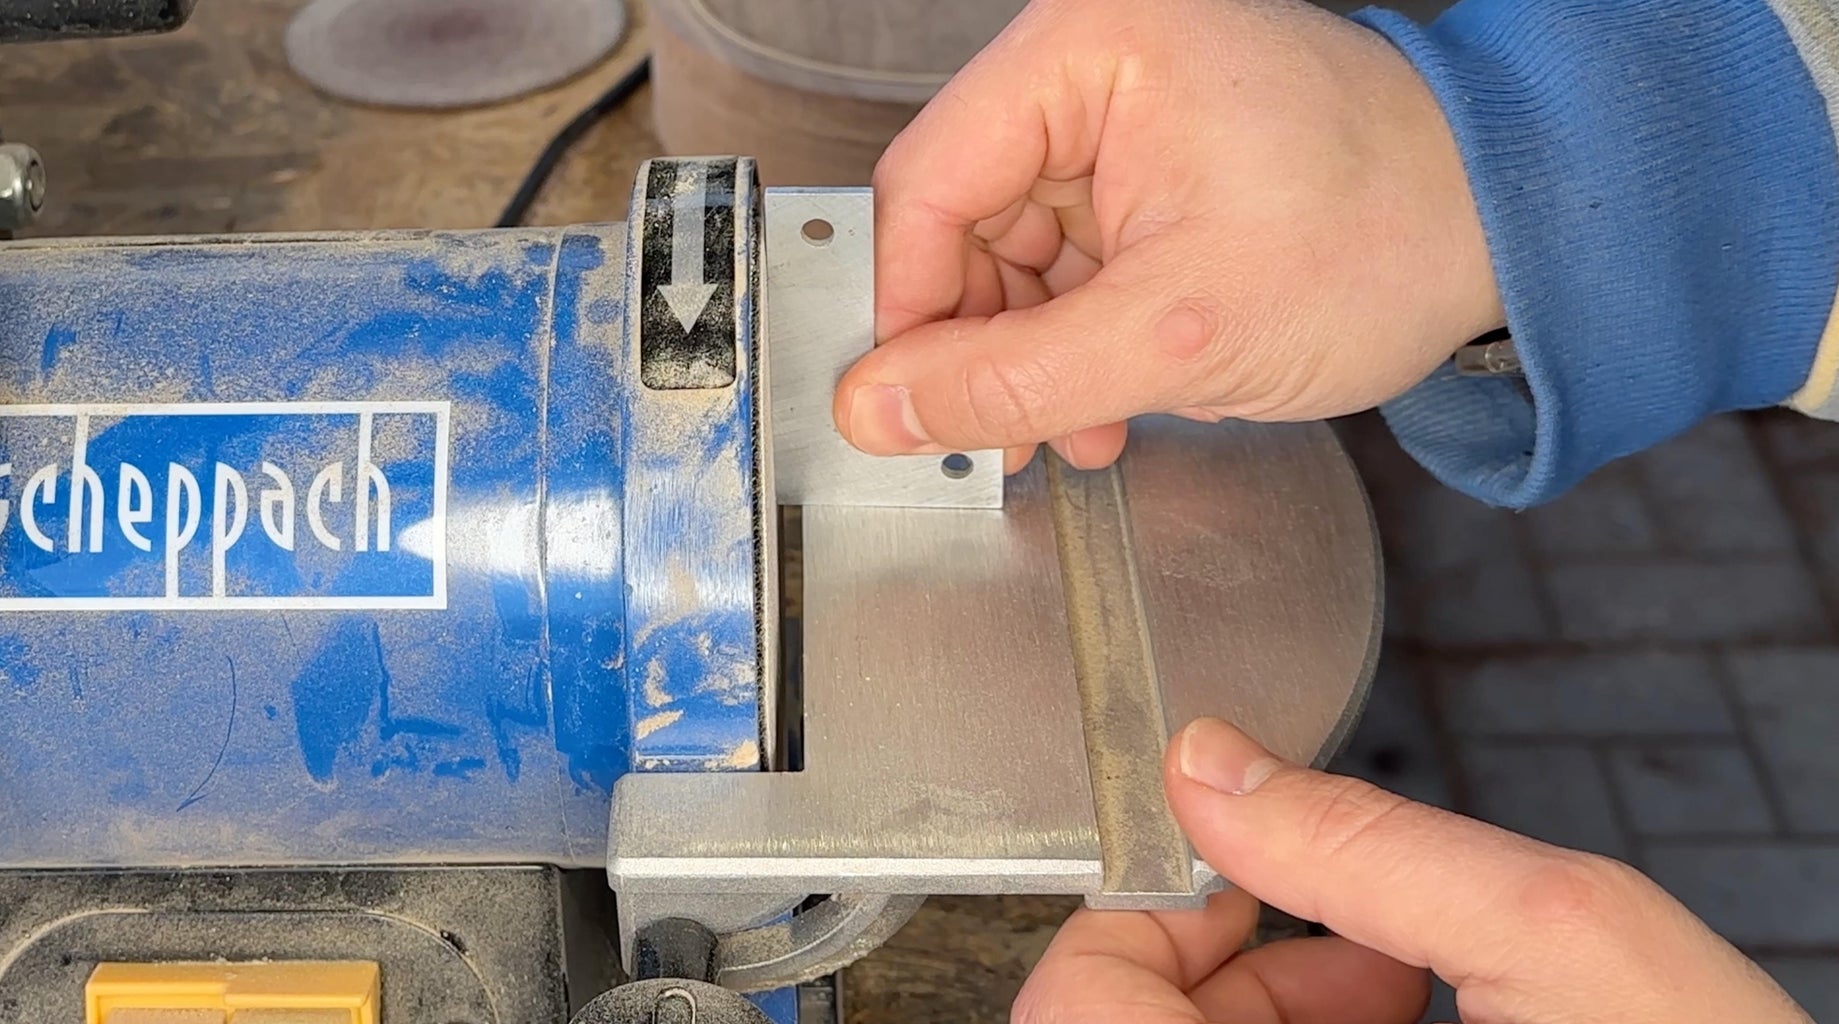
Step 4: Make a Tool for Hand Router (optional, Only for Big Hand Routers)
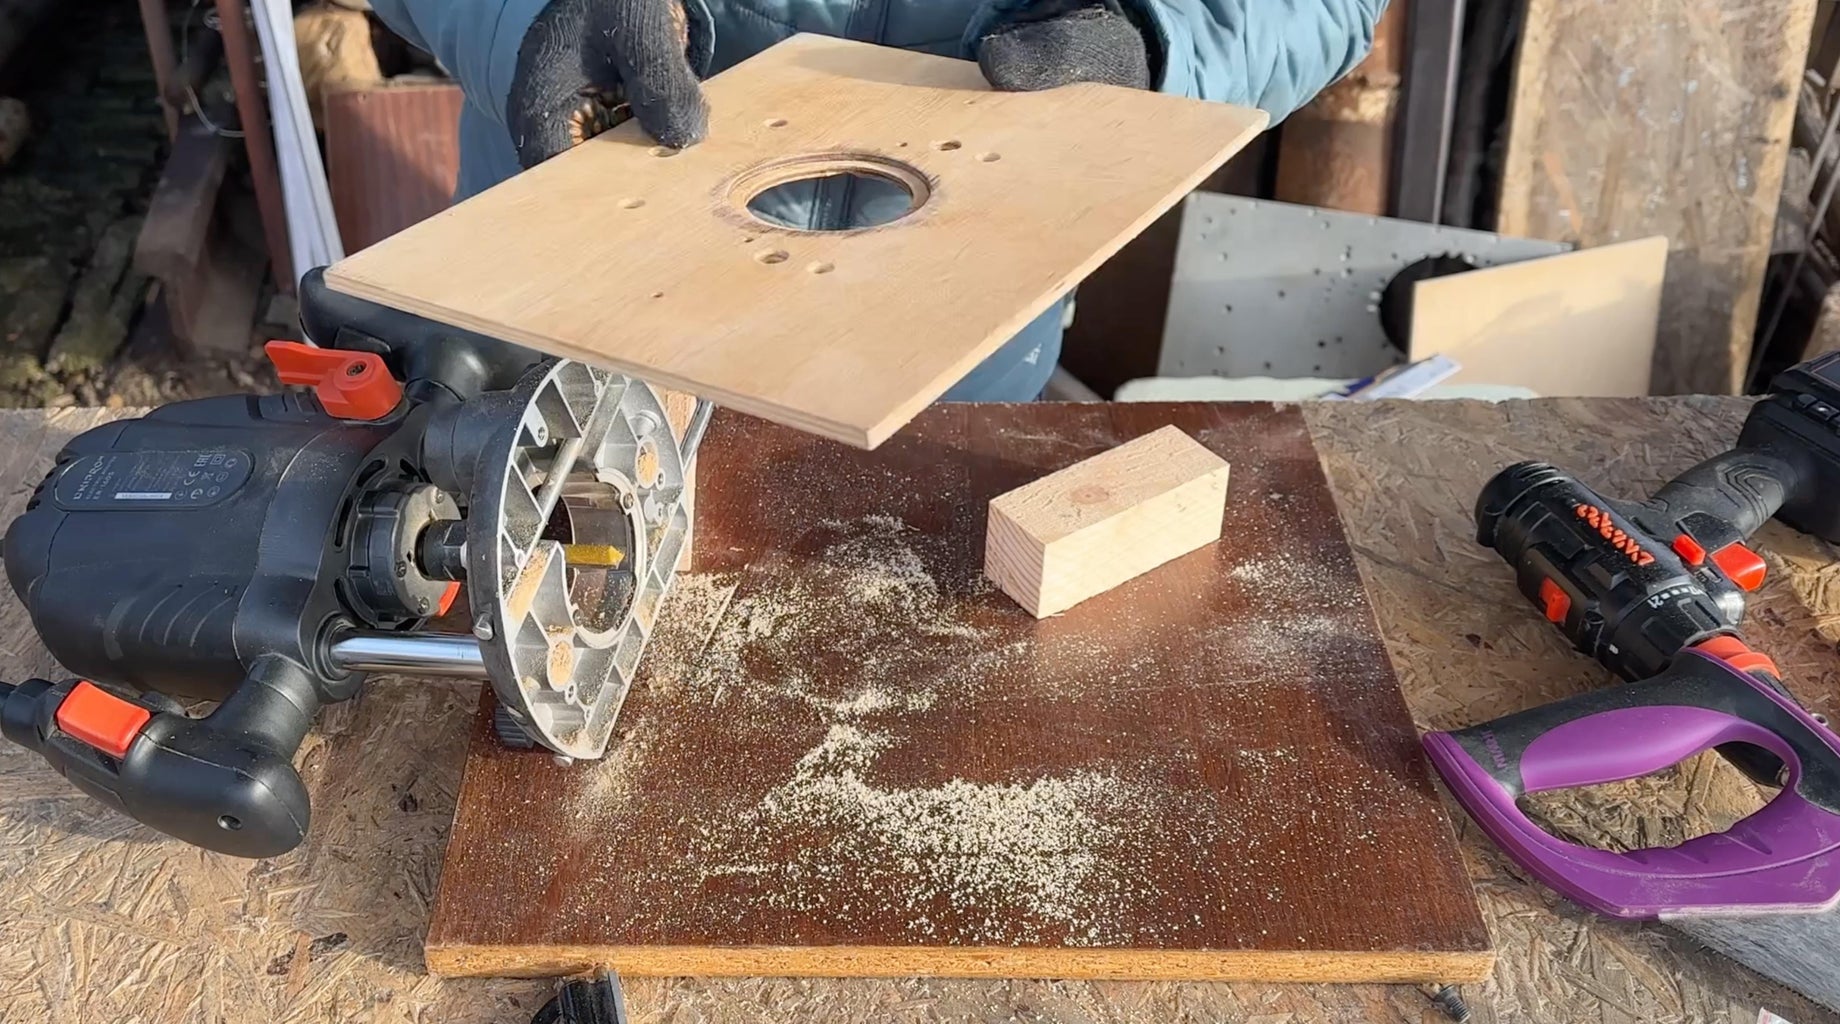
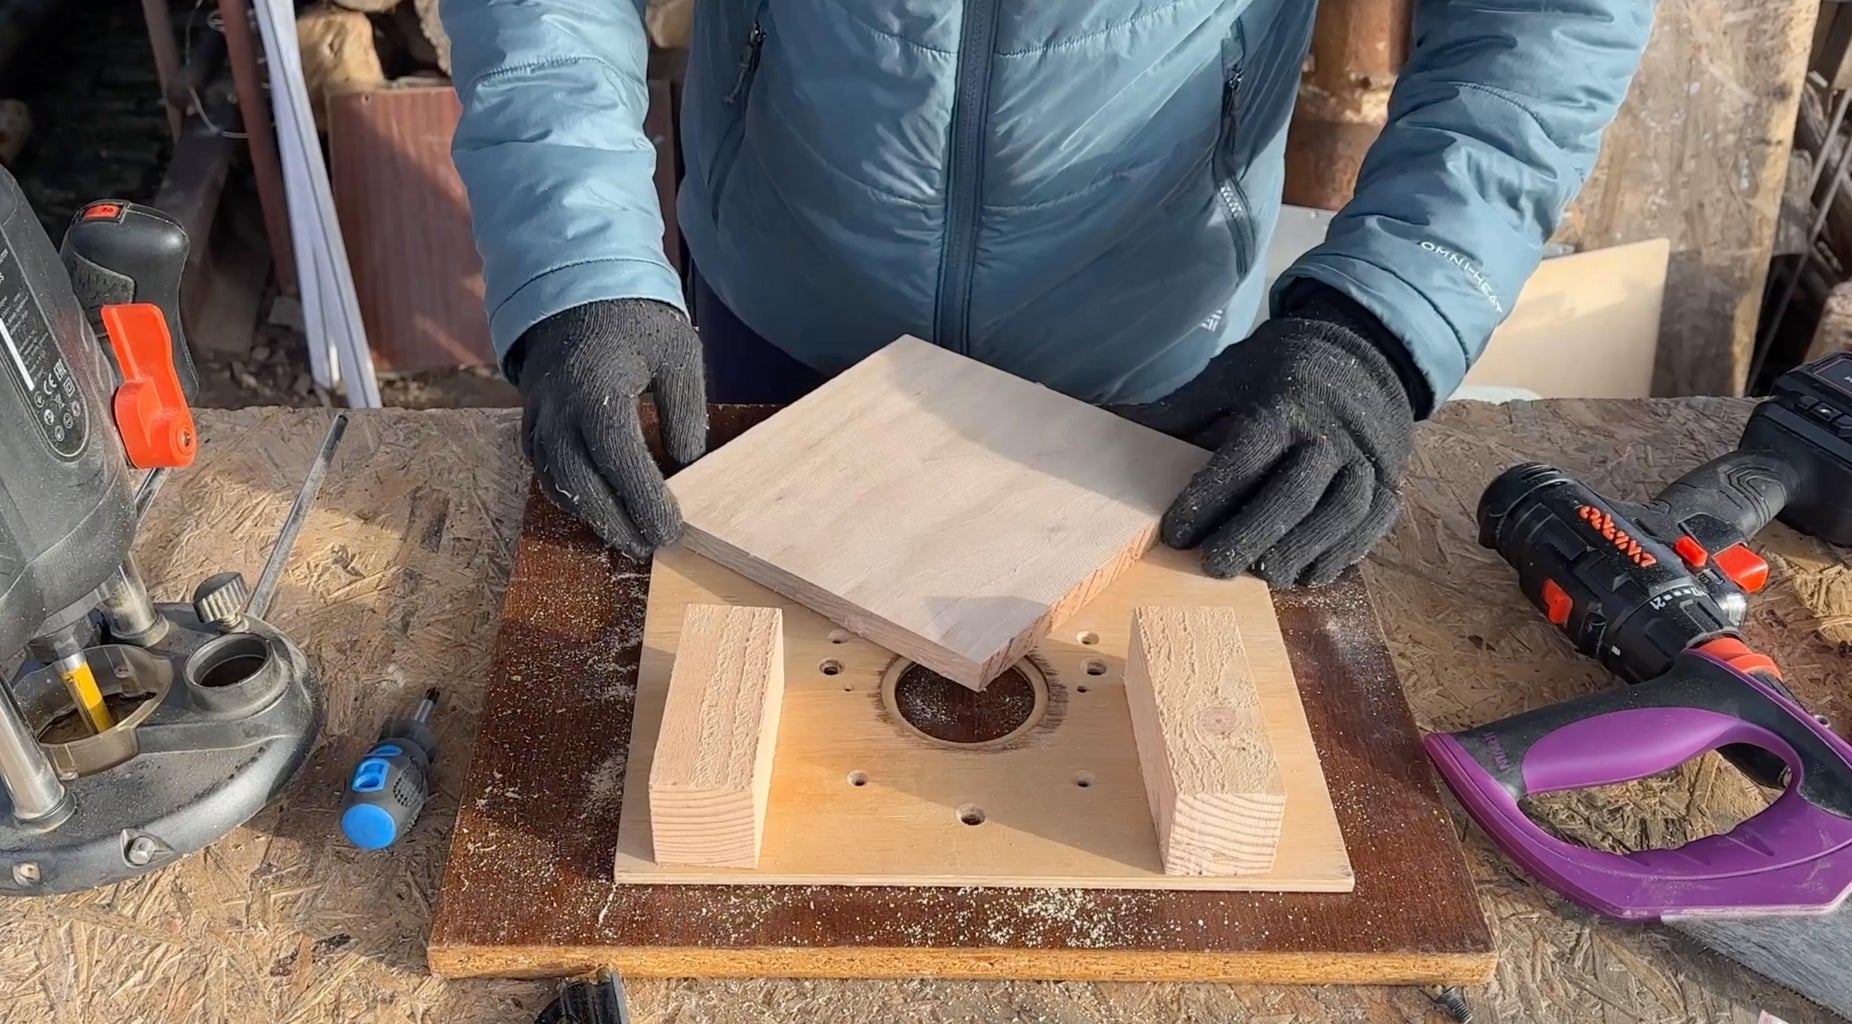
Usually, a hand router comes with tools for cutting circles, but my router turned out to be very large to cut a ring with a radius of 90mm. I quickly made an additional tool, simply fixing the router and rotating the workpiece on the plane.
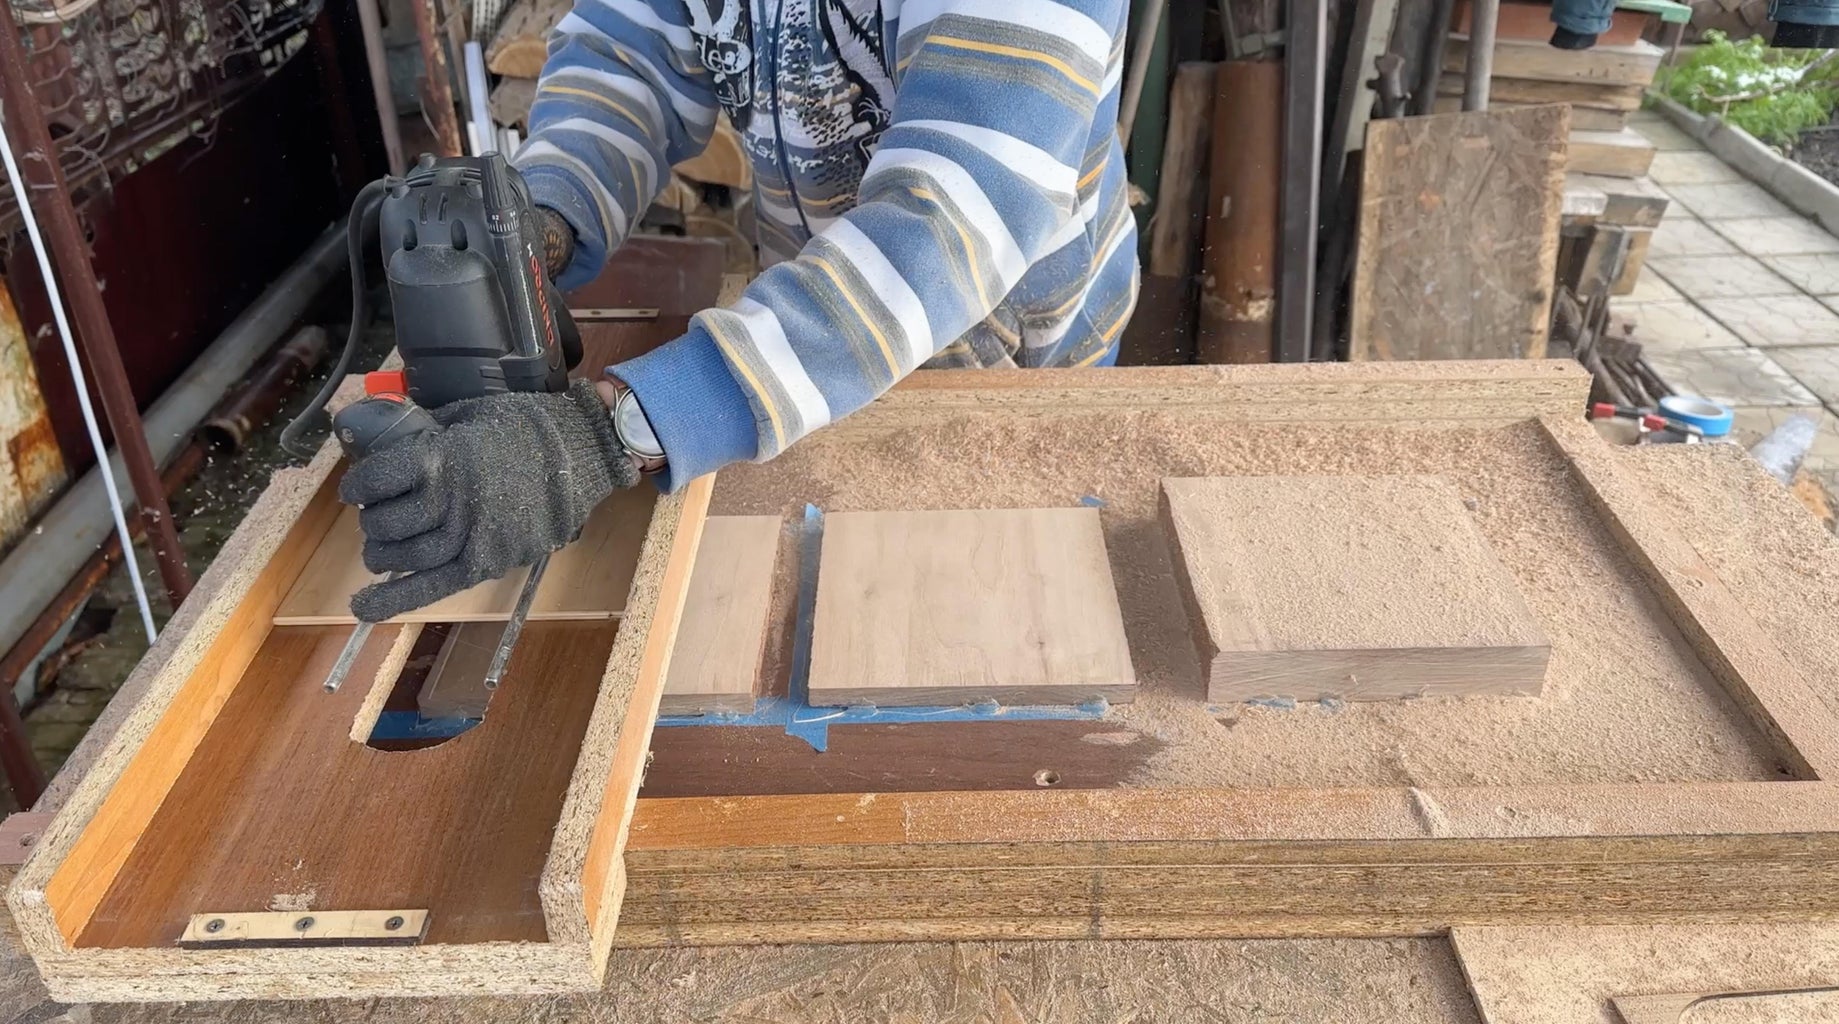
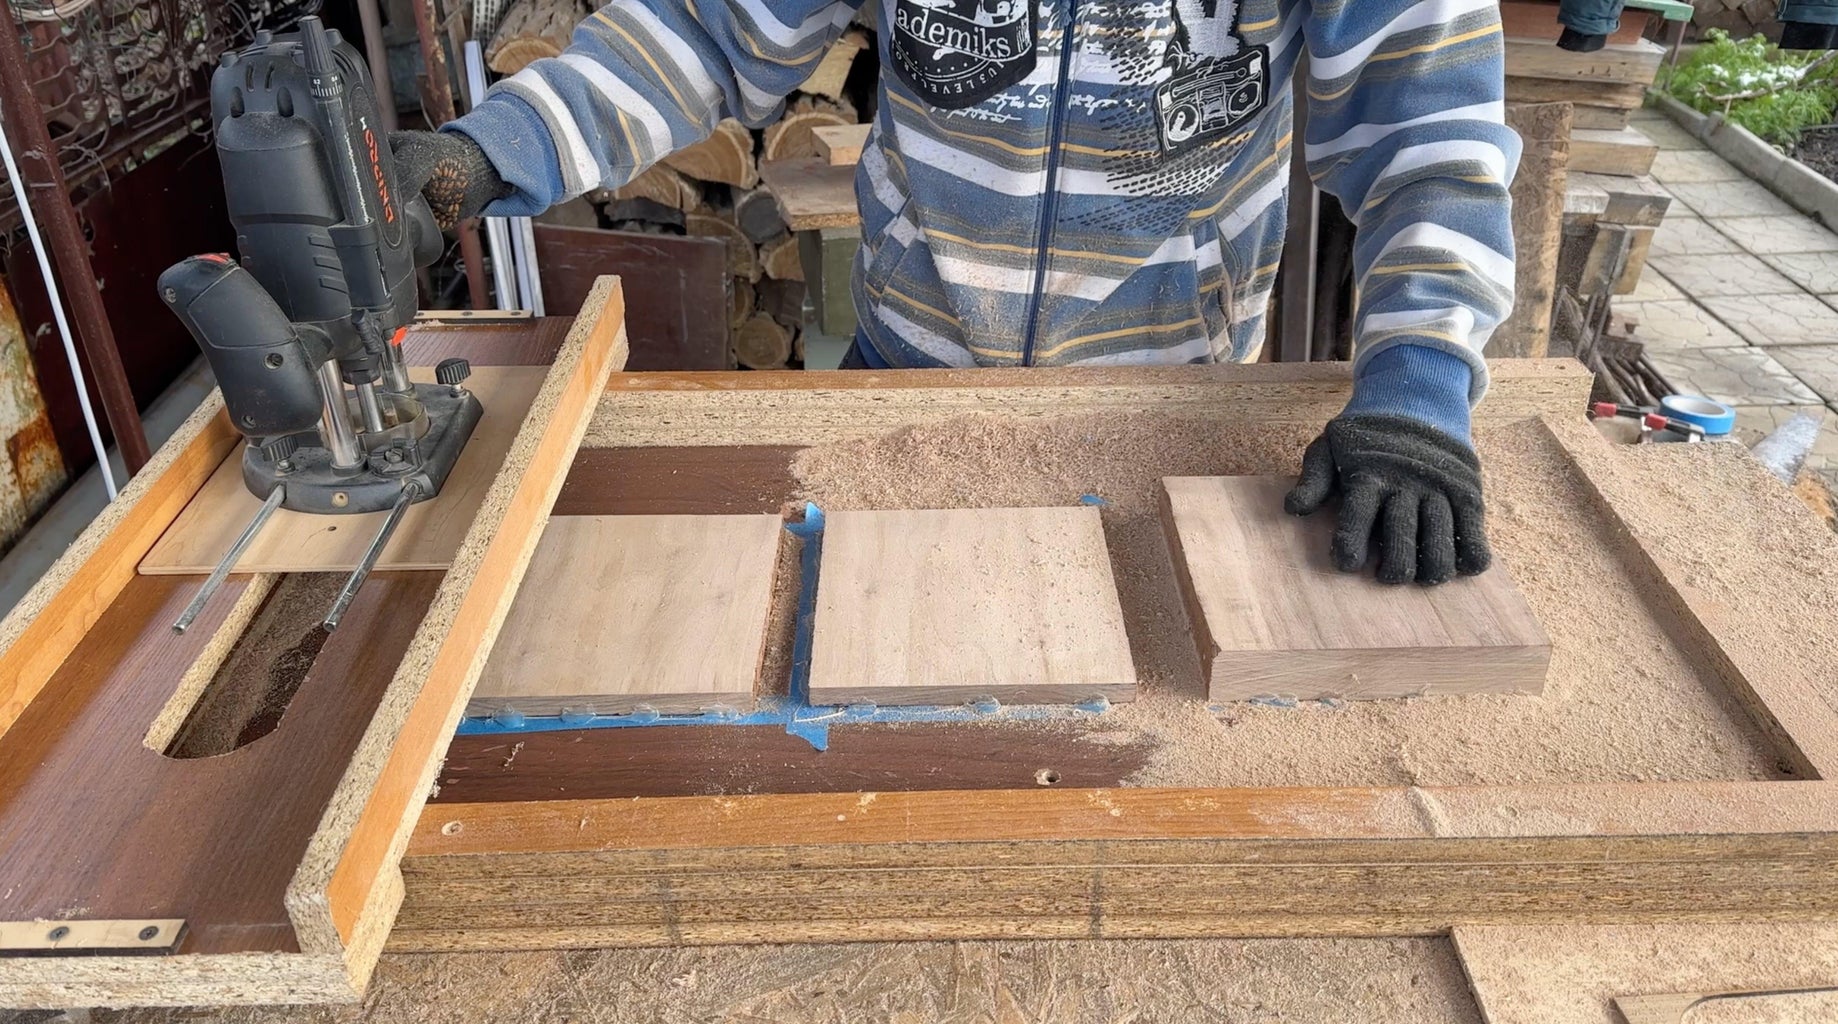
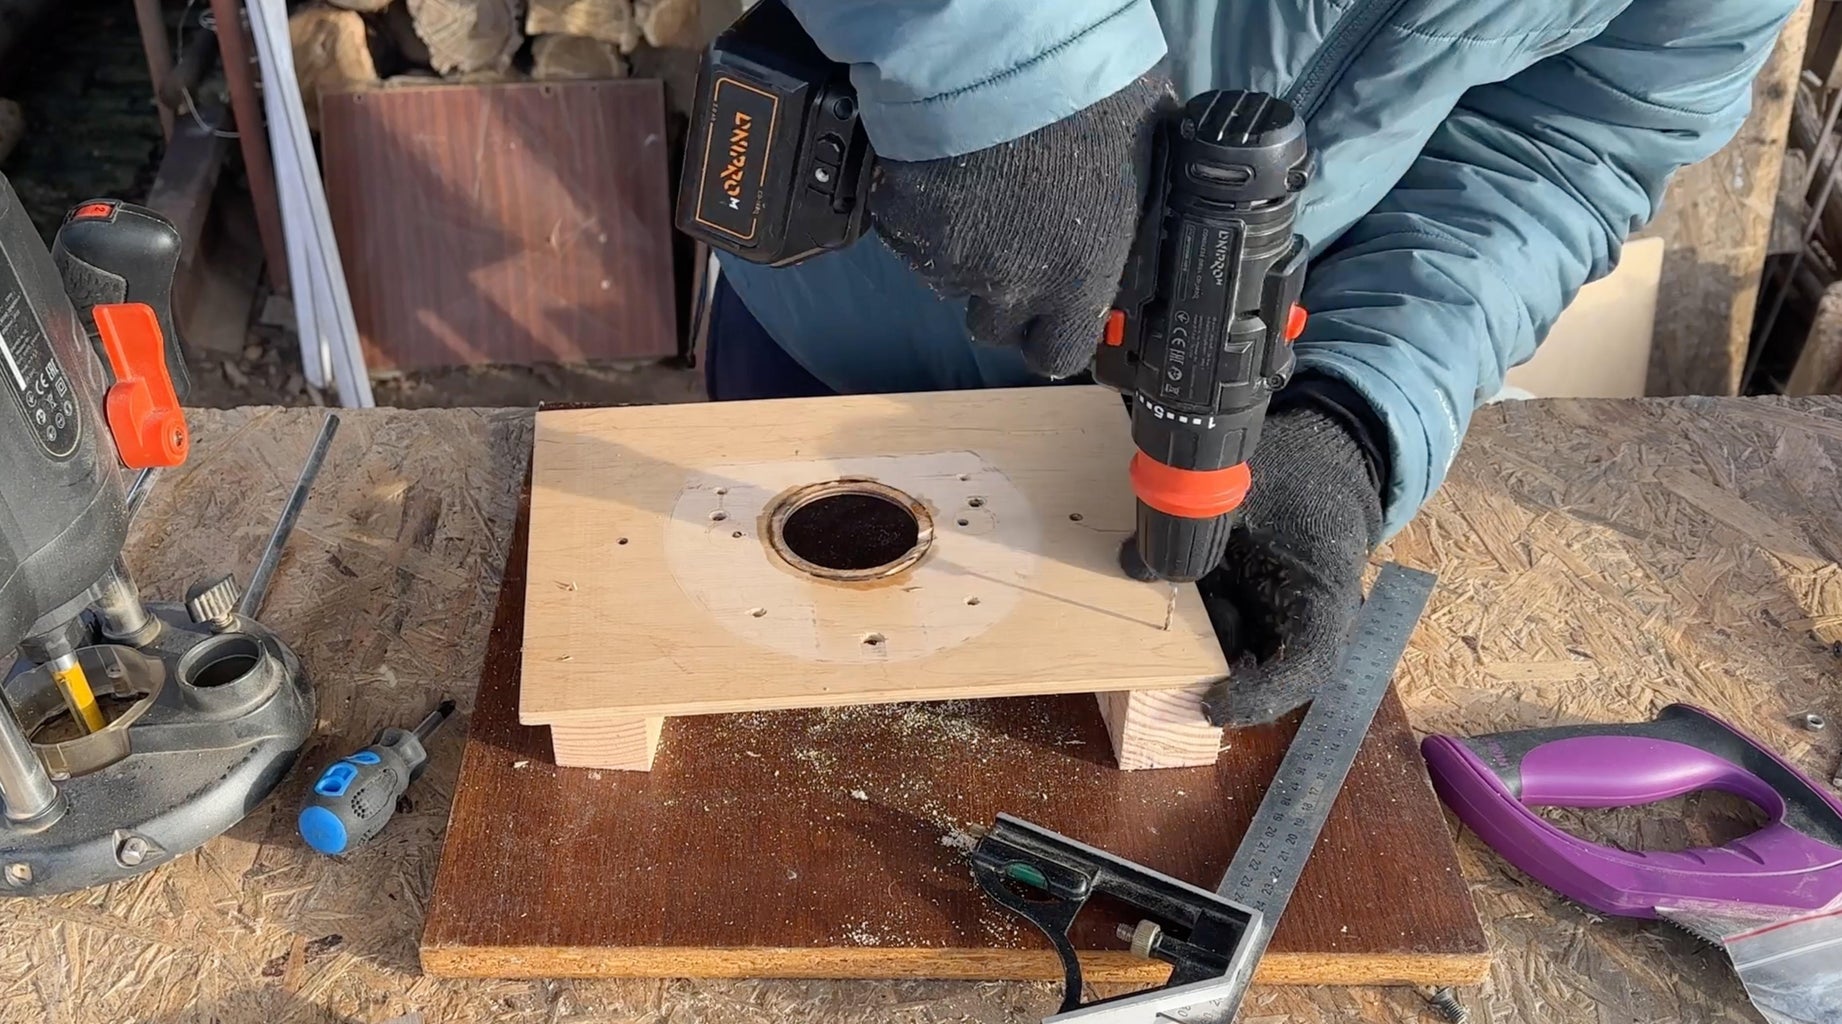
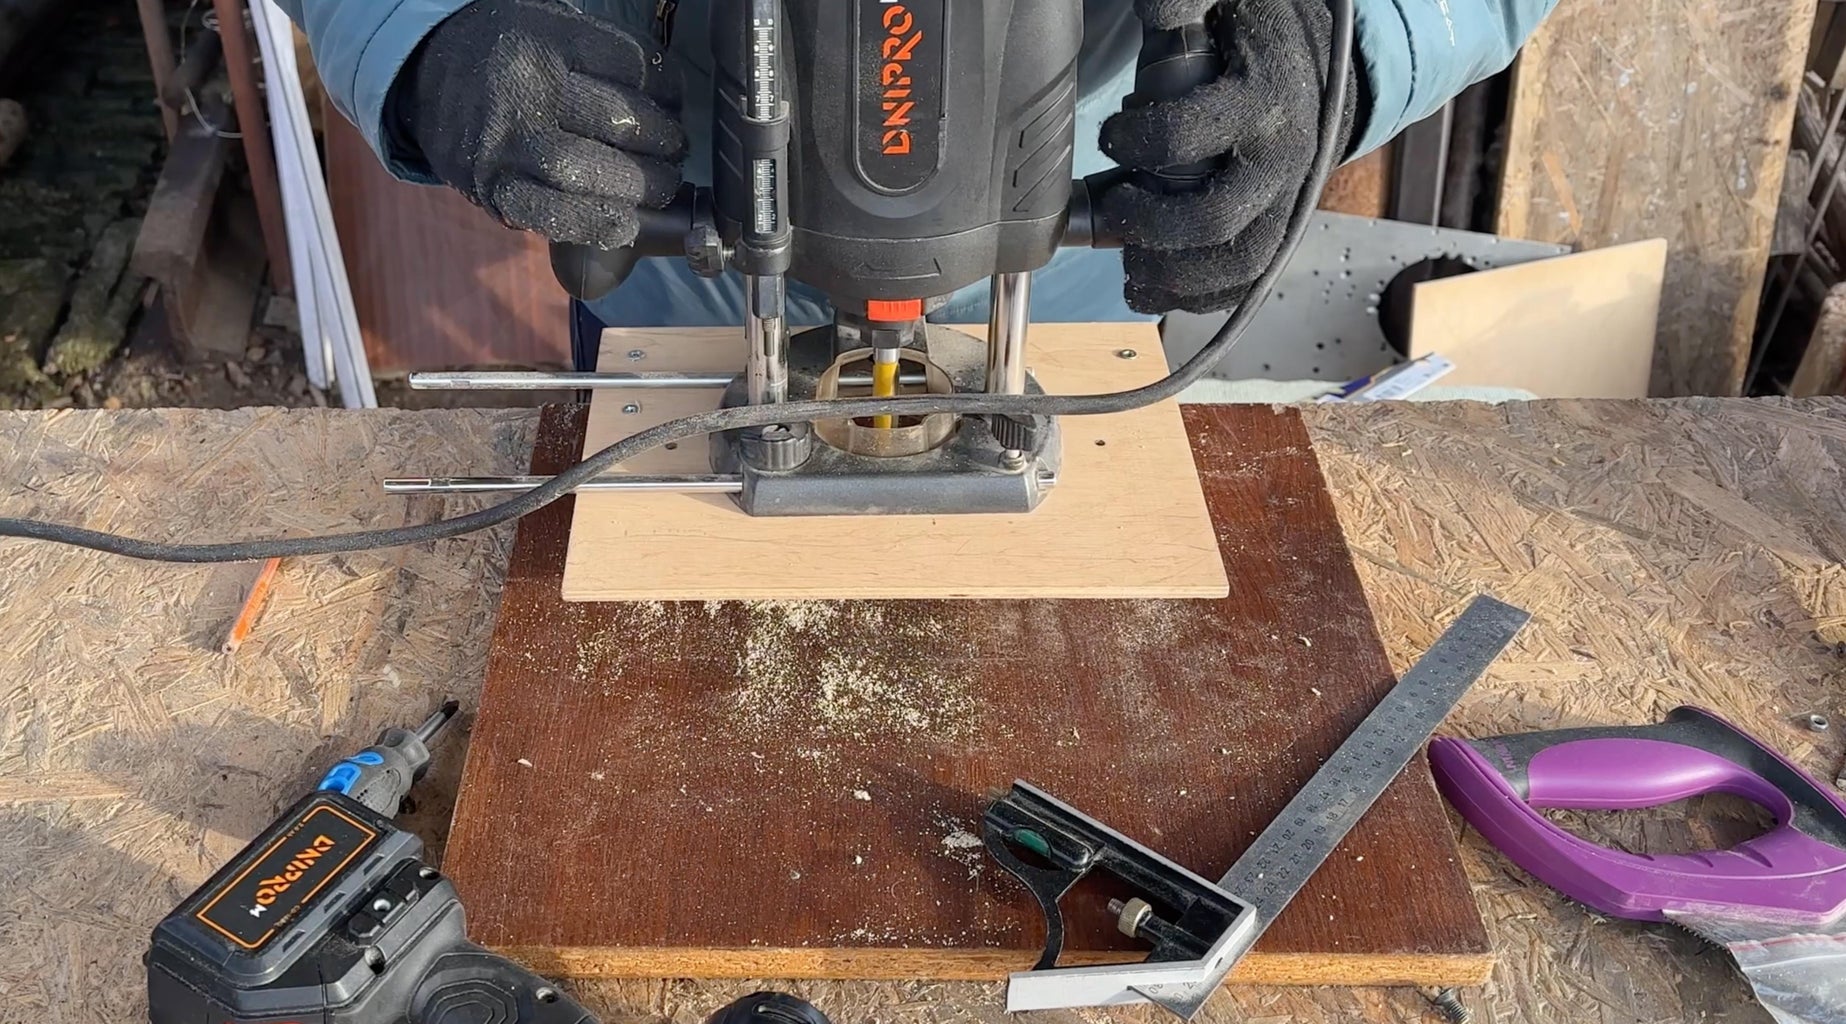
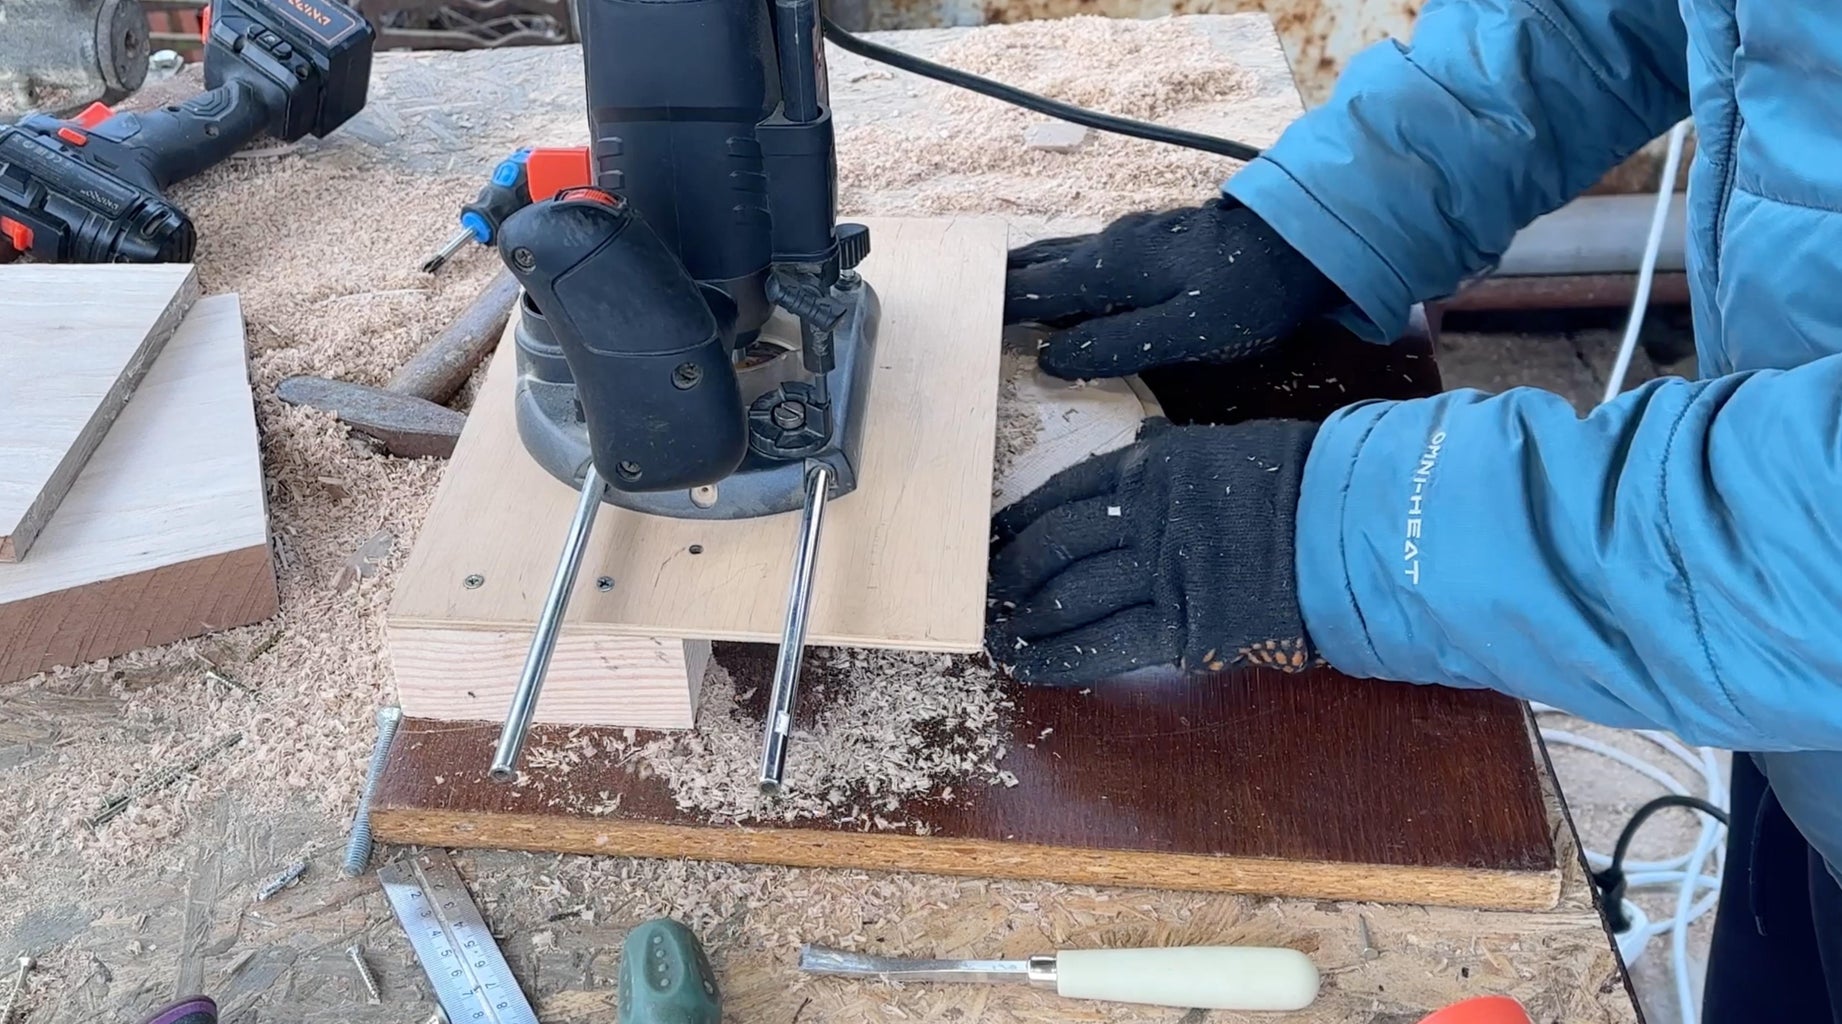
Step 5: Cut the Rings From the Thicker and Thinner Workpiece
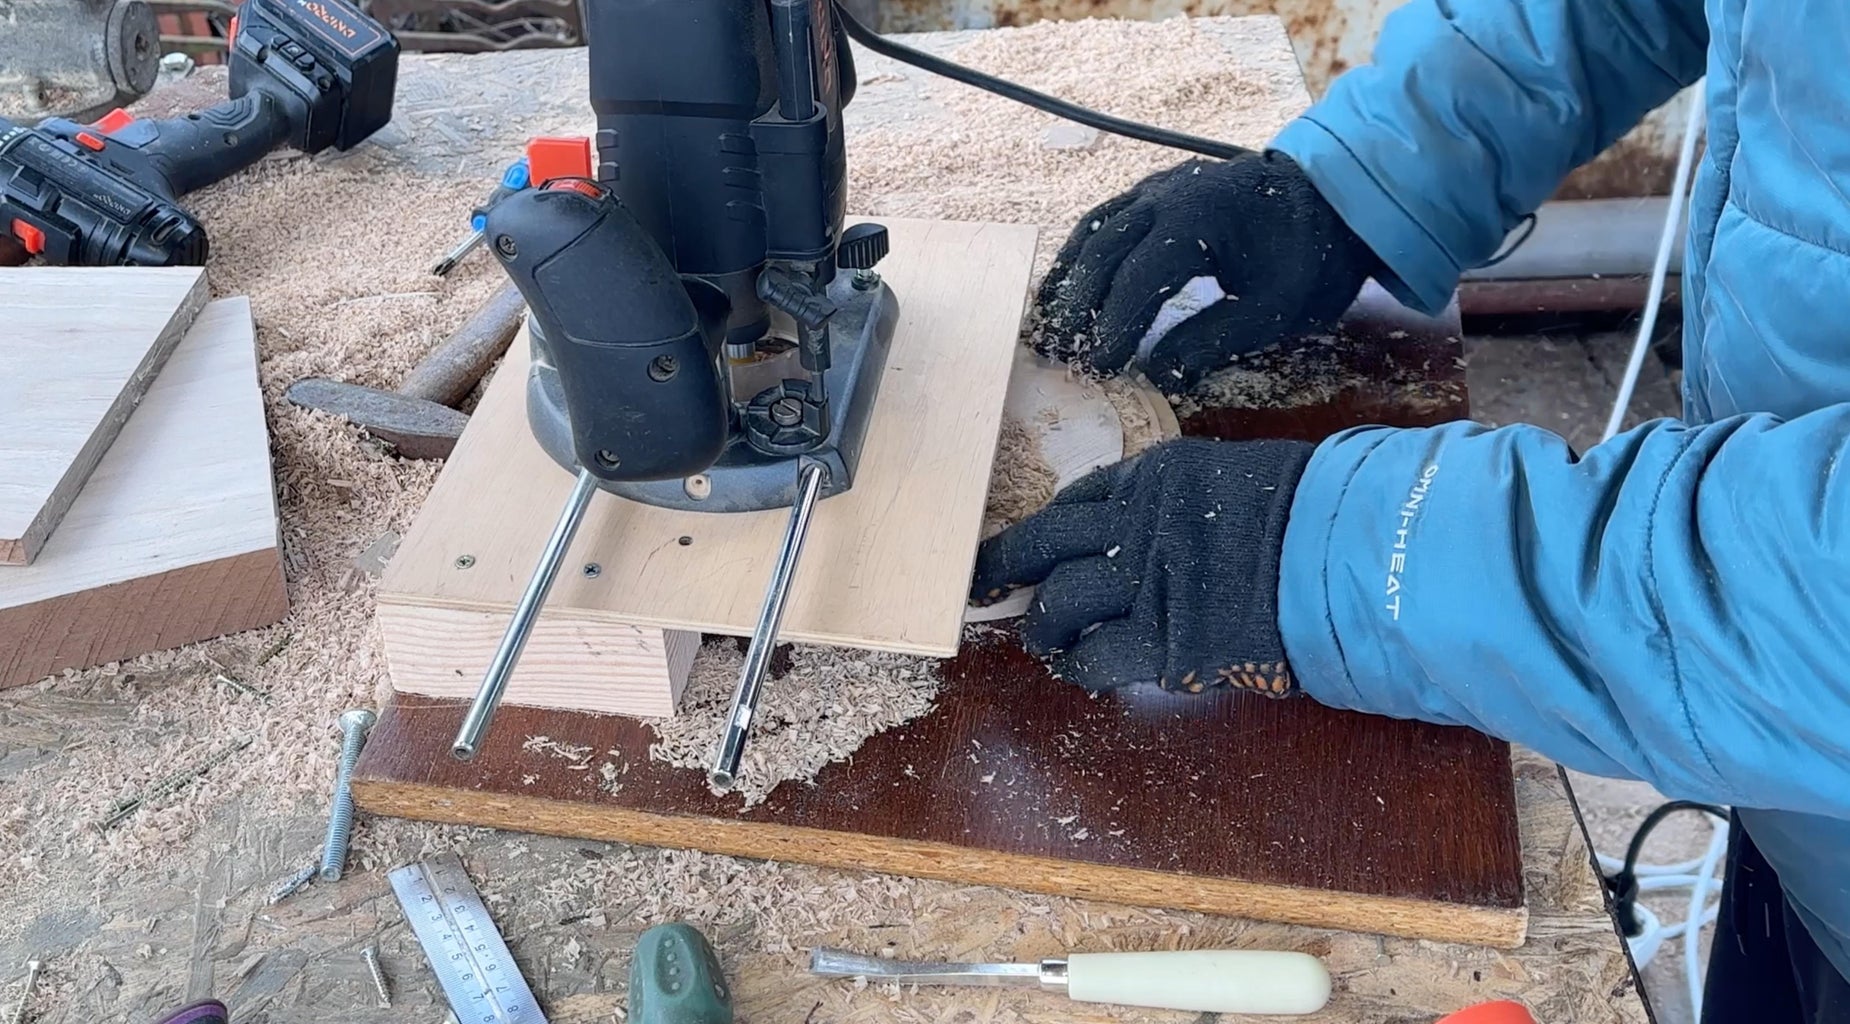
I used a 12mm straight bit simply because it was the only one I could find that had a working height of 40mm.
I would recommend using a smaller diameter, simply because it will reduce the load on the router and the groove will be smaller.
Step 6: Laser Cut Round Shape for Top and Bottom Sides
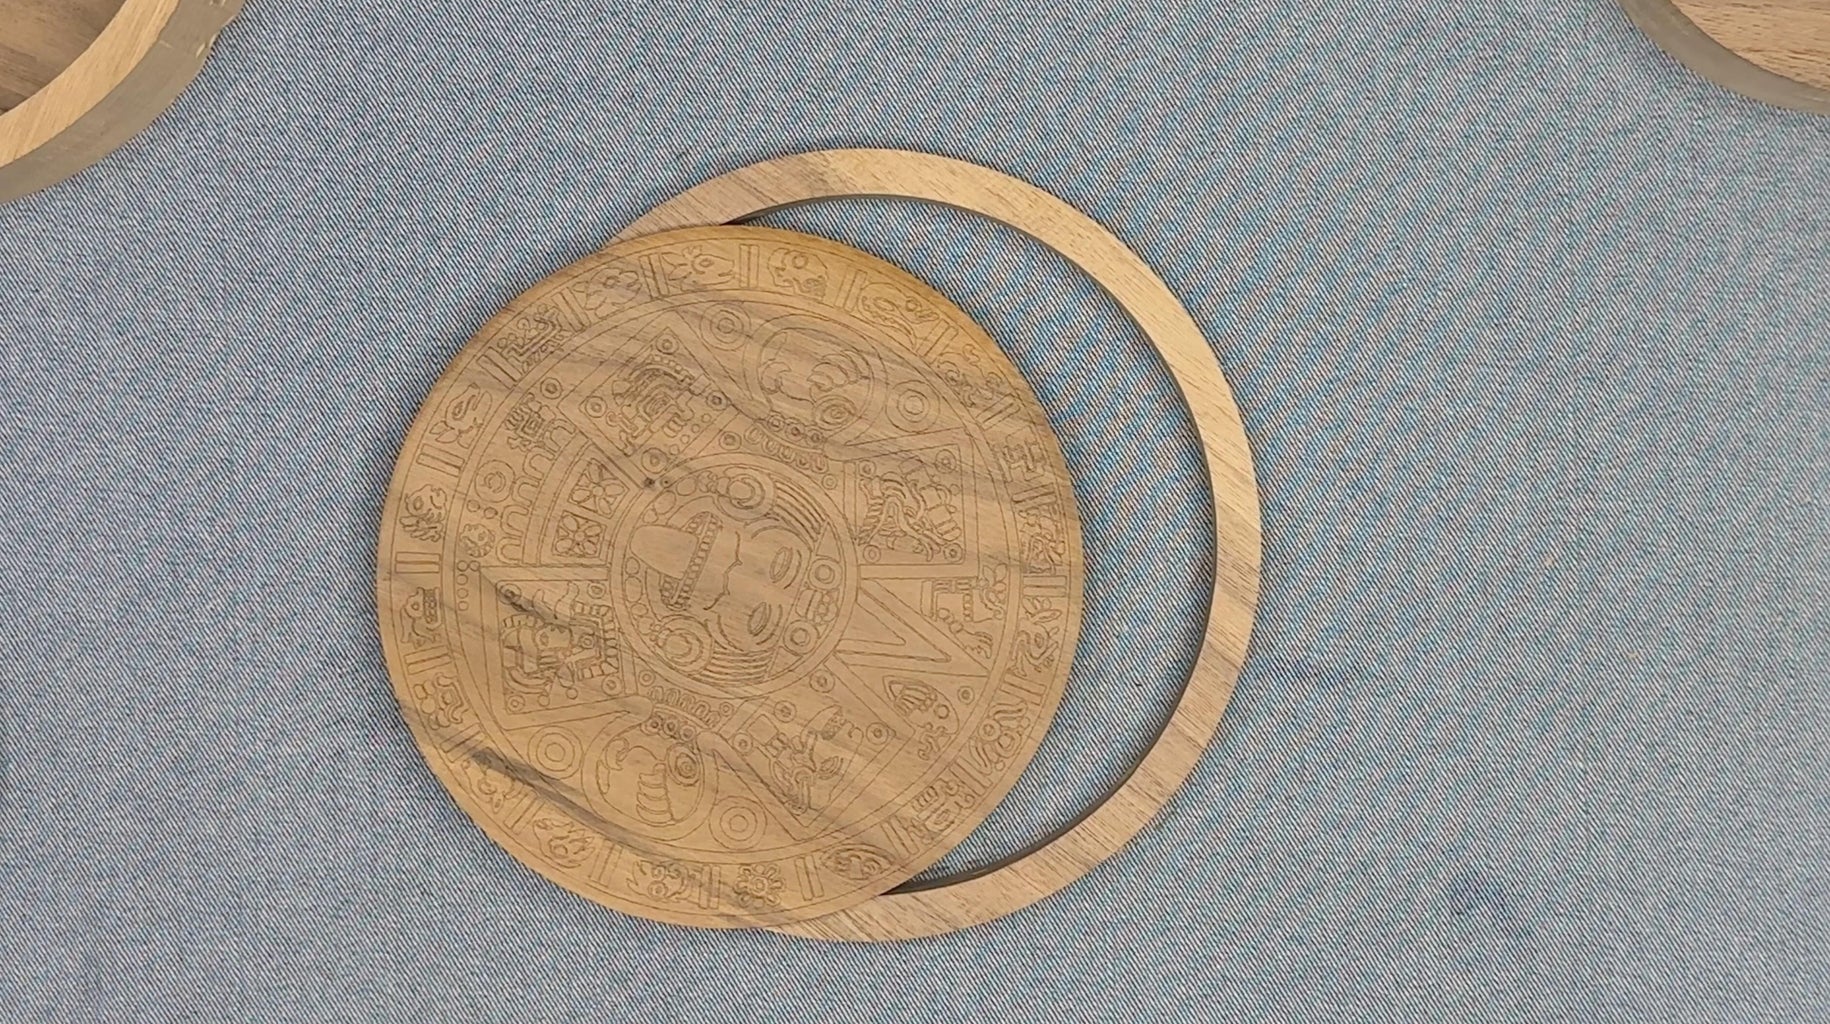
I made a light engraving (barely noticeable) on the top part, this will come in handy when we glue the pattern elements.
Material: Walnut sliced veneer 4.5 mm
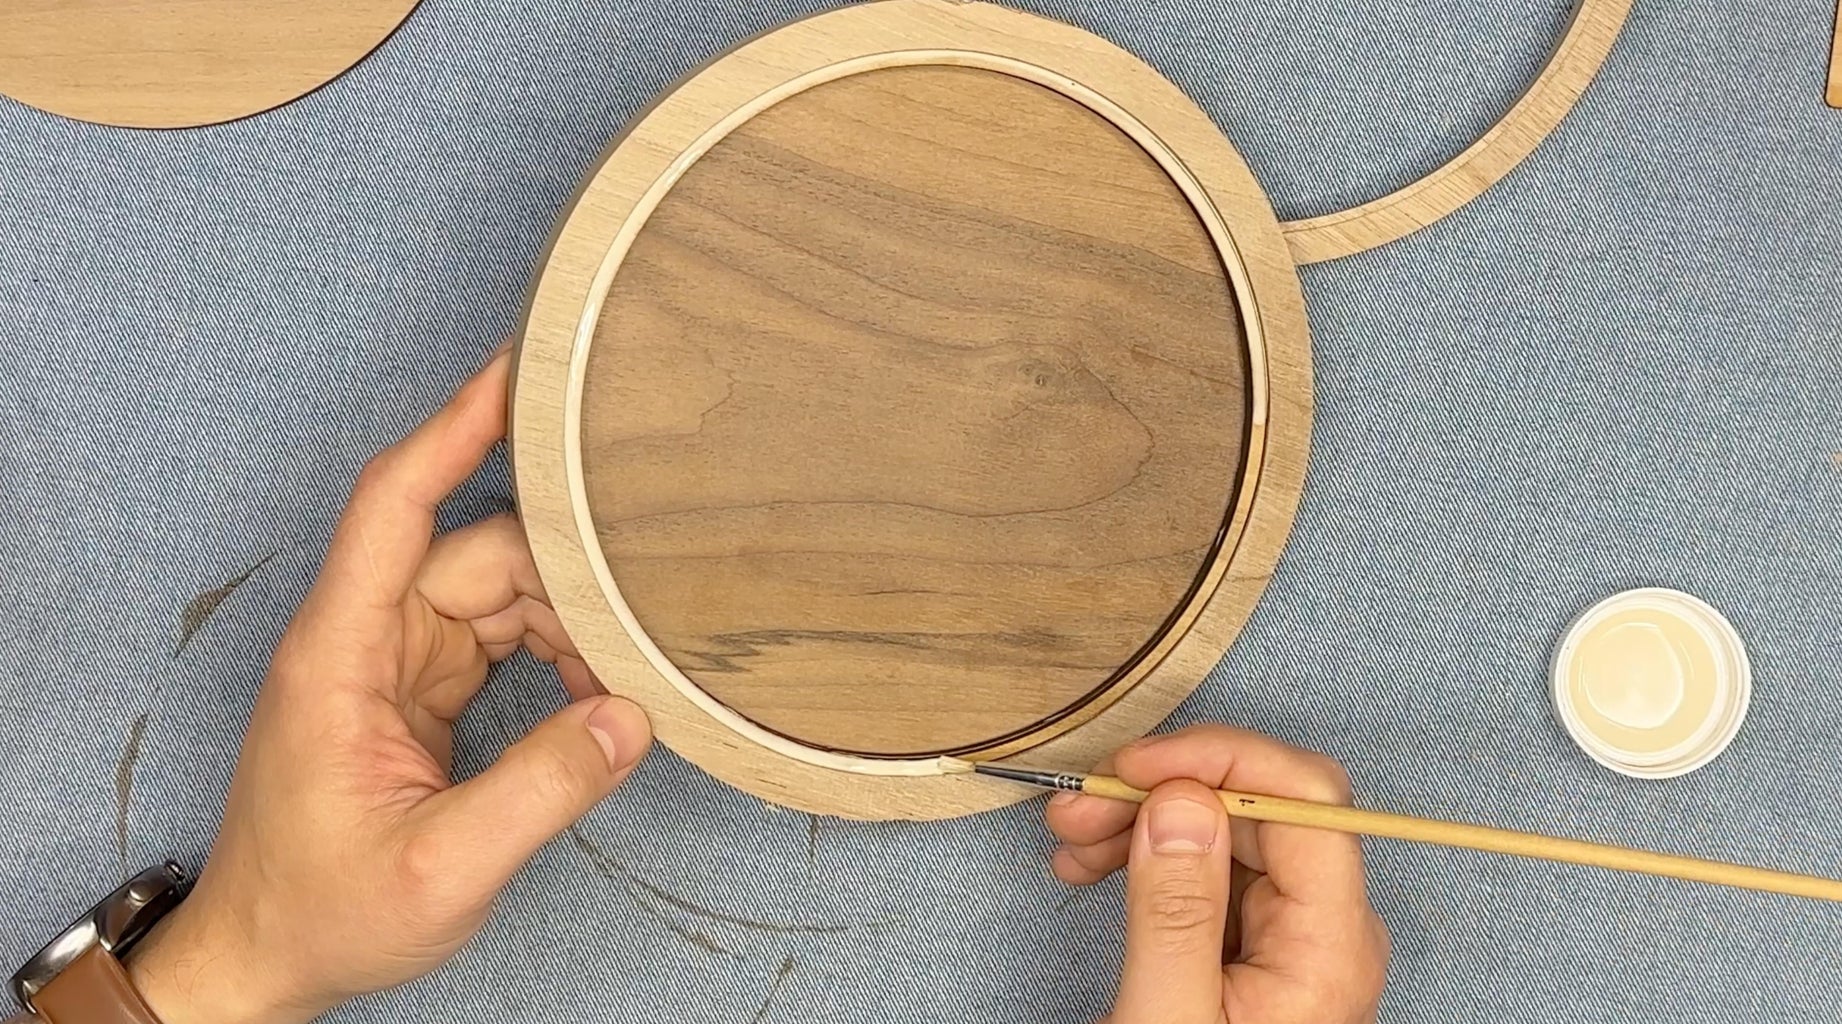
Step 7: Glue the Bottom Side

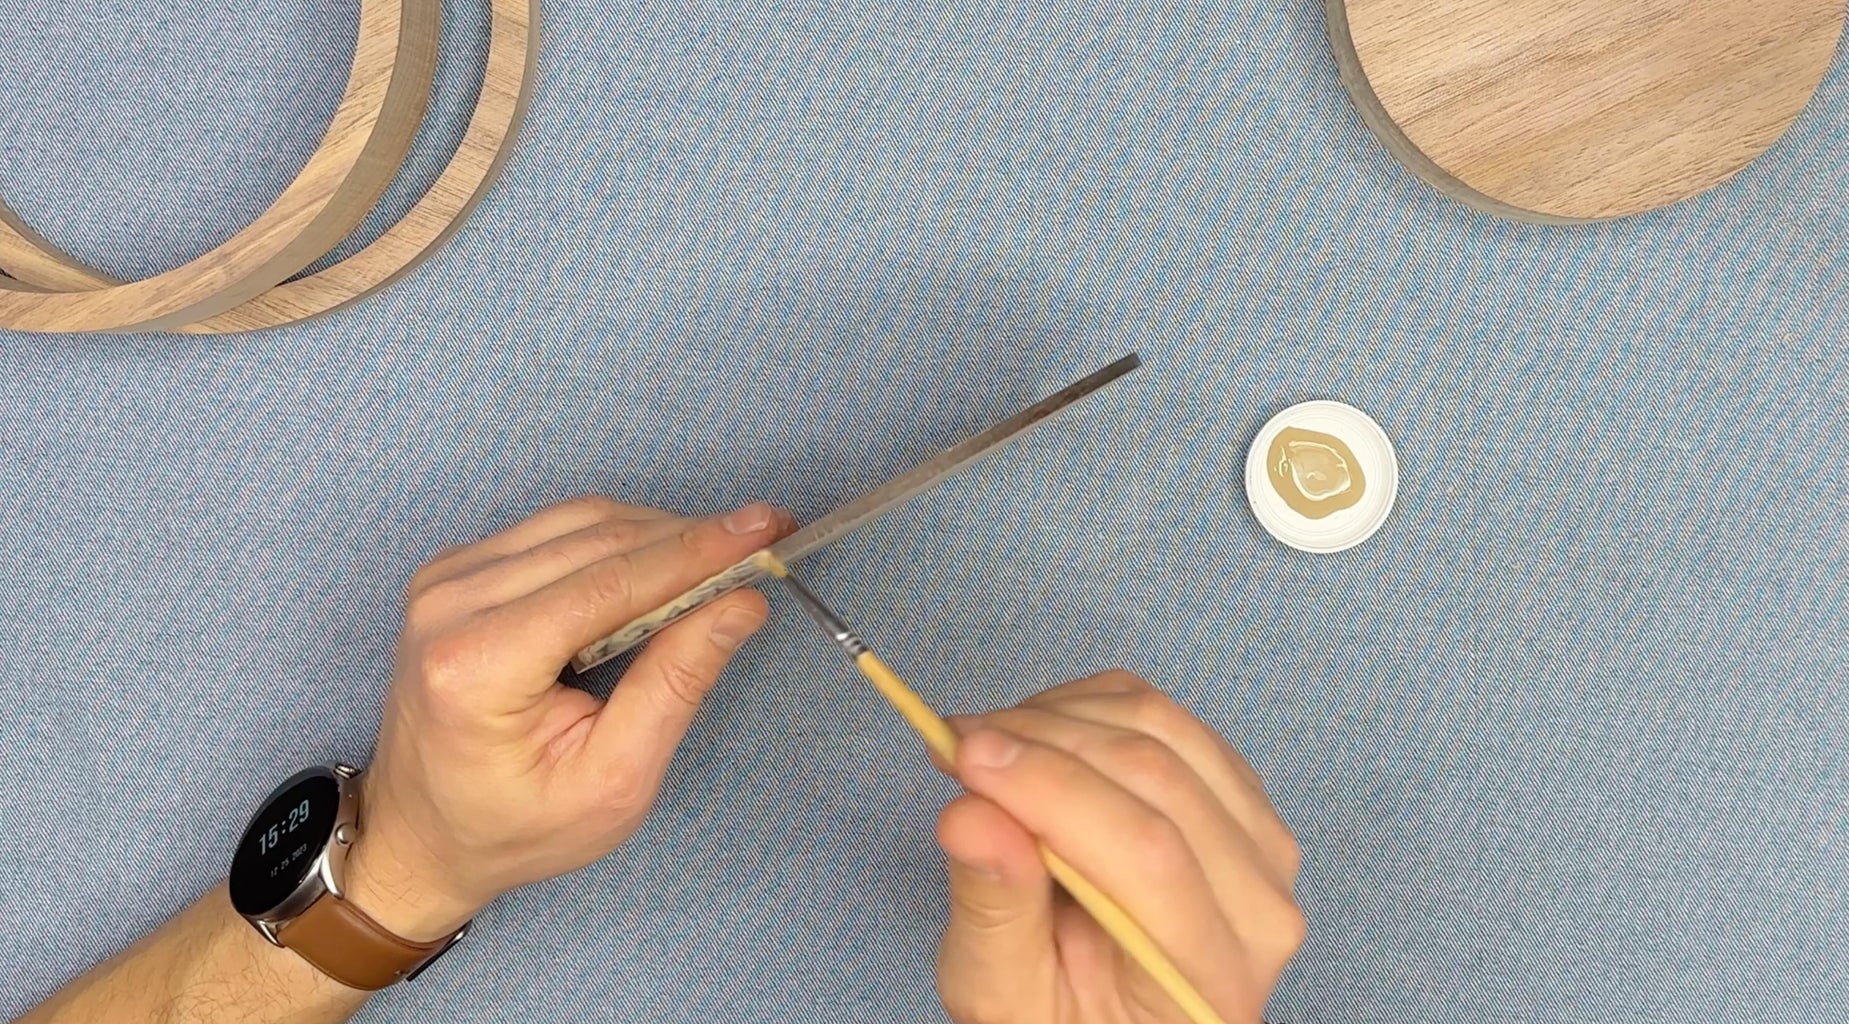
Glue: Titebond dark
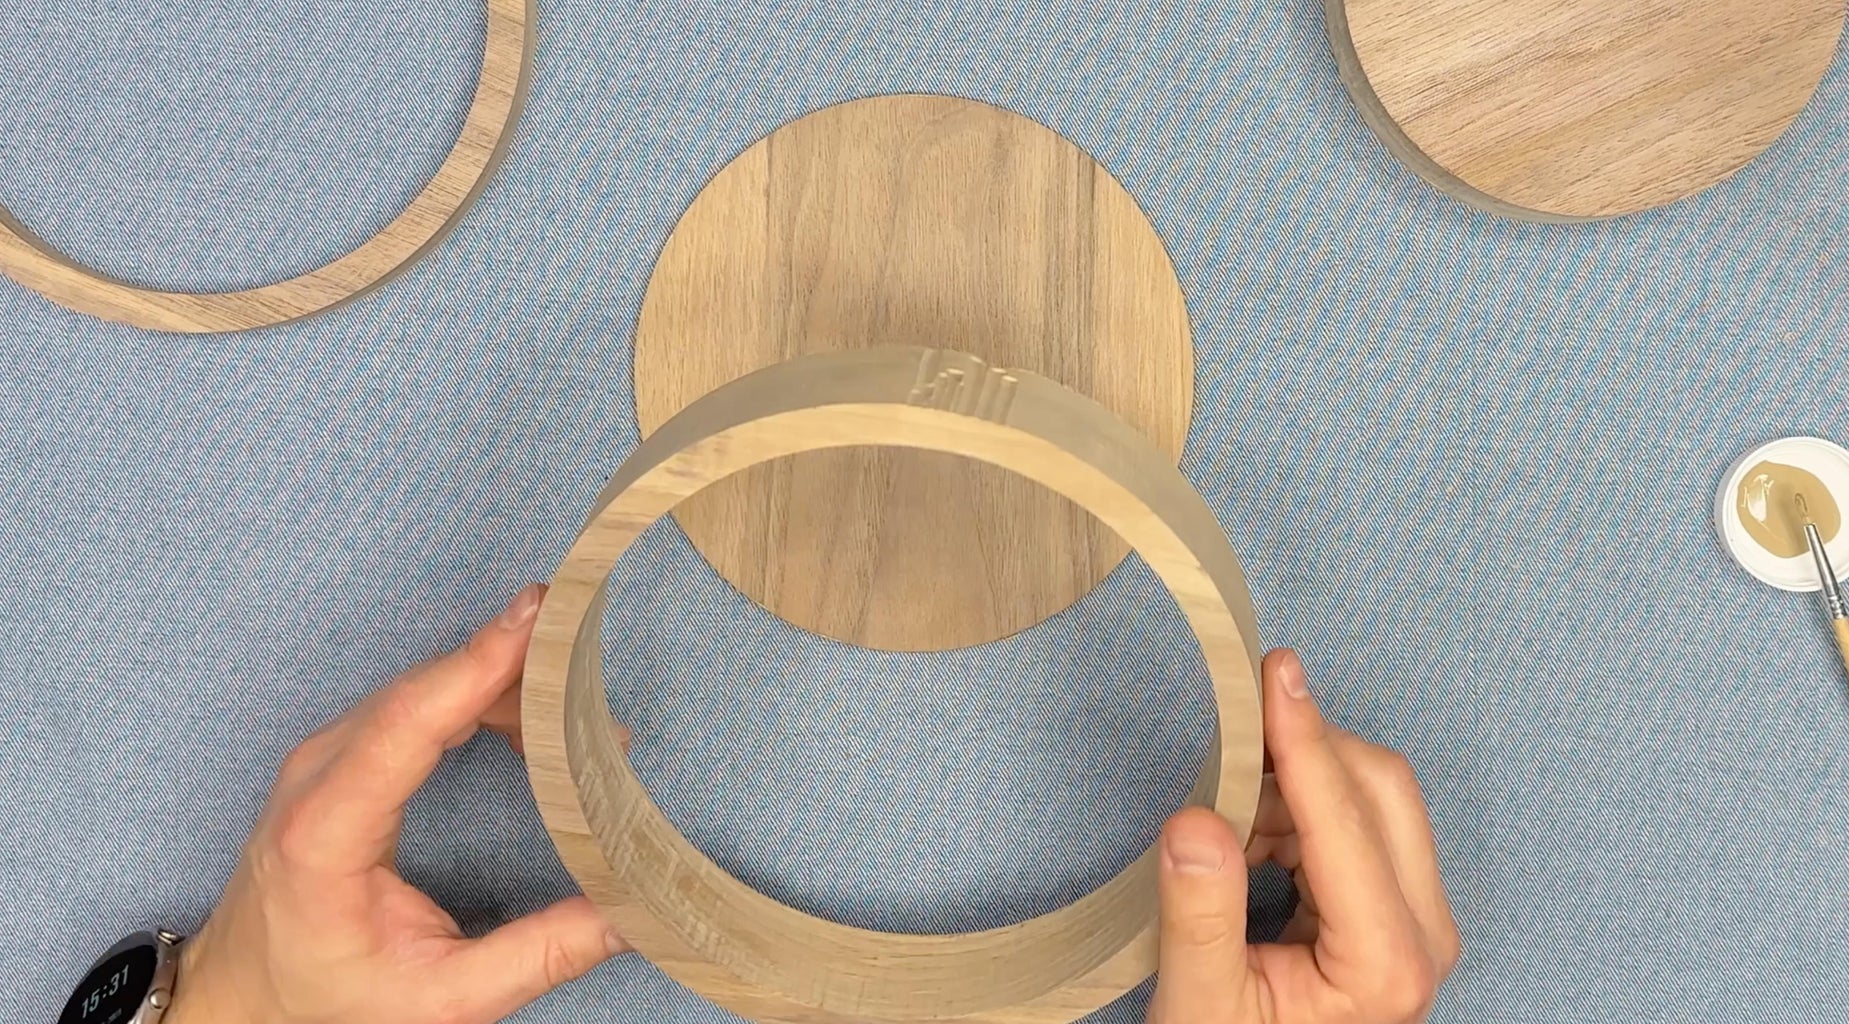
Step 8: Glue the Top Side


For the top side I also laser cut a small outer ring of 2.5 cherry veneer. I glued it to create a height offset.
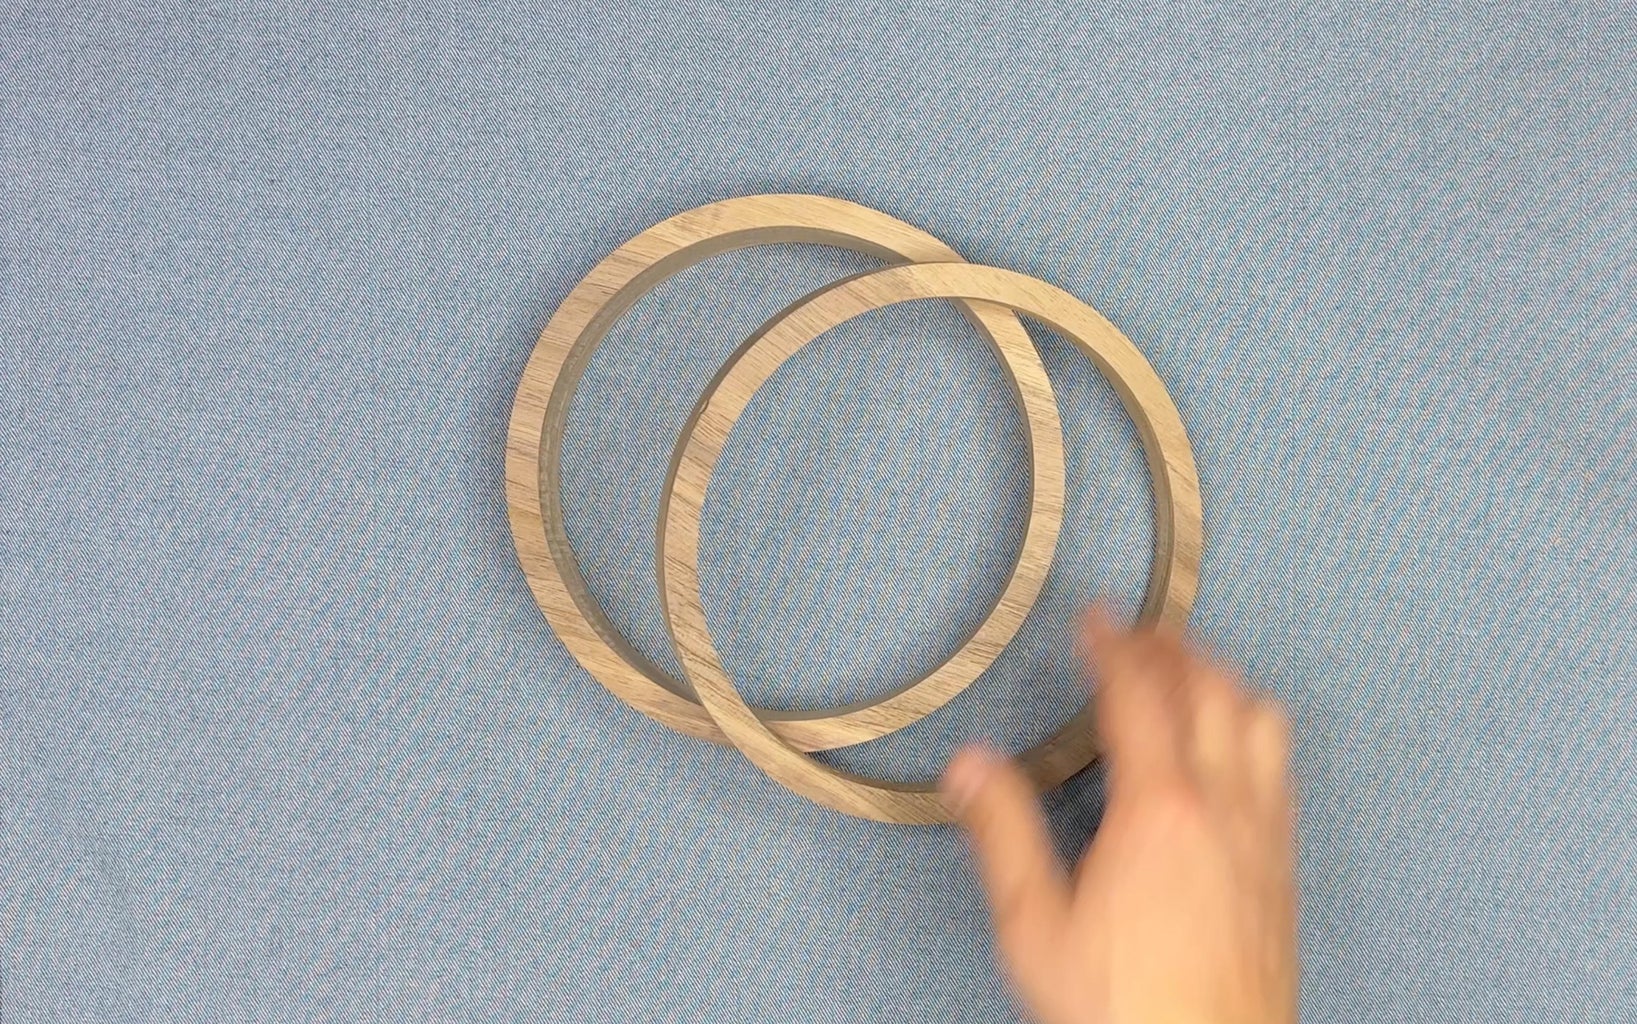
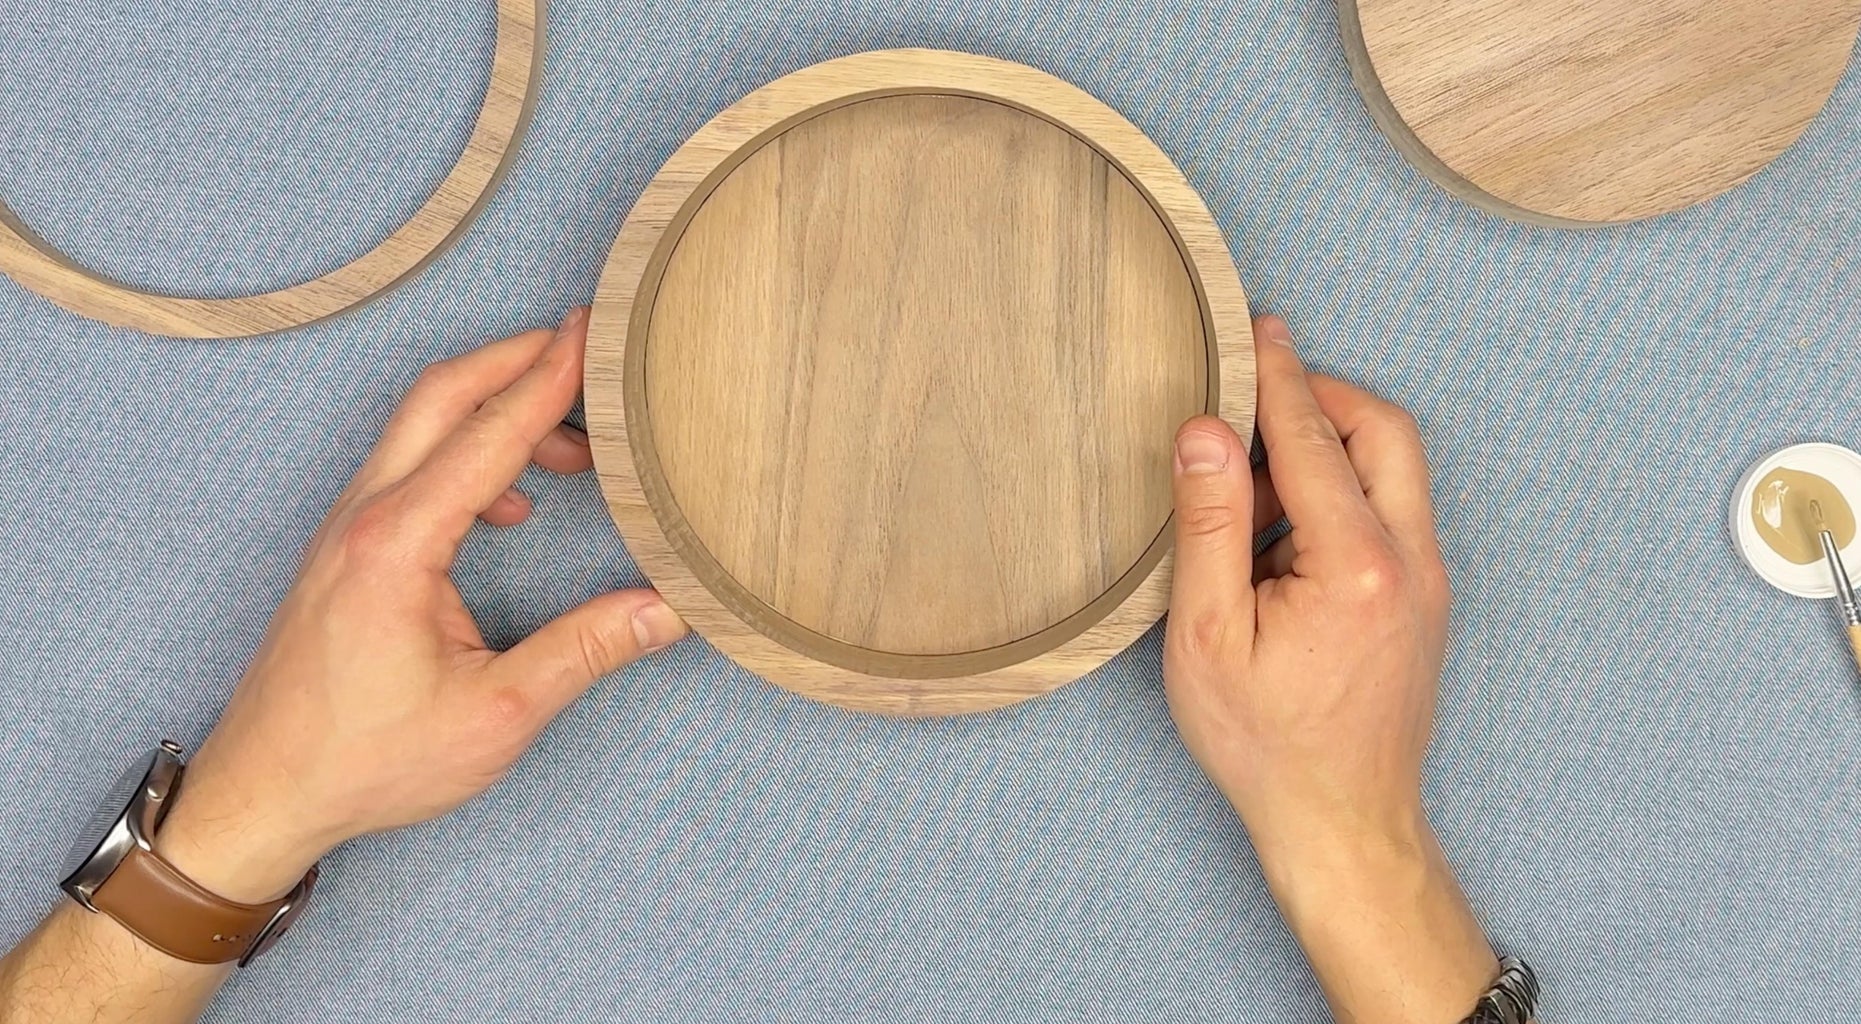
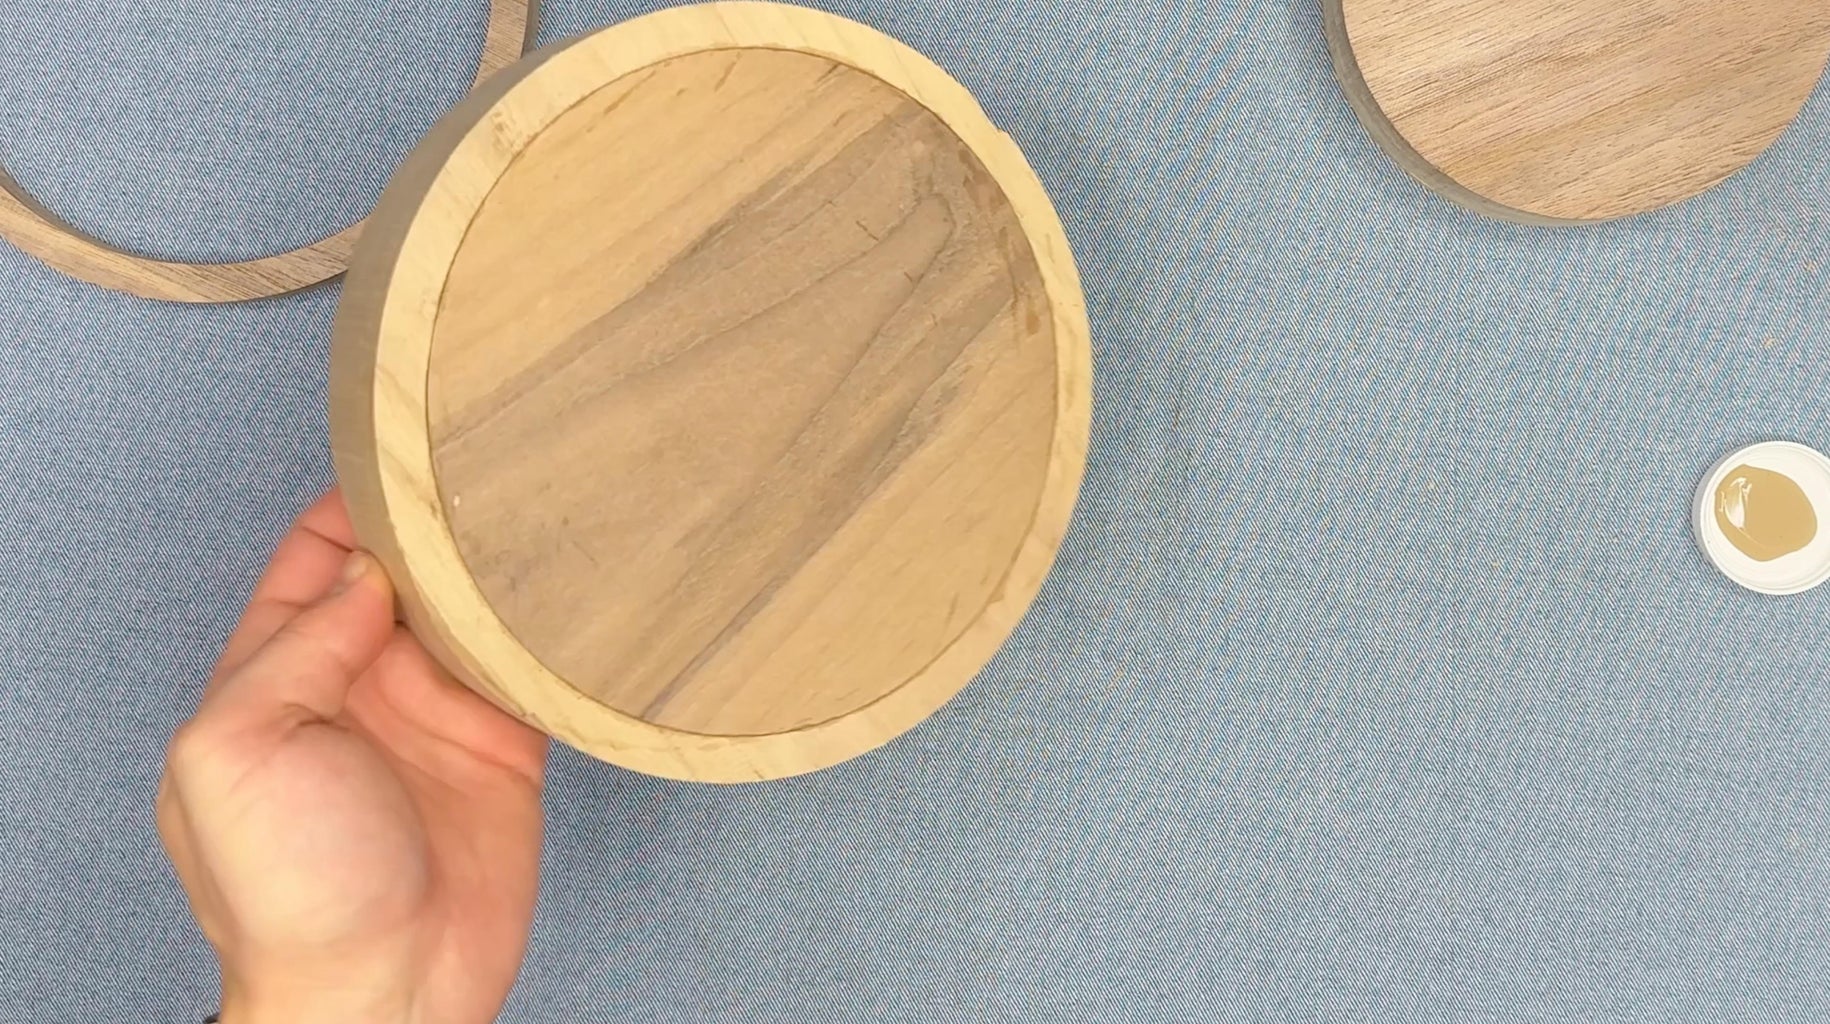
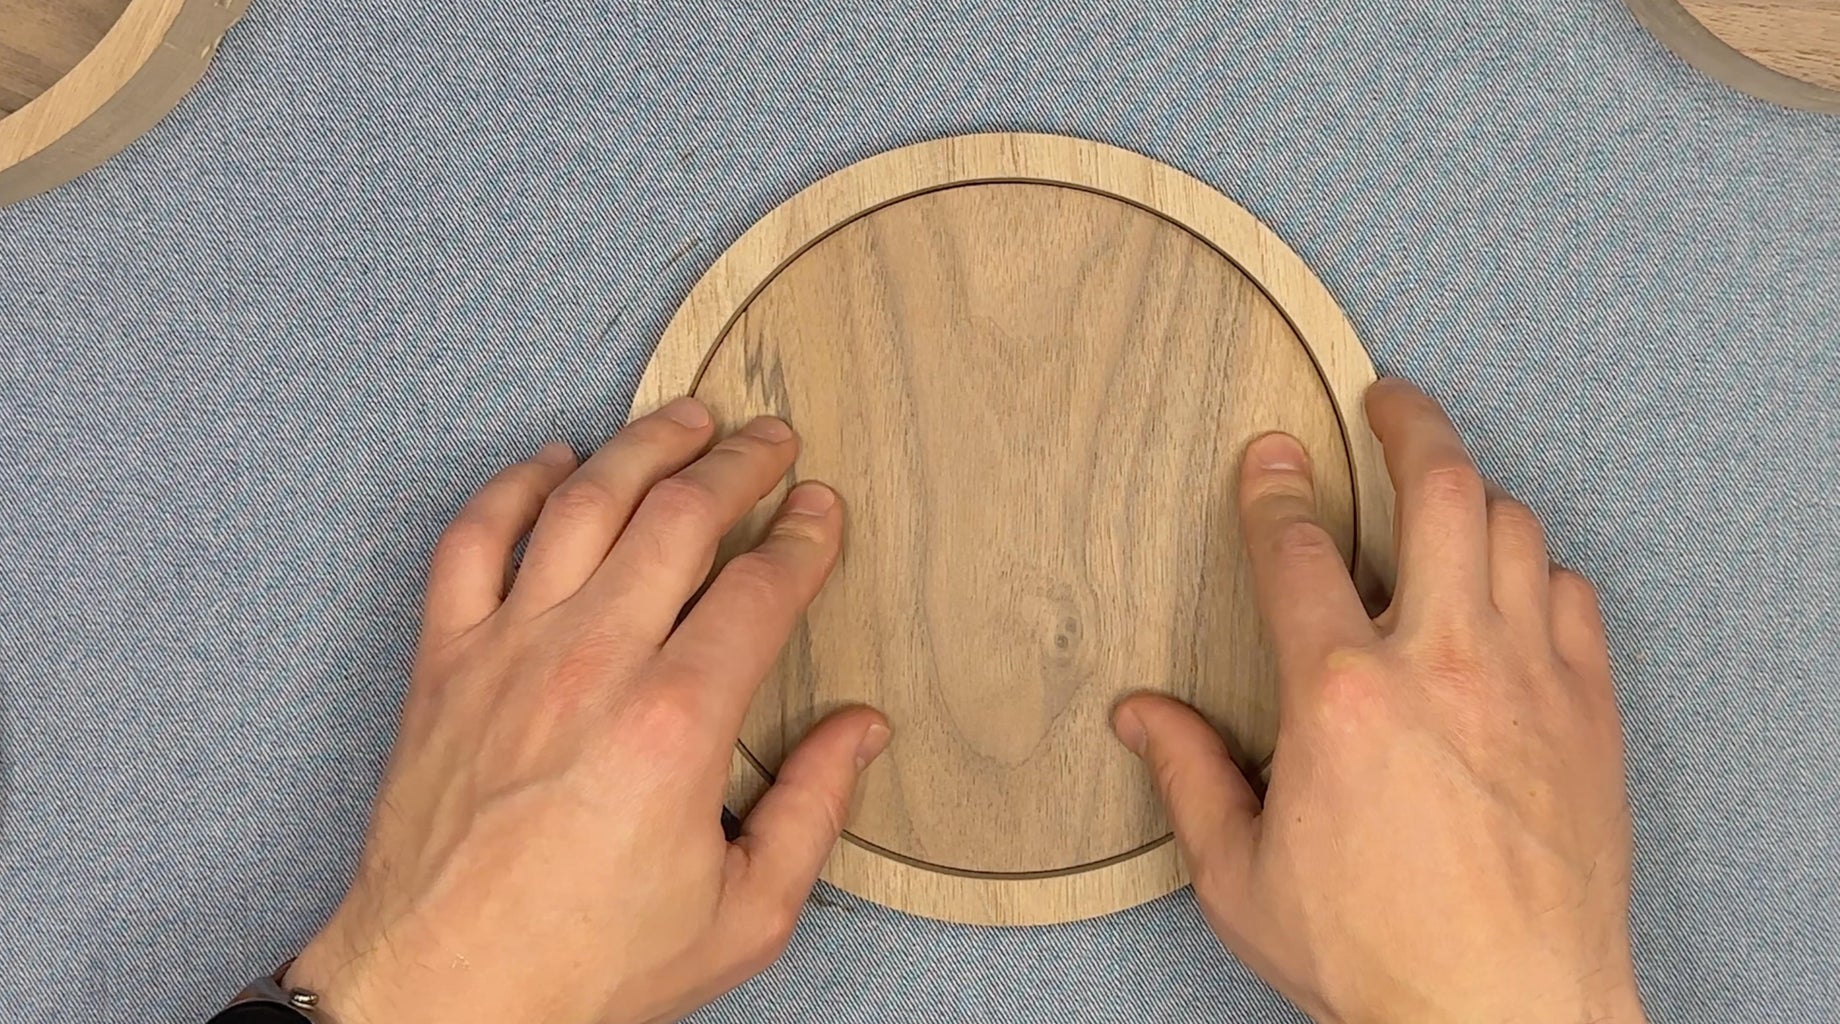
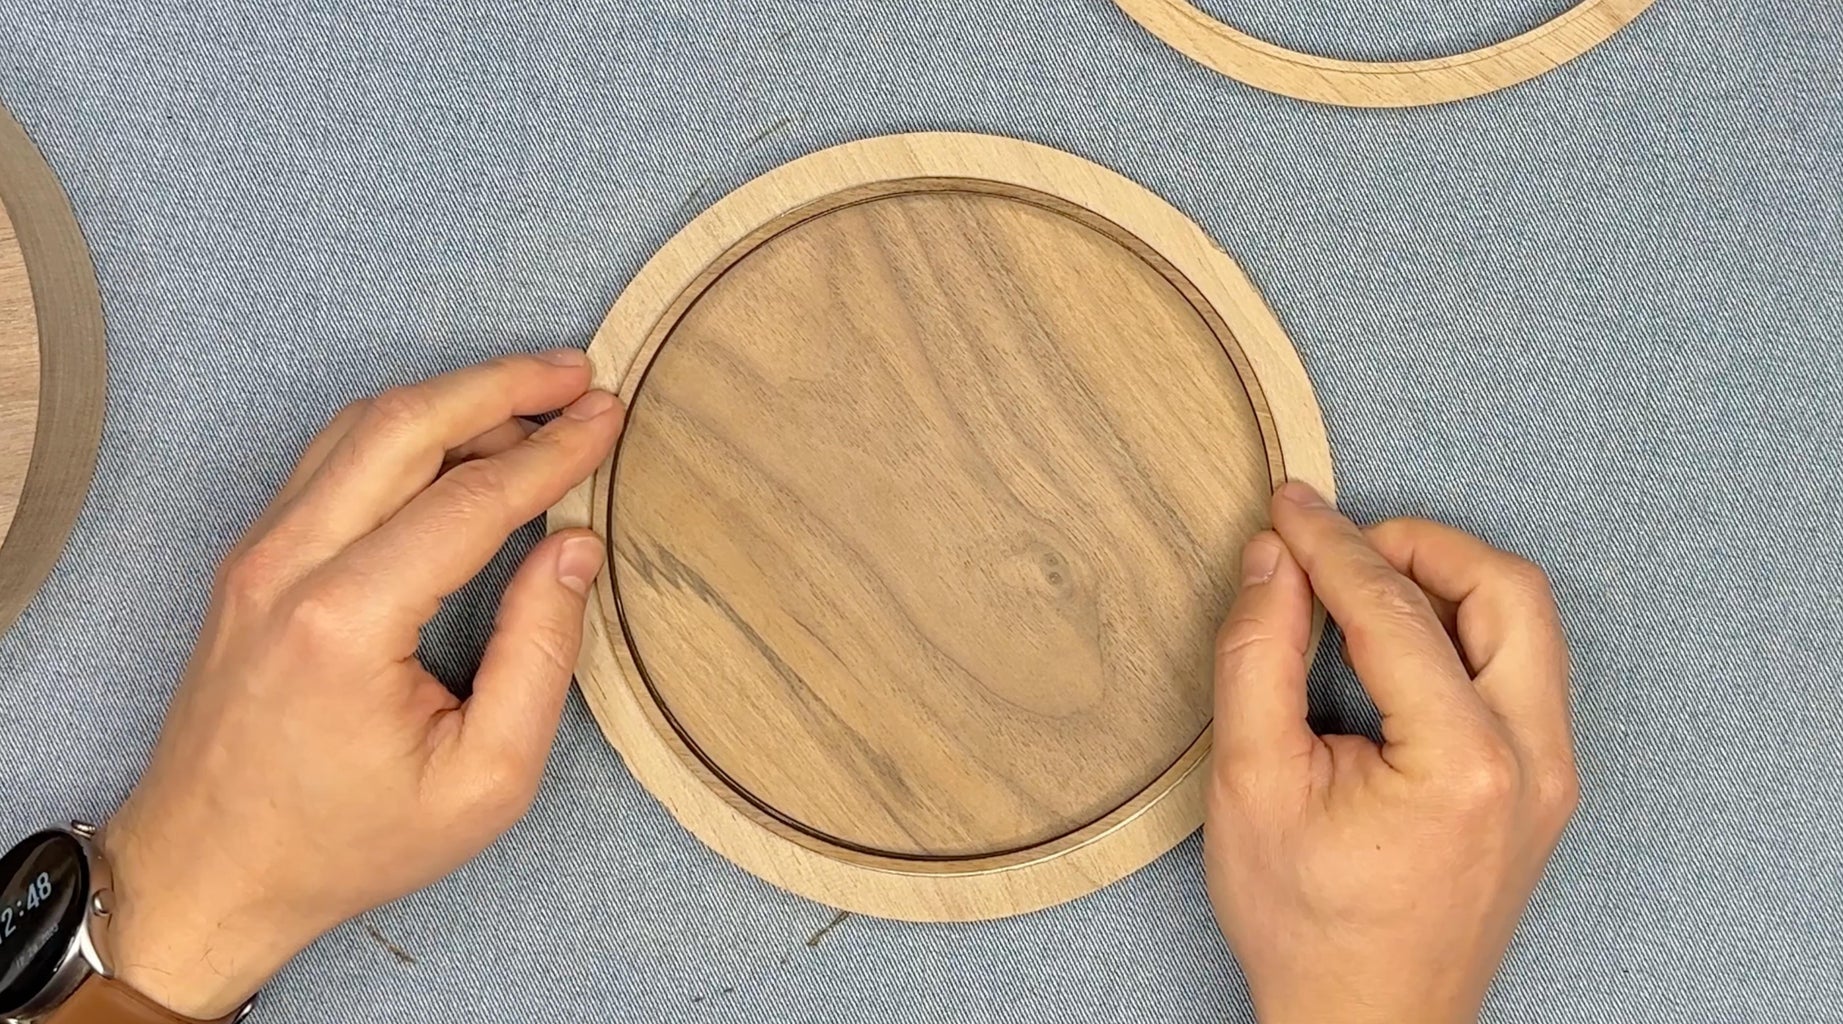
Step 9: Polish the Top and Bottom Sides on a Flat Surface.
Sandpaper 200 grit
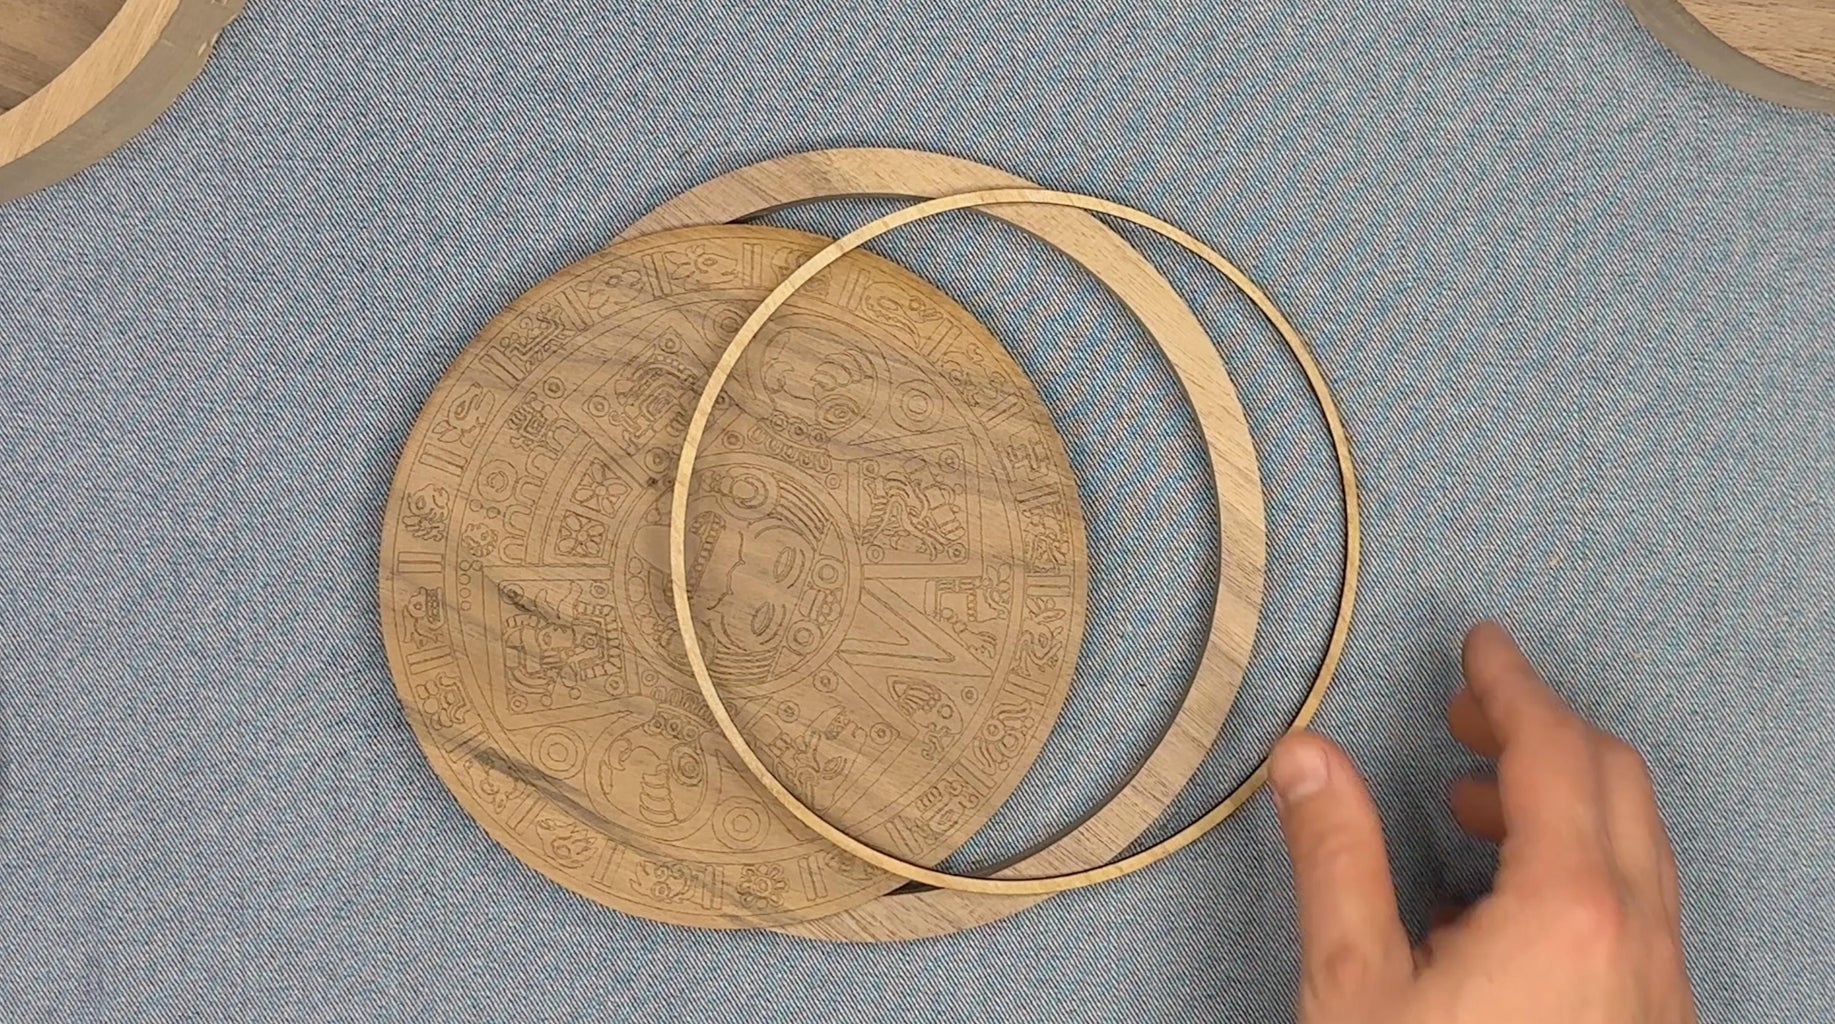
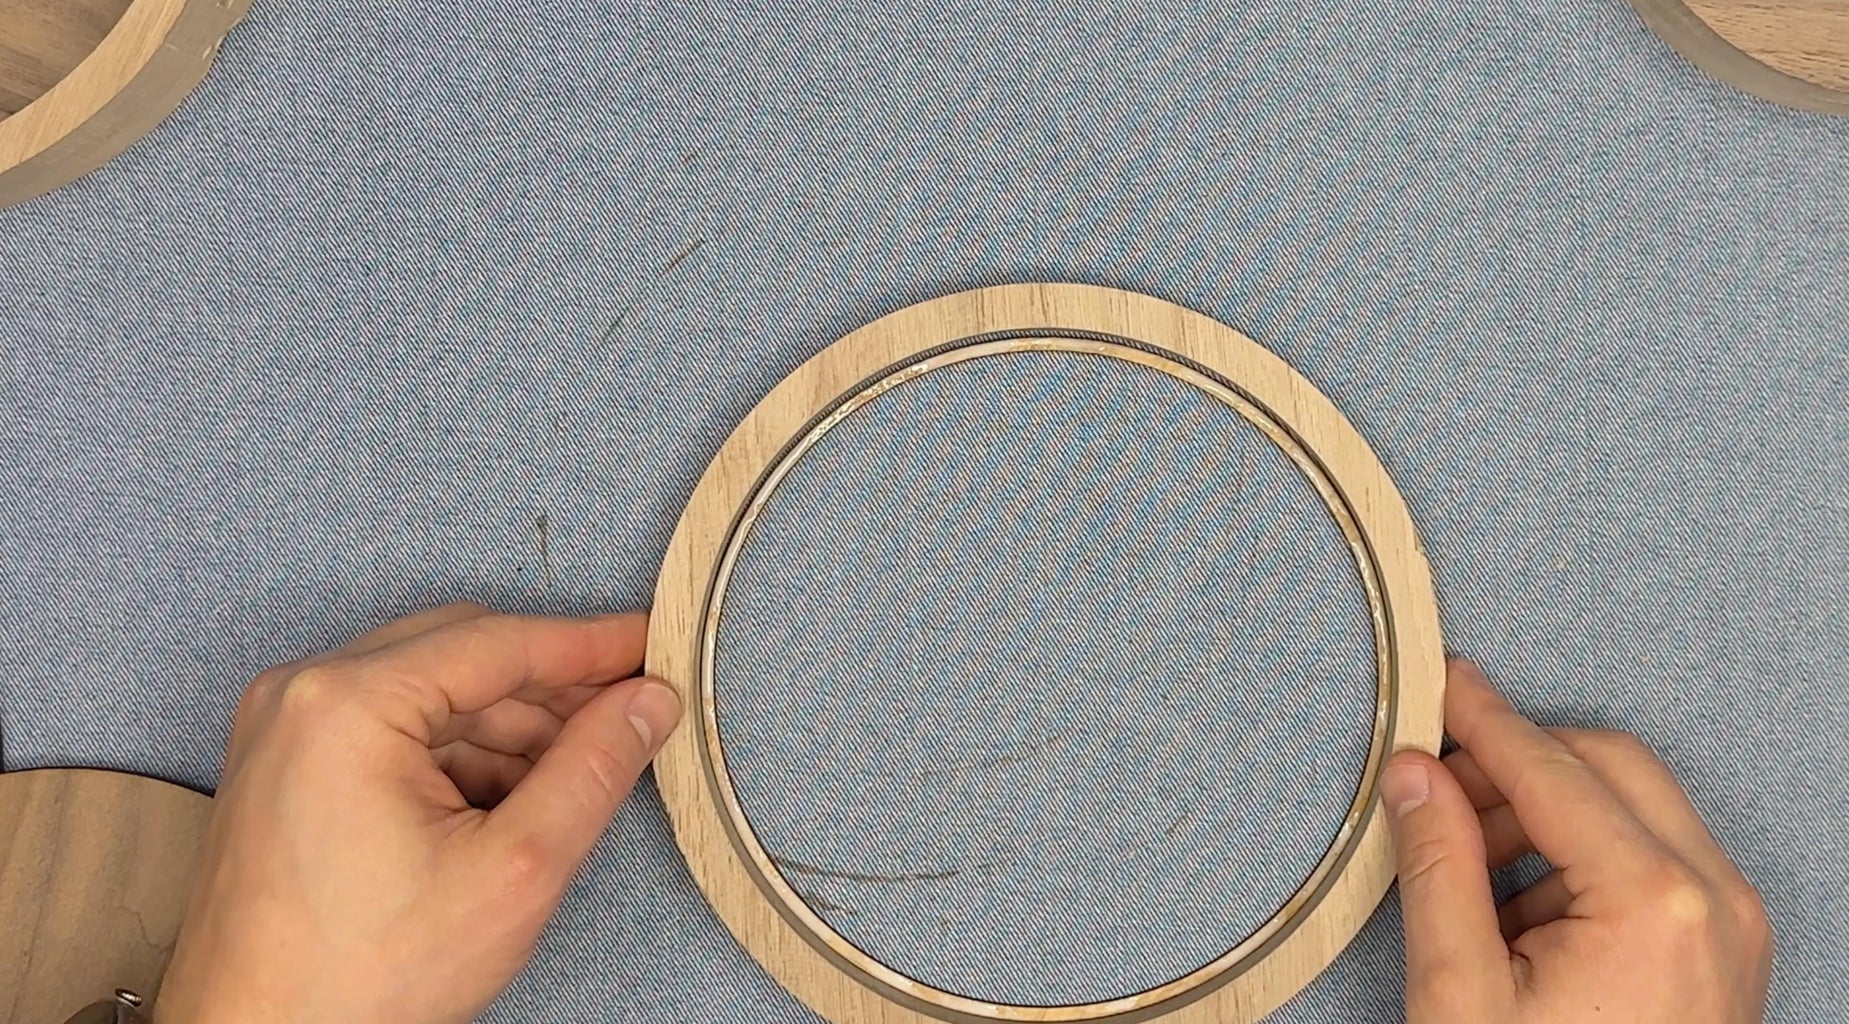
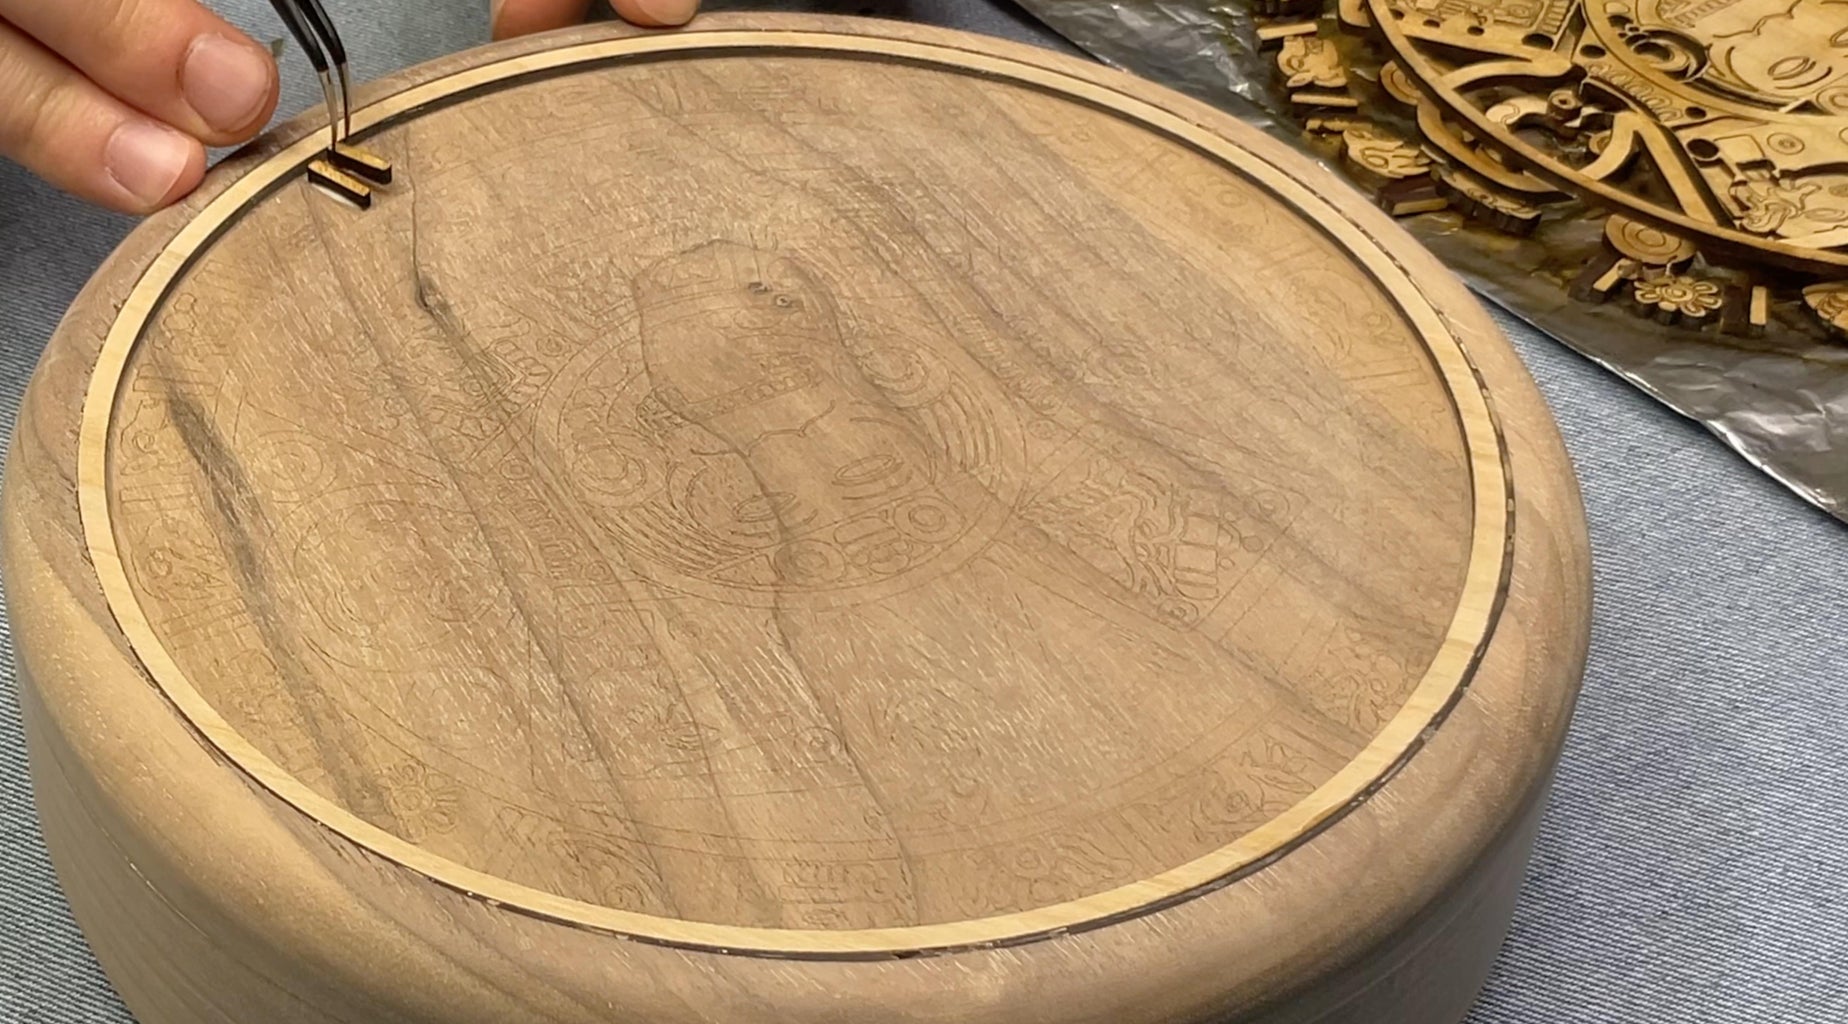
Step 10: Glue the Inner Alignment Ring Inside the Top Side.
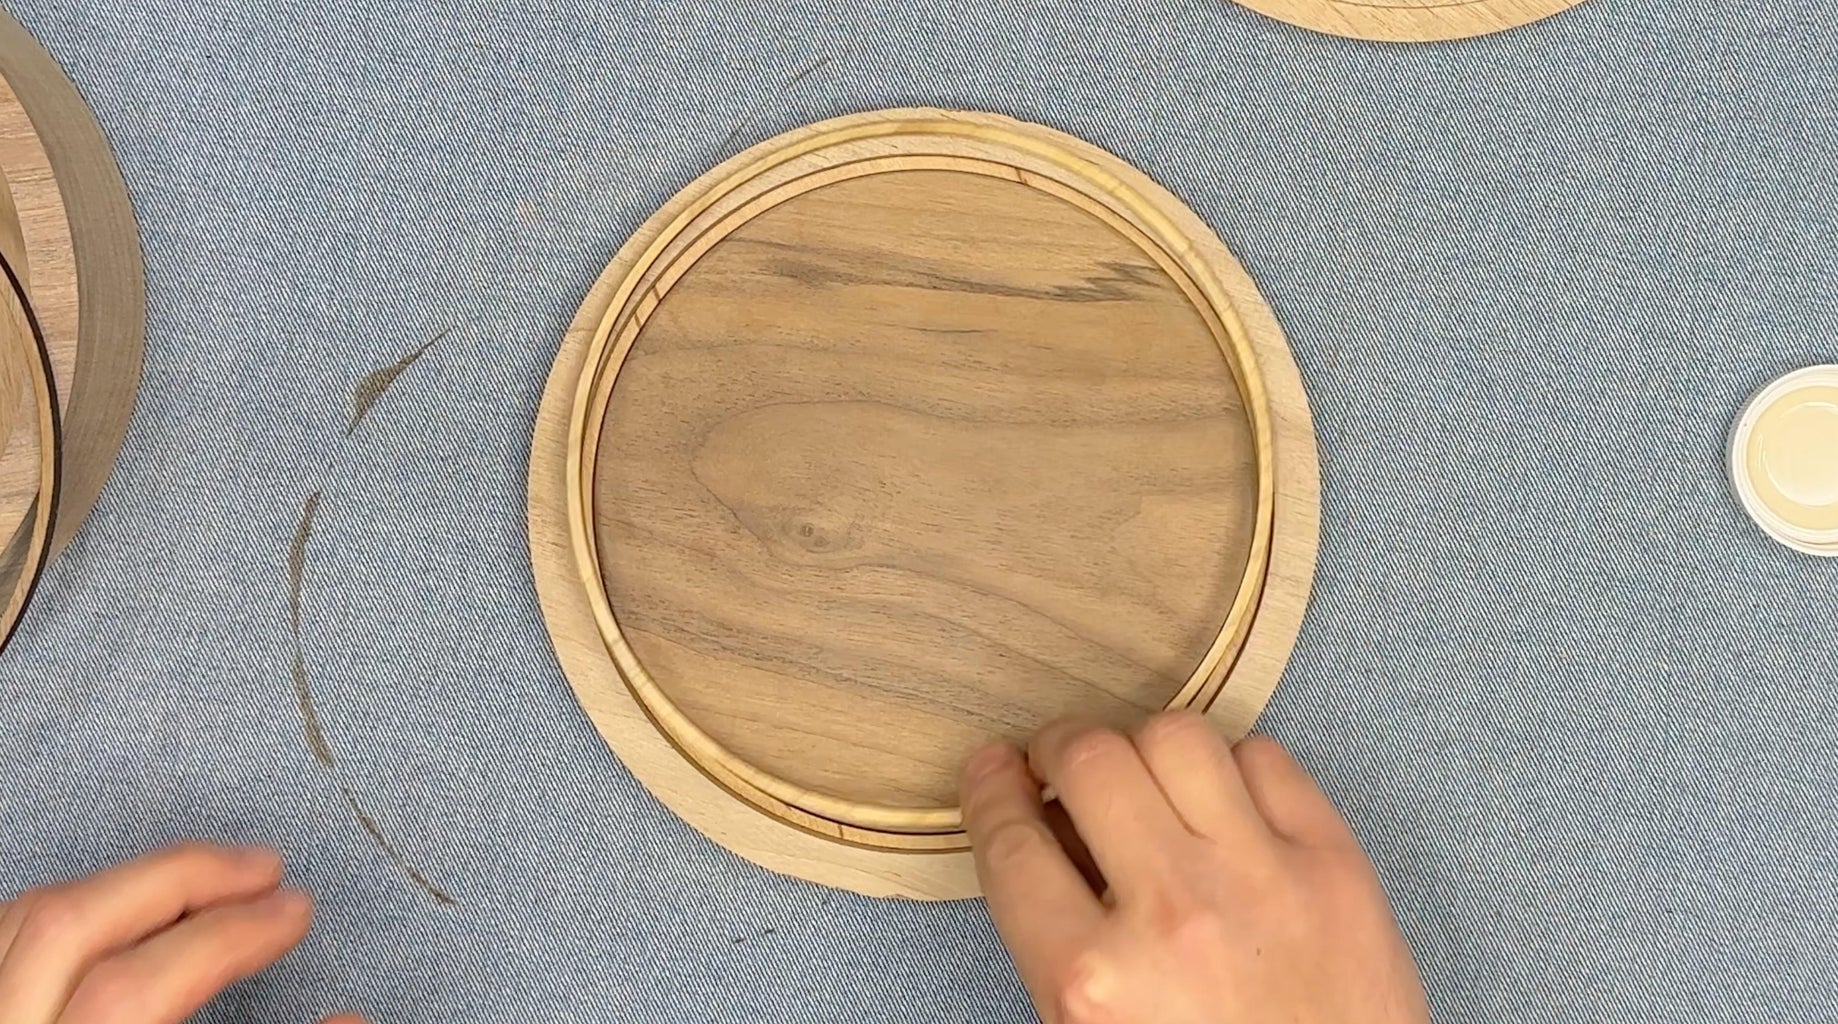
The height of the inner ring should be slightly greater than the height of the top side.
I laser-cut it from Walnut sliced veneer 4.5 mm, you can cut multiple rings if the height is insufficient.
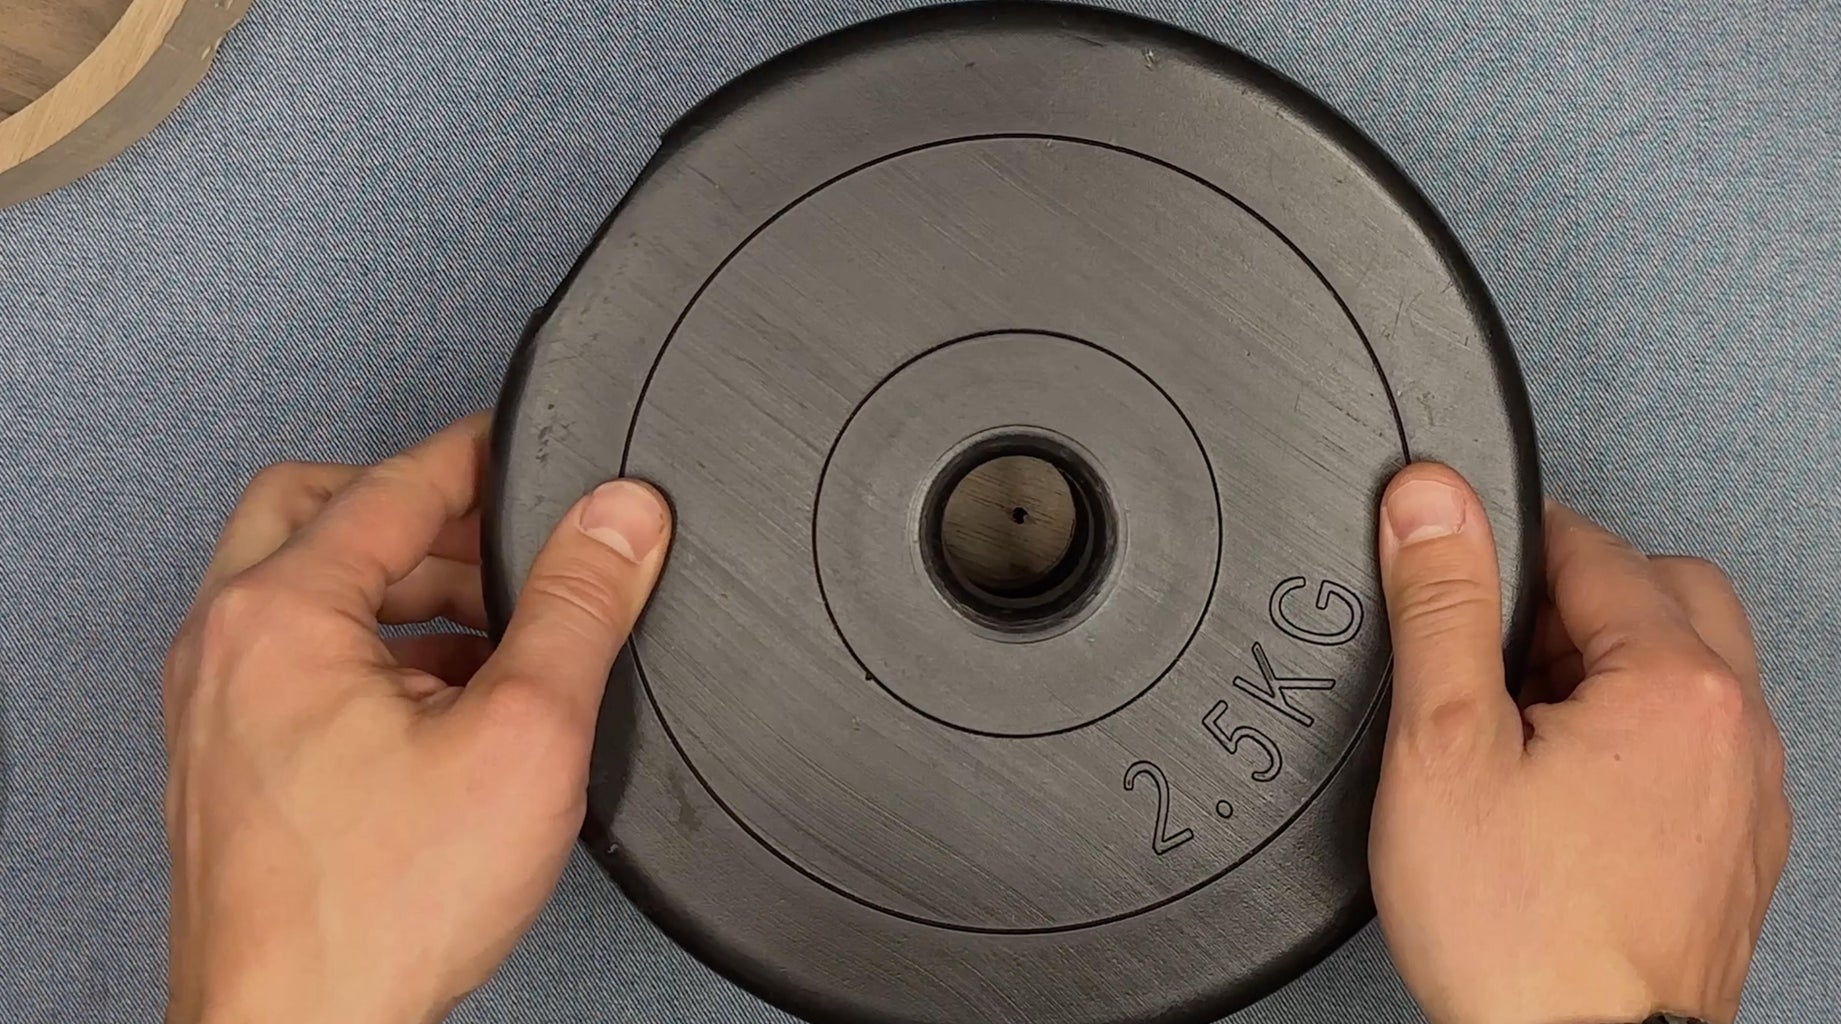
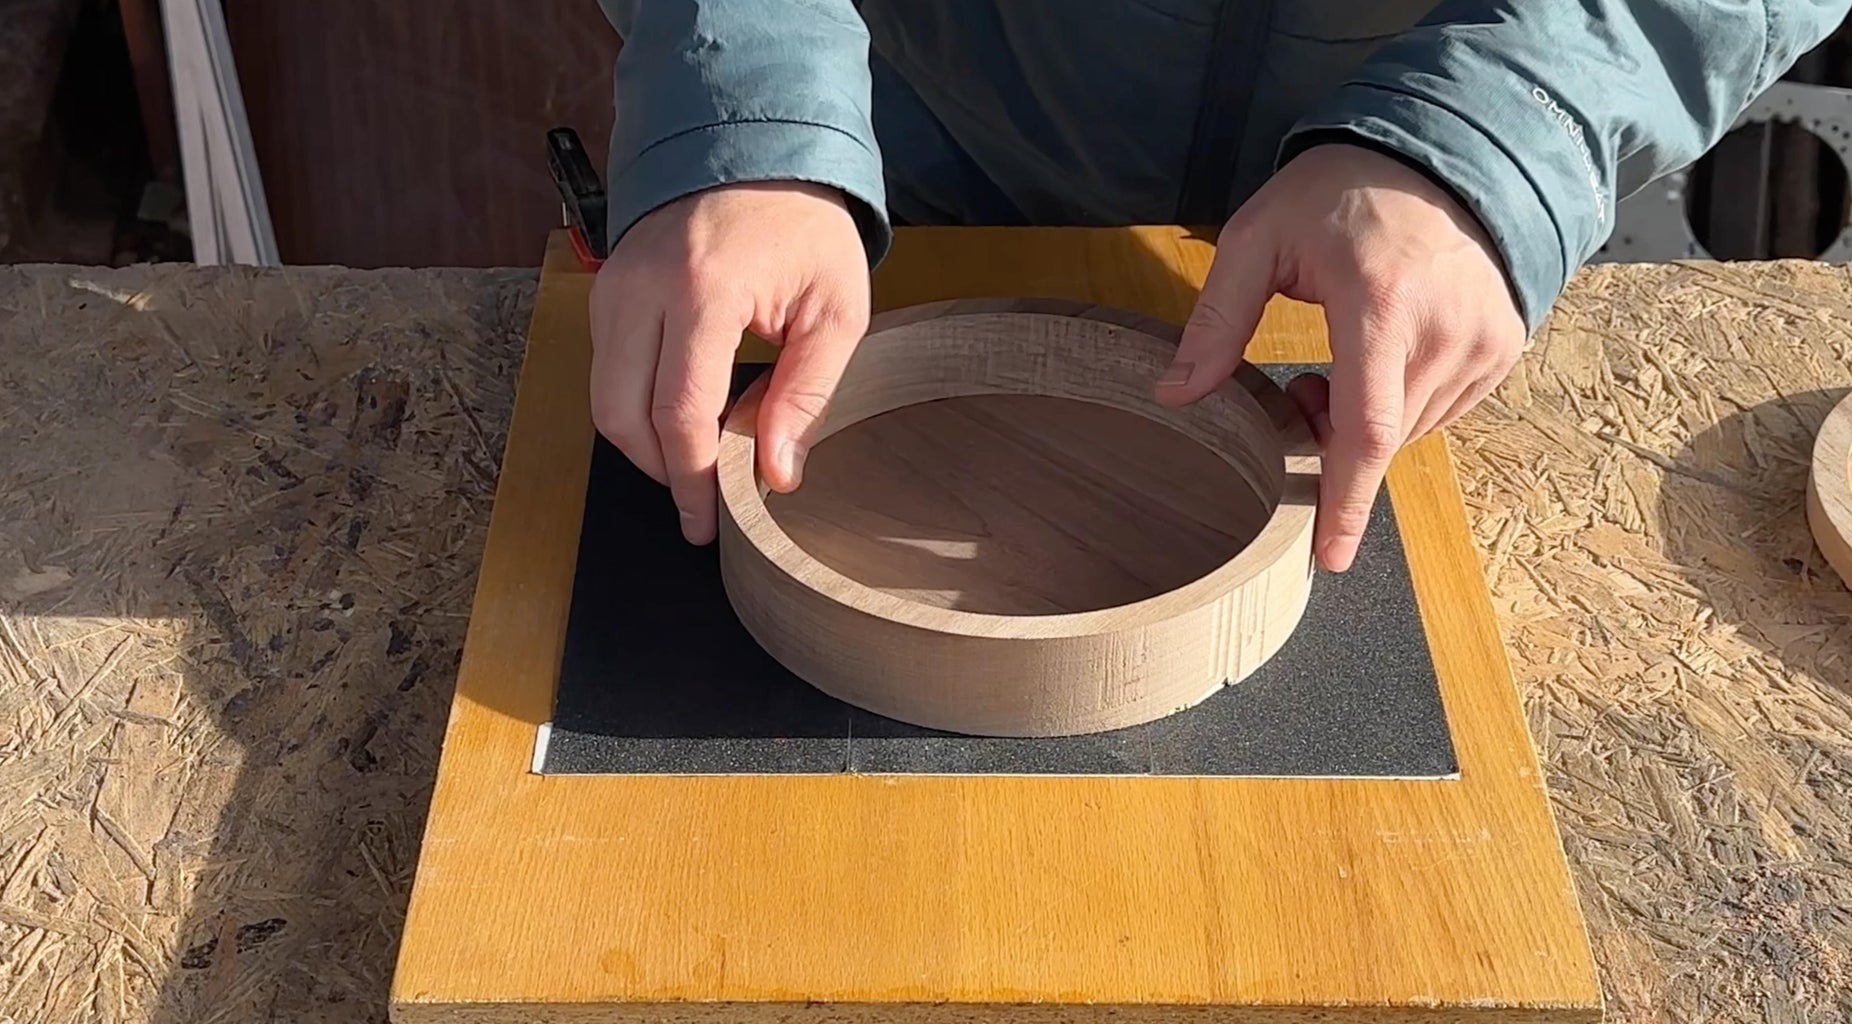
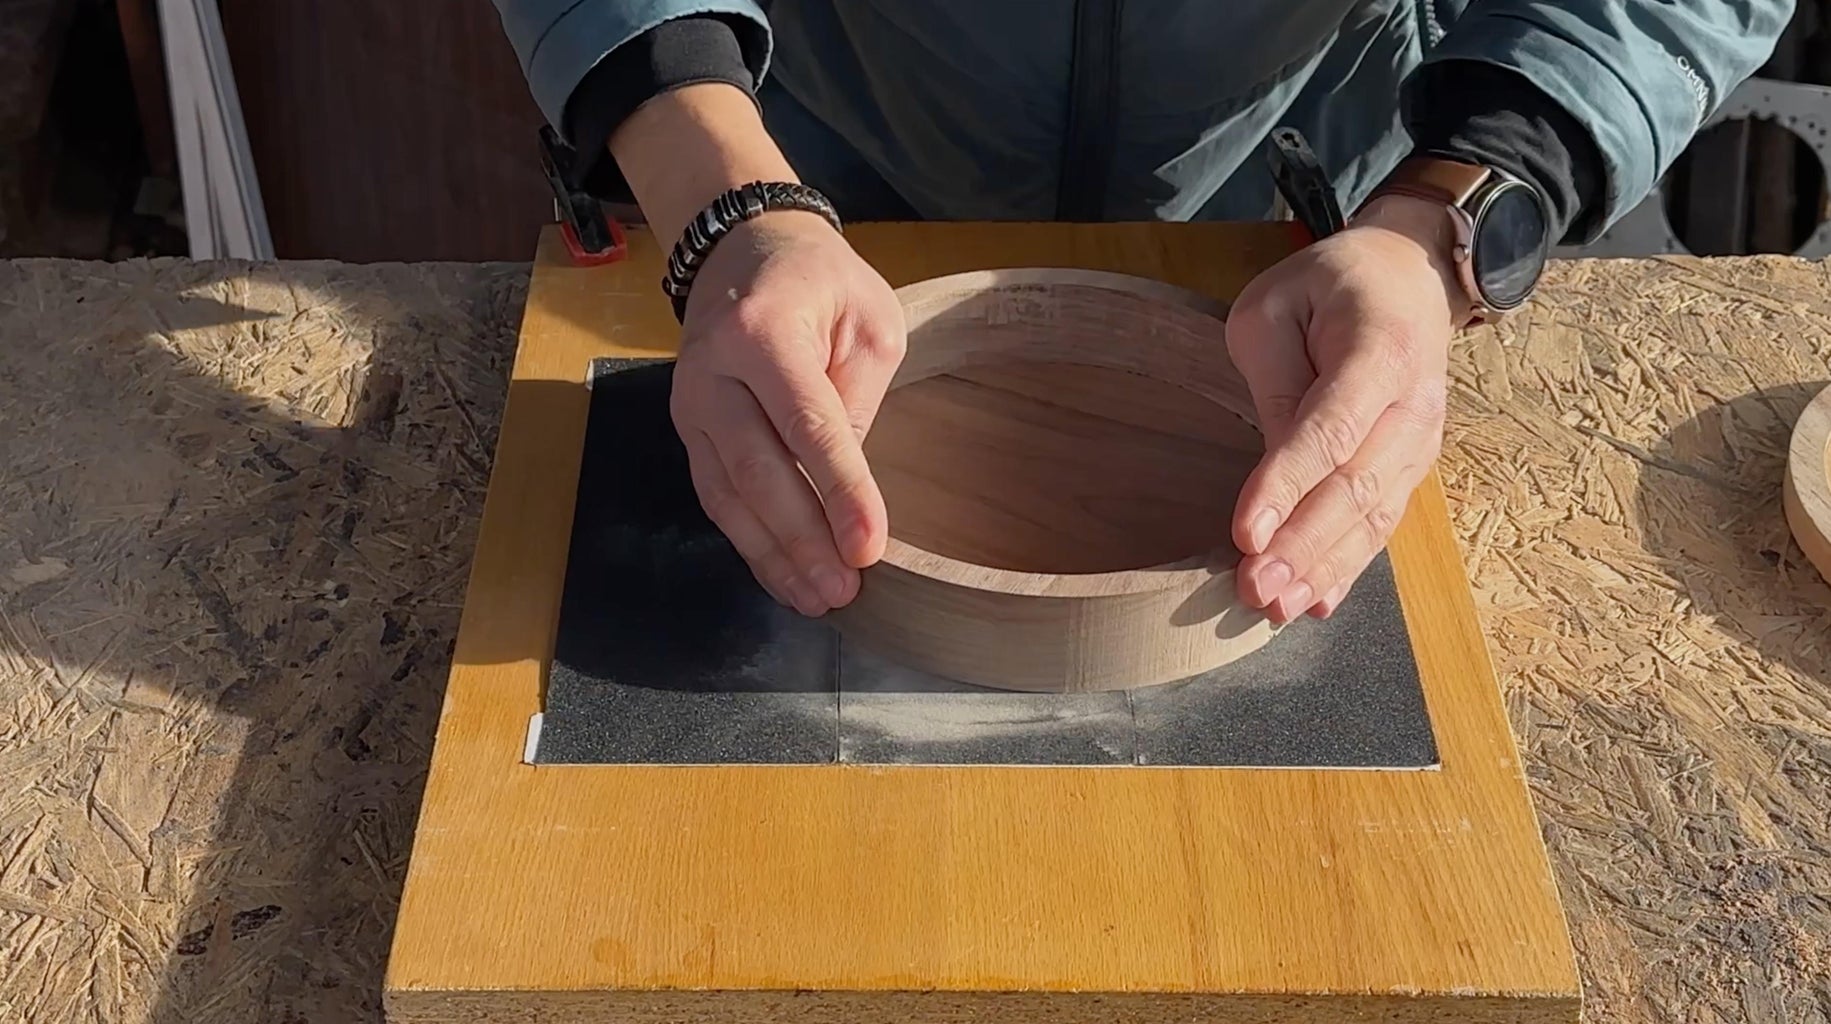
Step 11: Polish the Sides With a Disc Sander
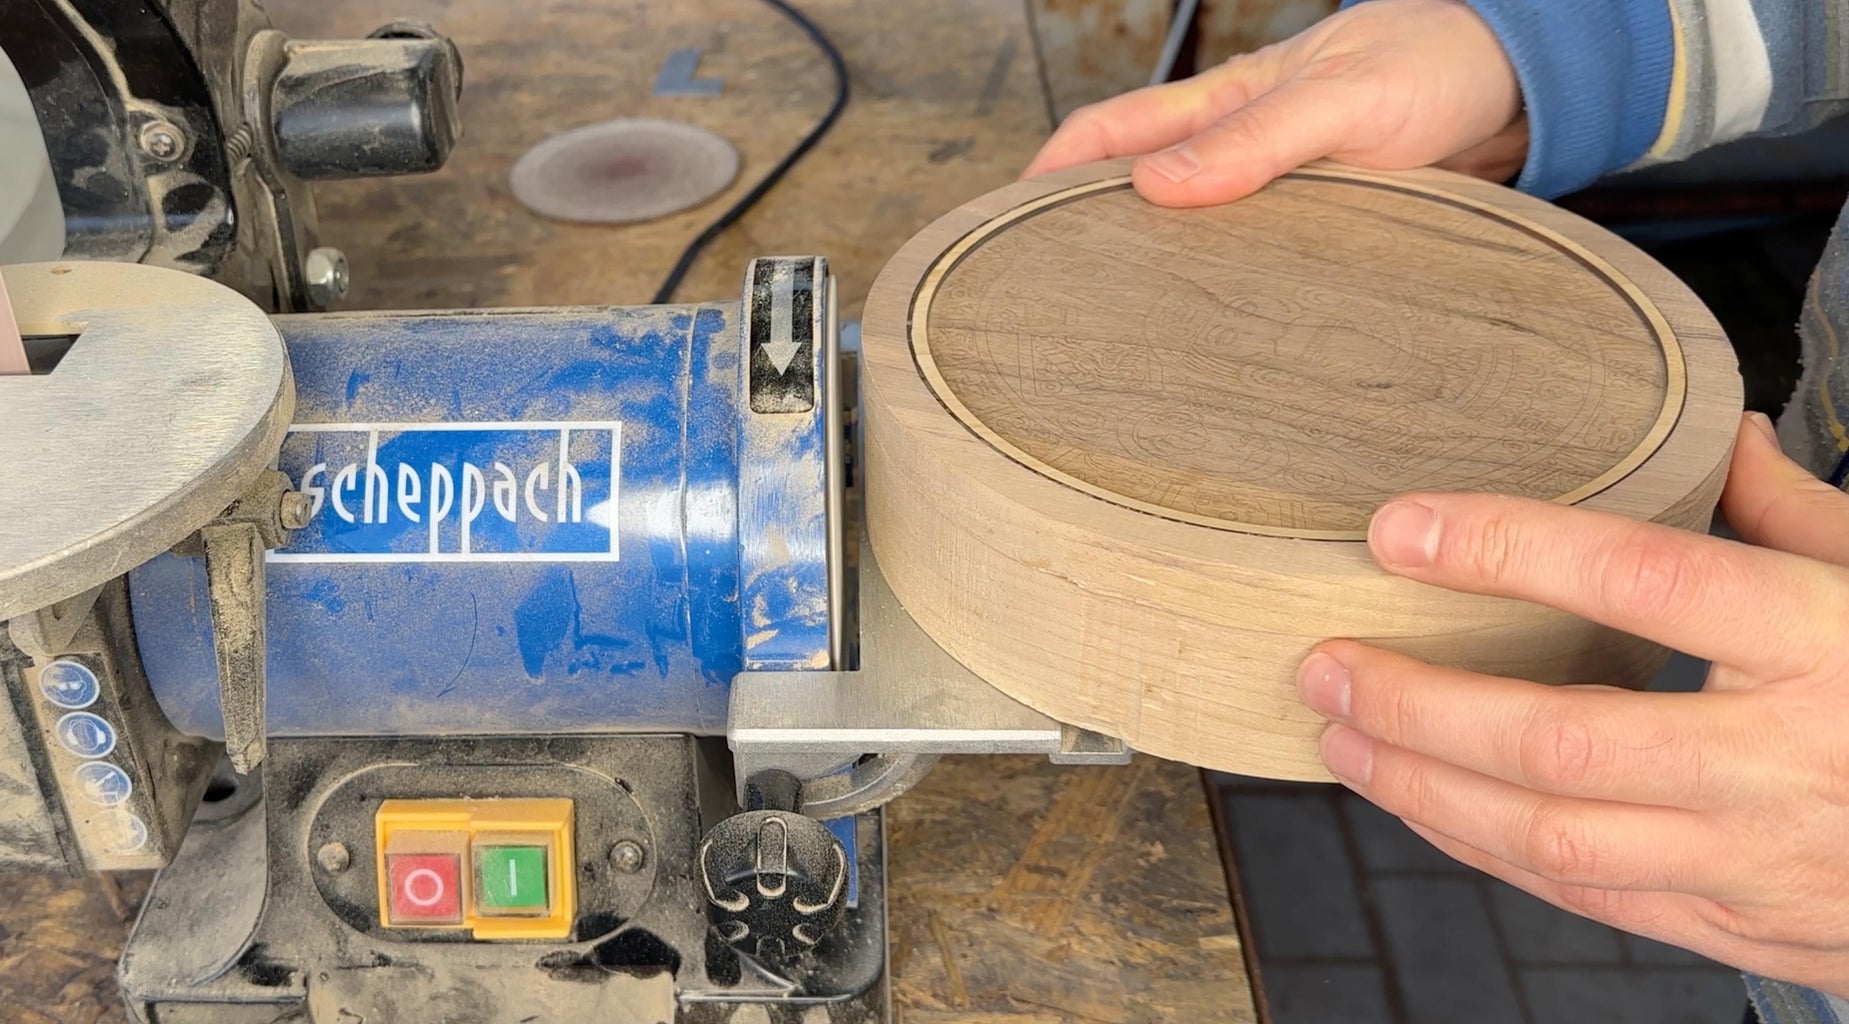

Make sure that the platform has 90 degrees.
Sandpaper disk: 320 Grit
Step 12: Round Off the Chamfer
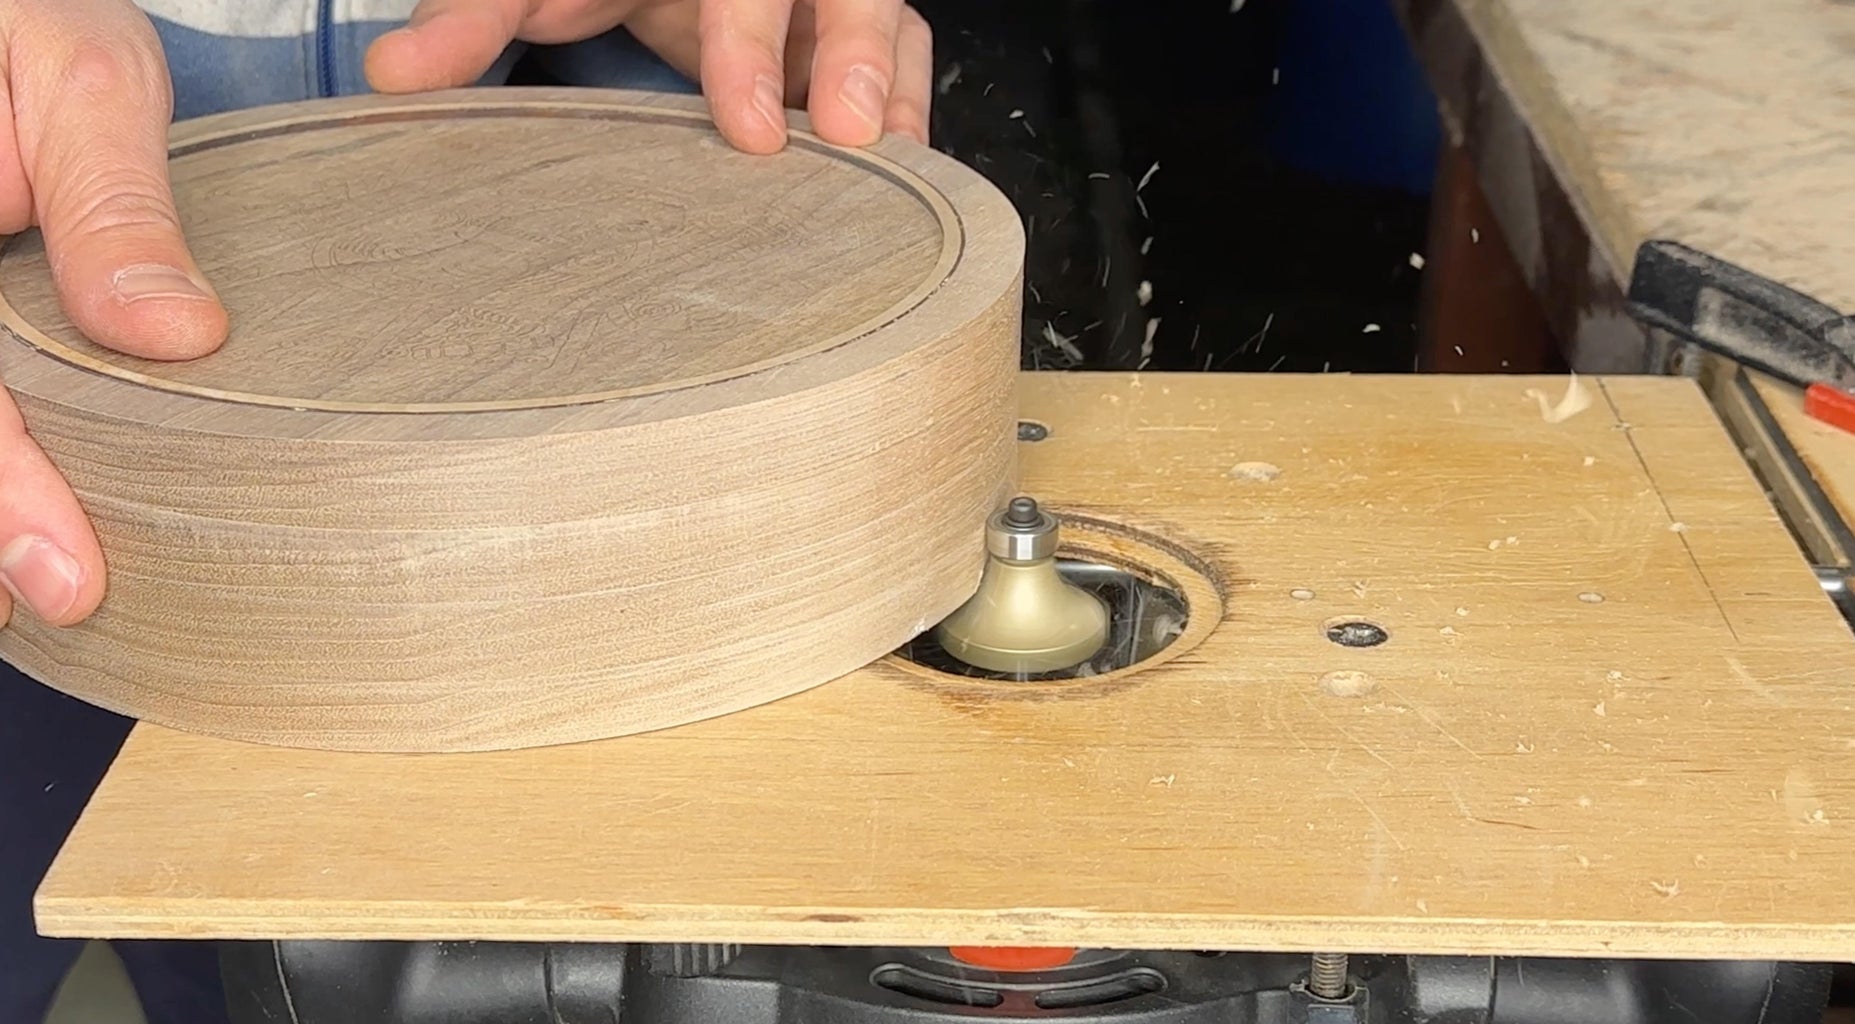
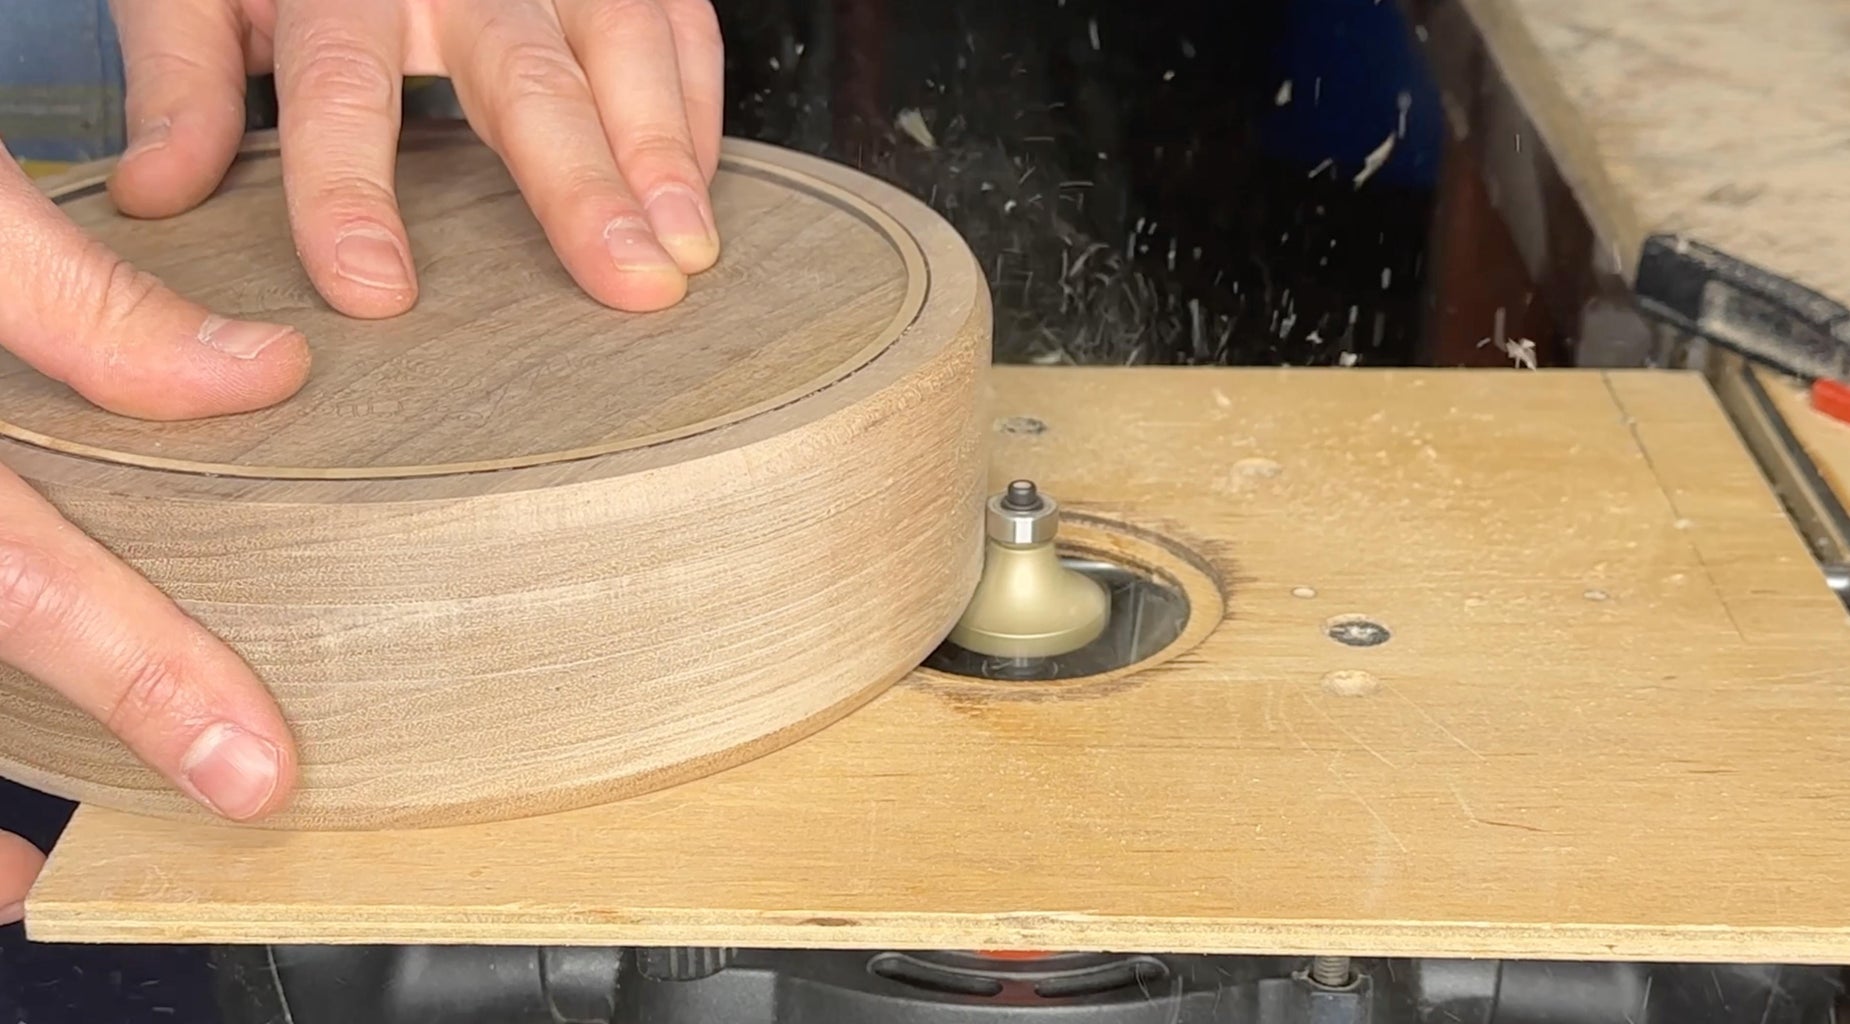
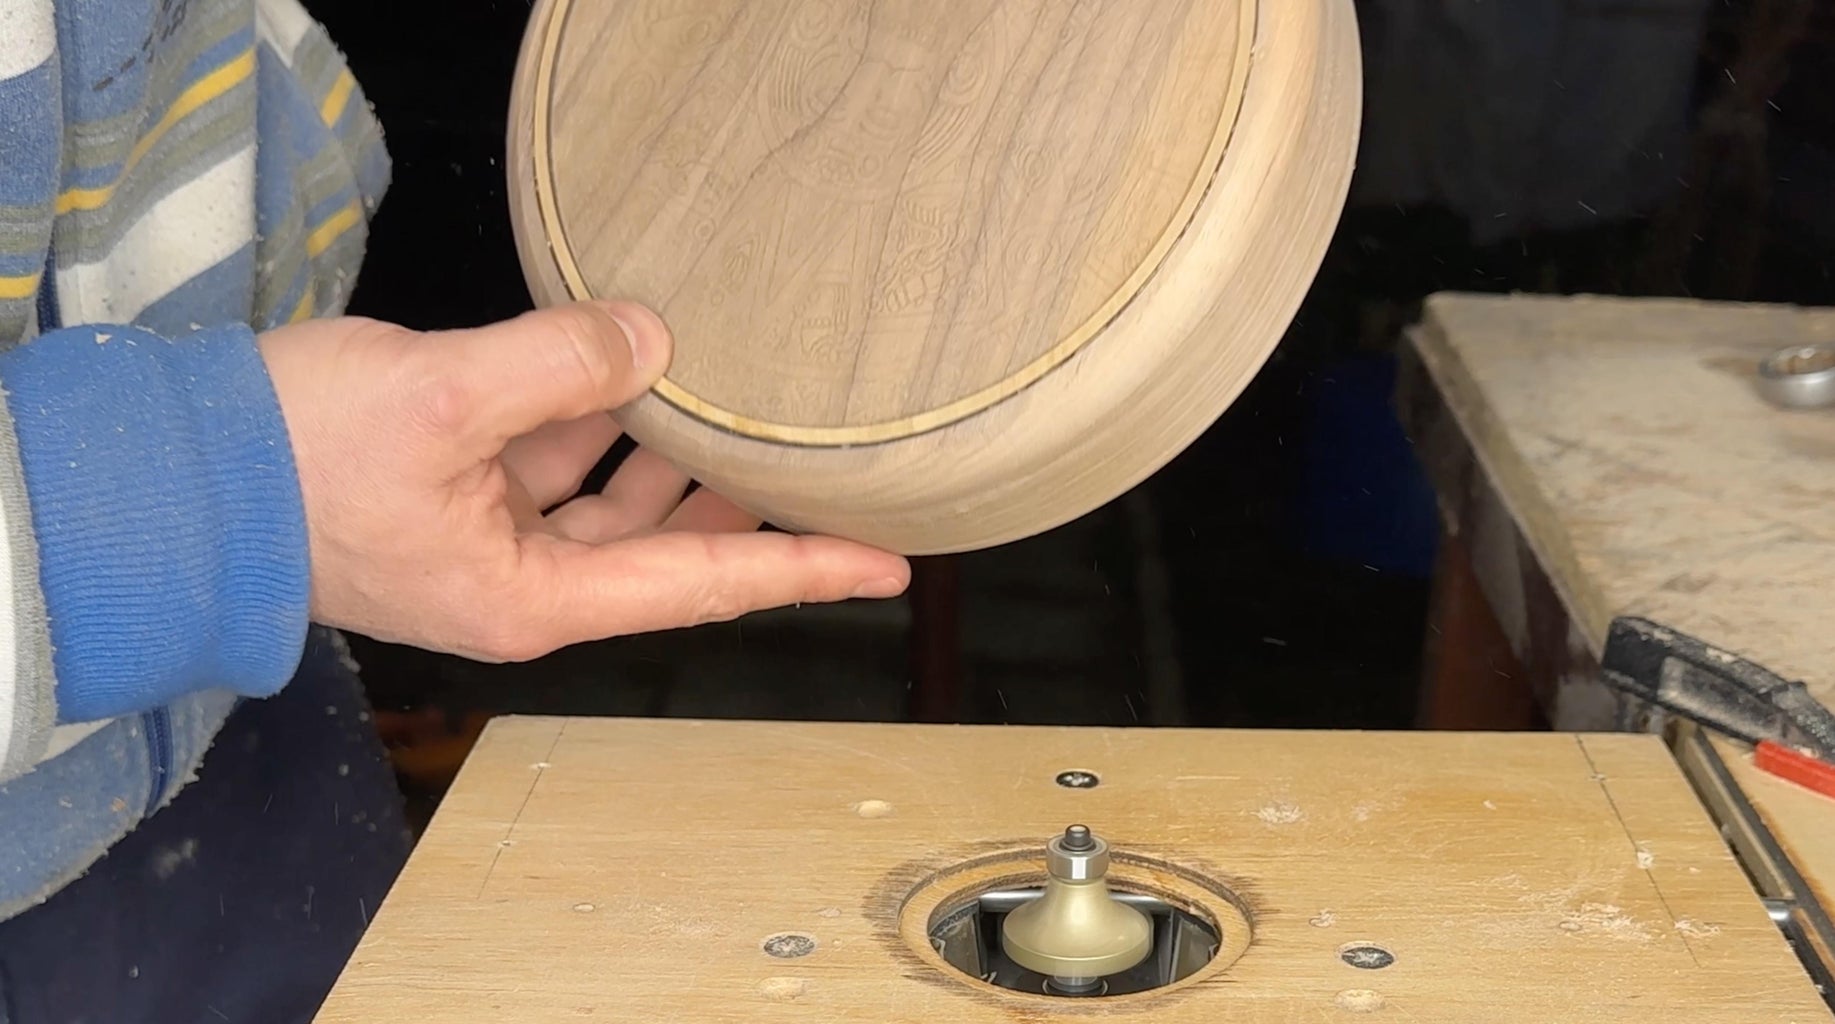
I used an upside-down hand router and an extended with plywood base.
Roundover bit: 10mm radius
Step 13: Hand Polishing
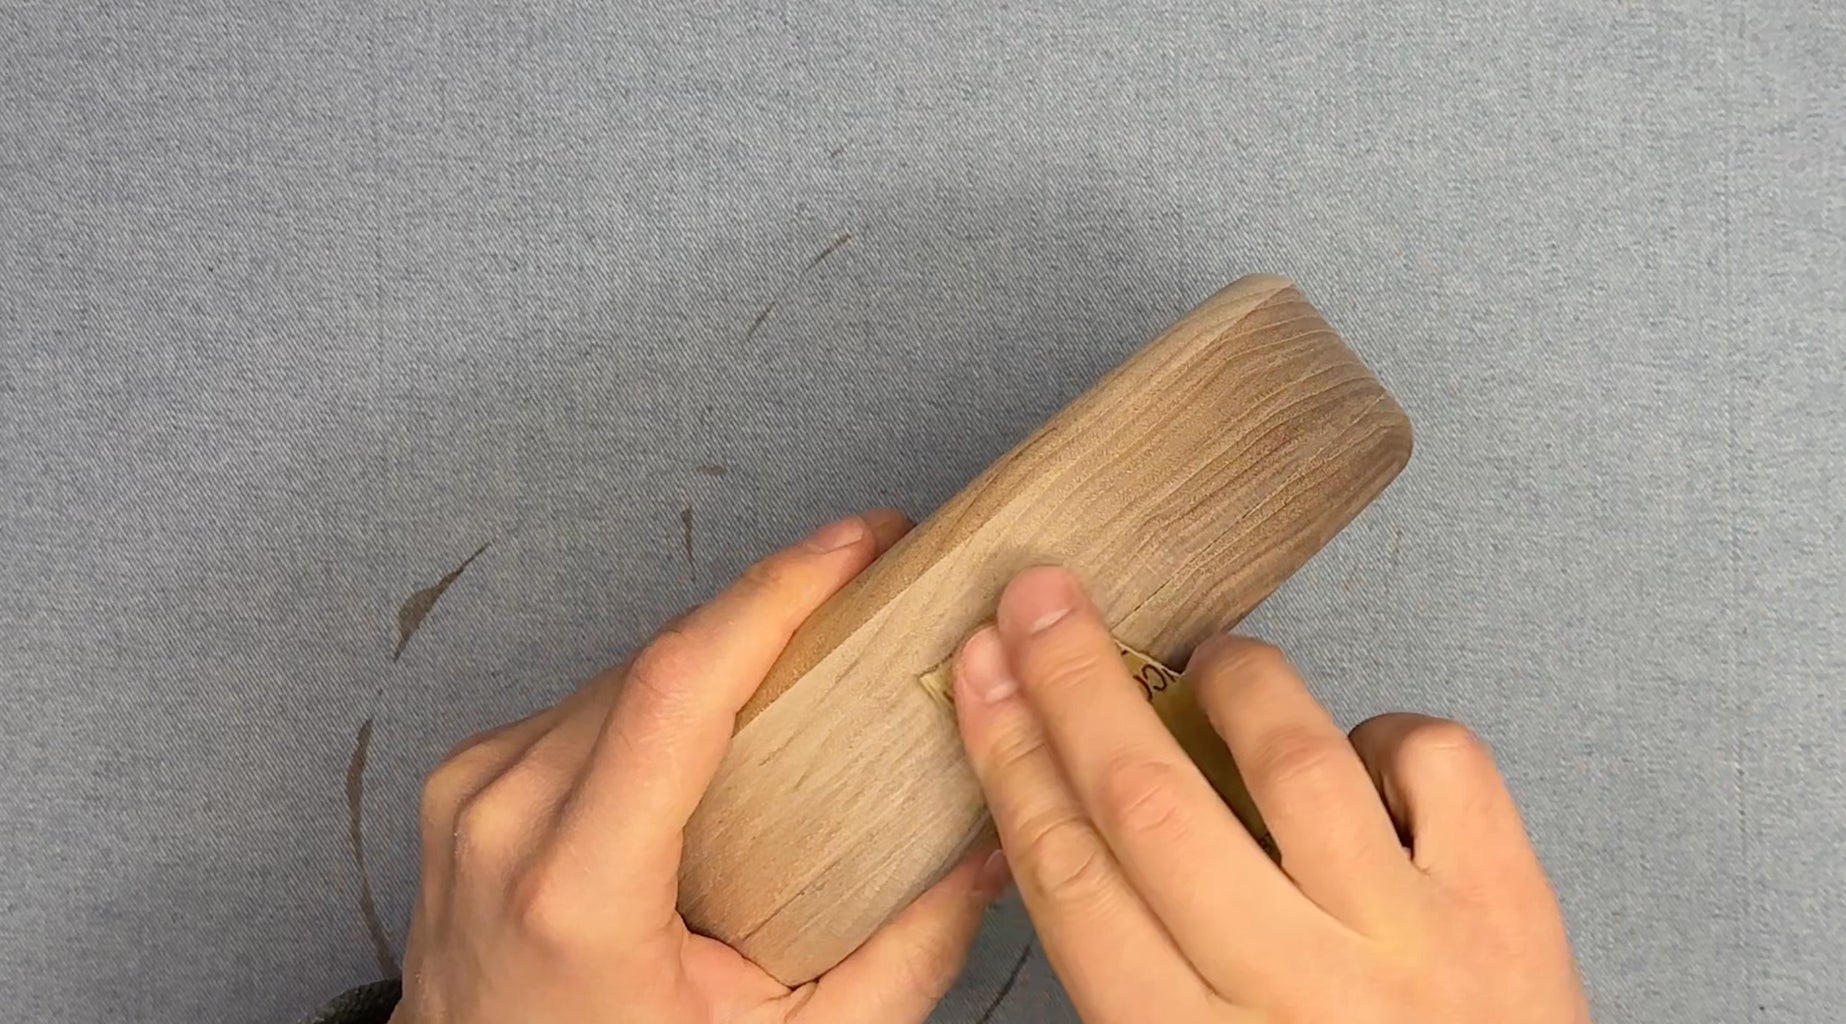
Sandpaper: 220, 320, 400, 600 grit
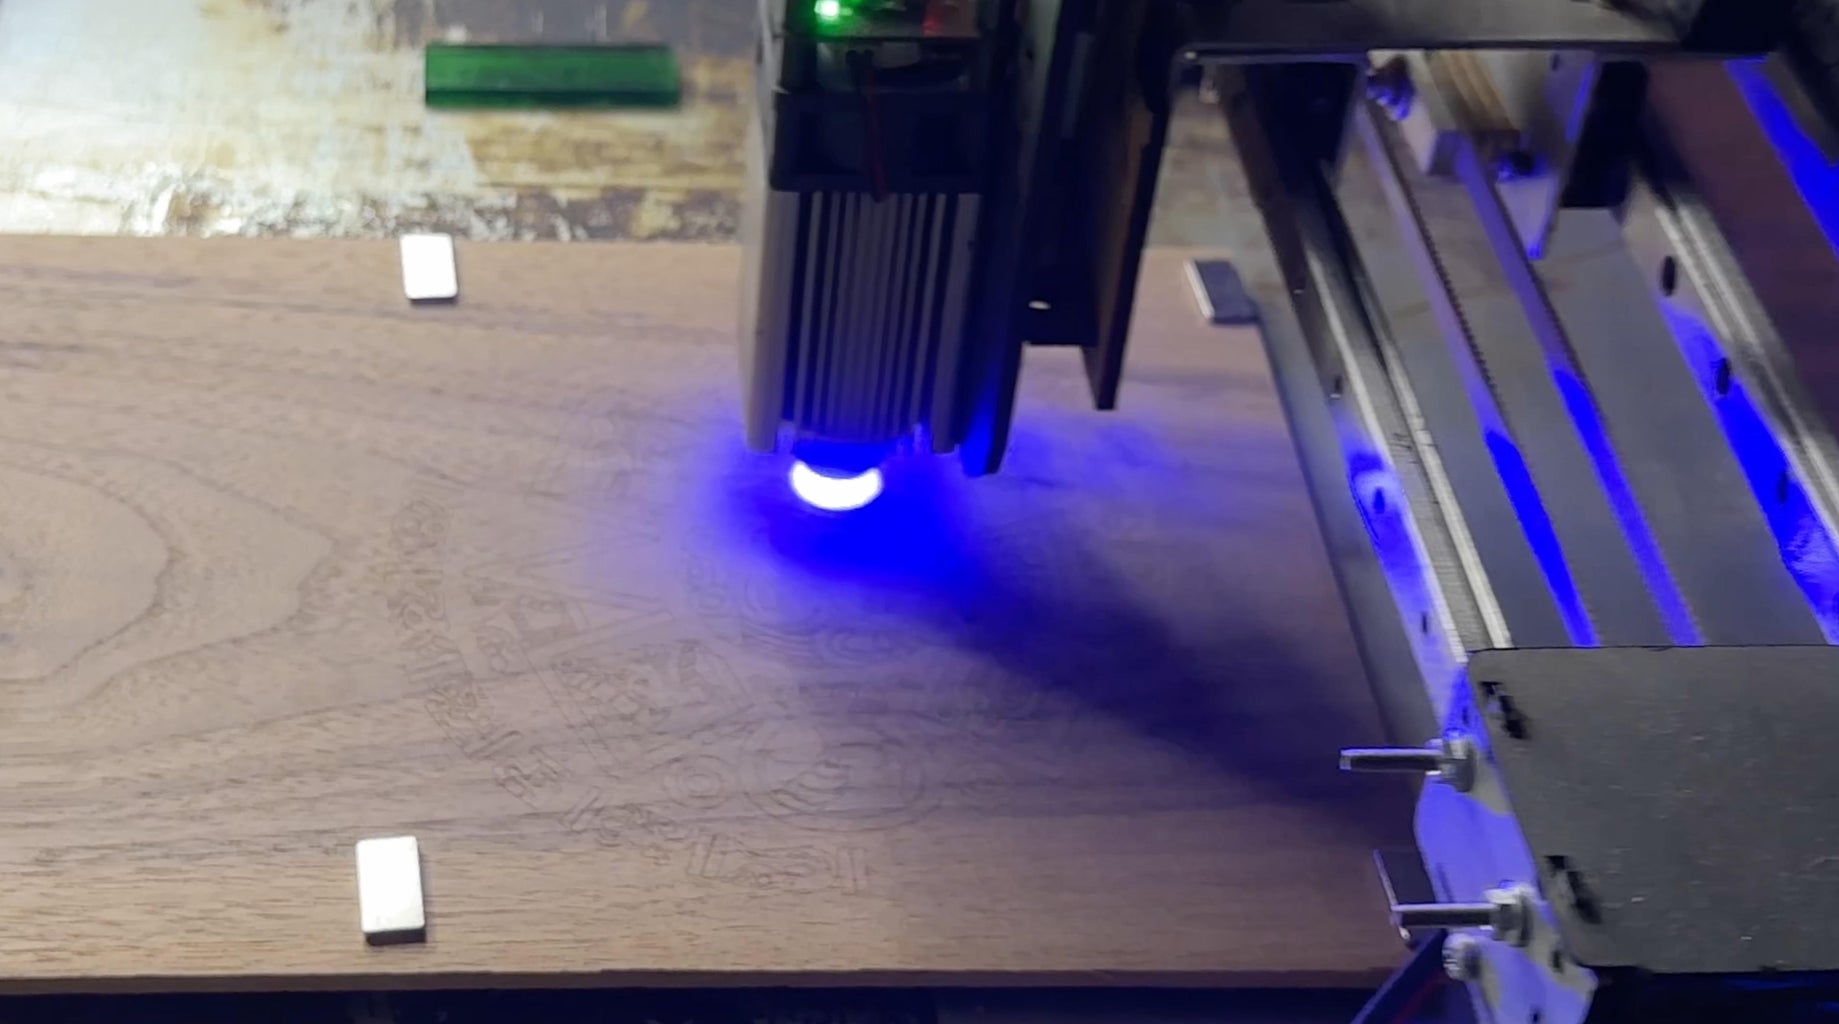
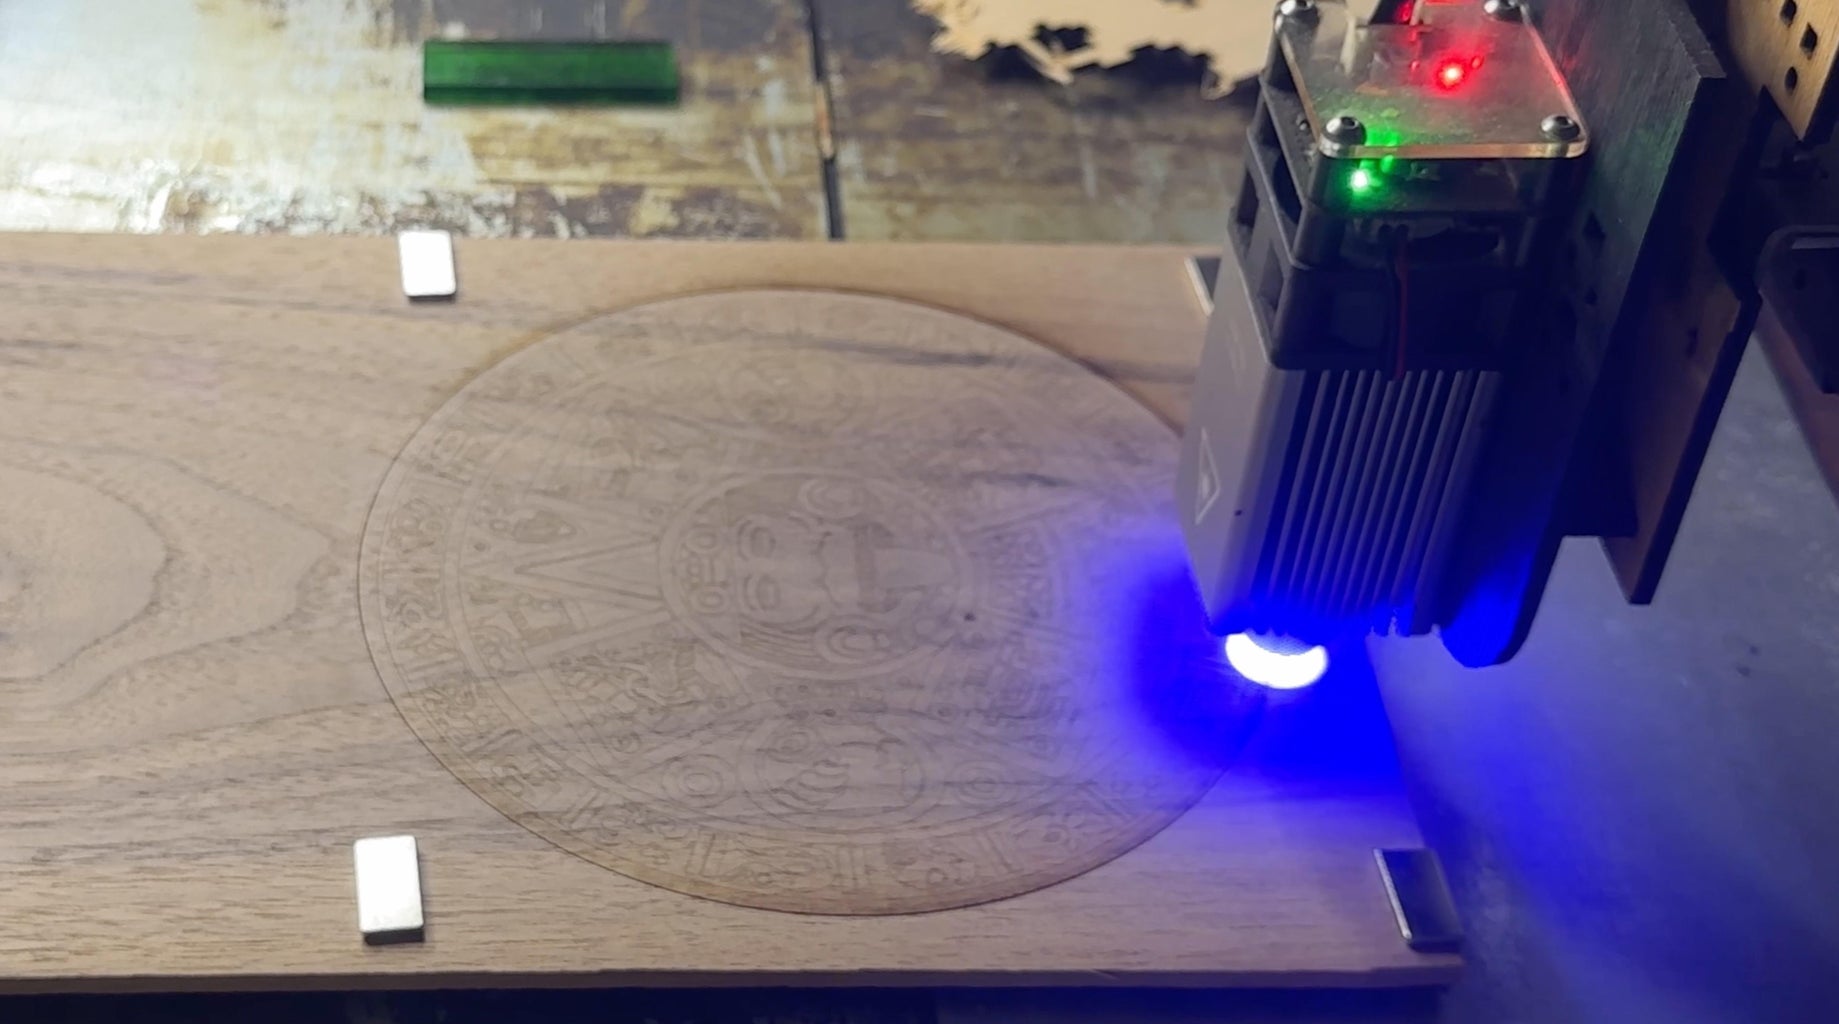
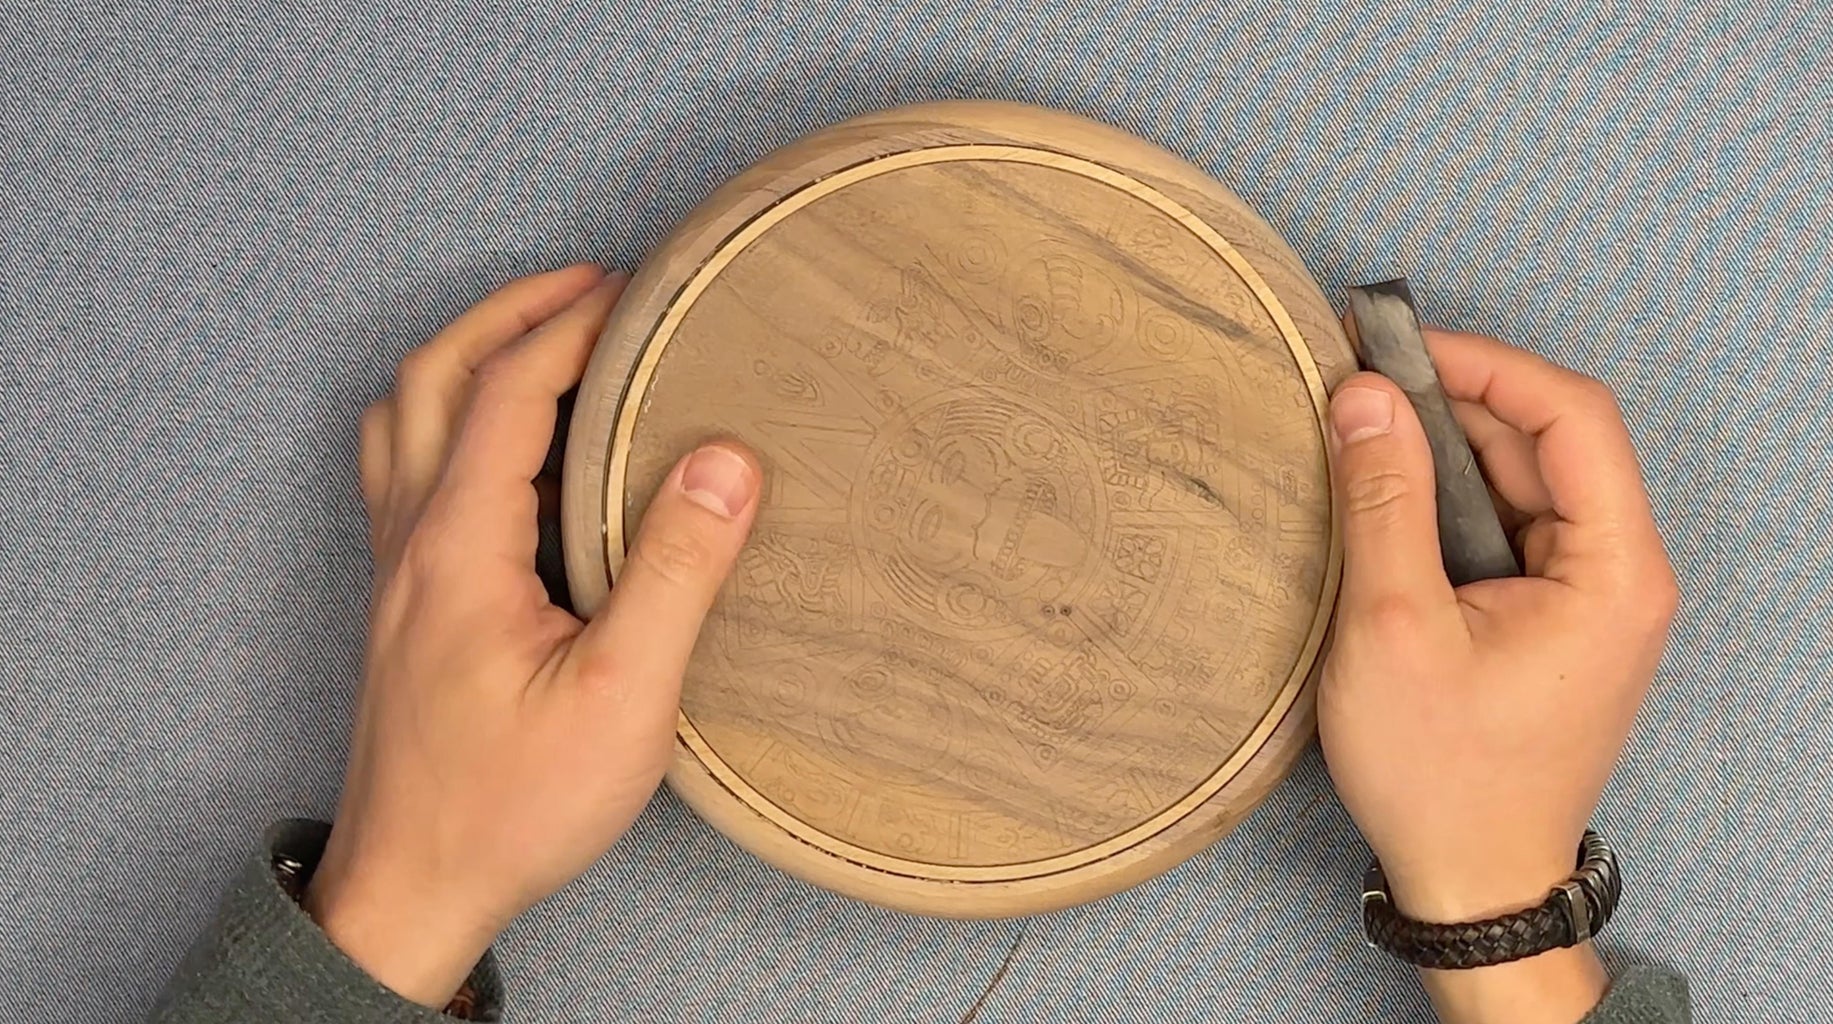
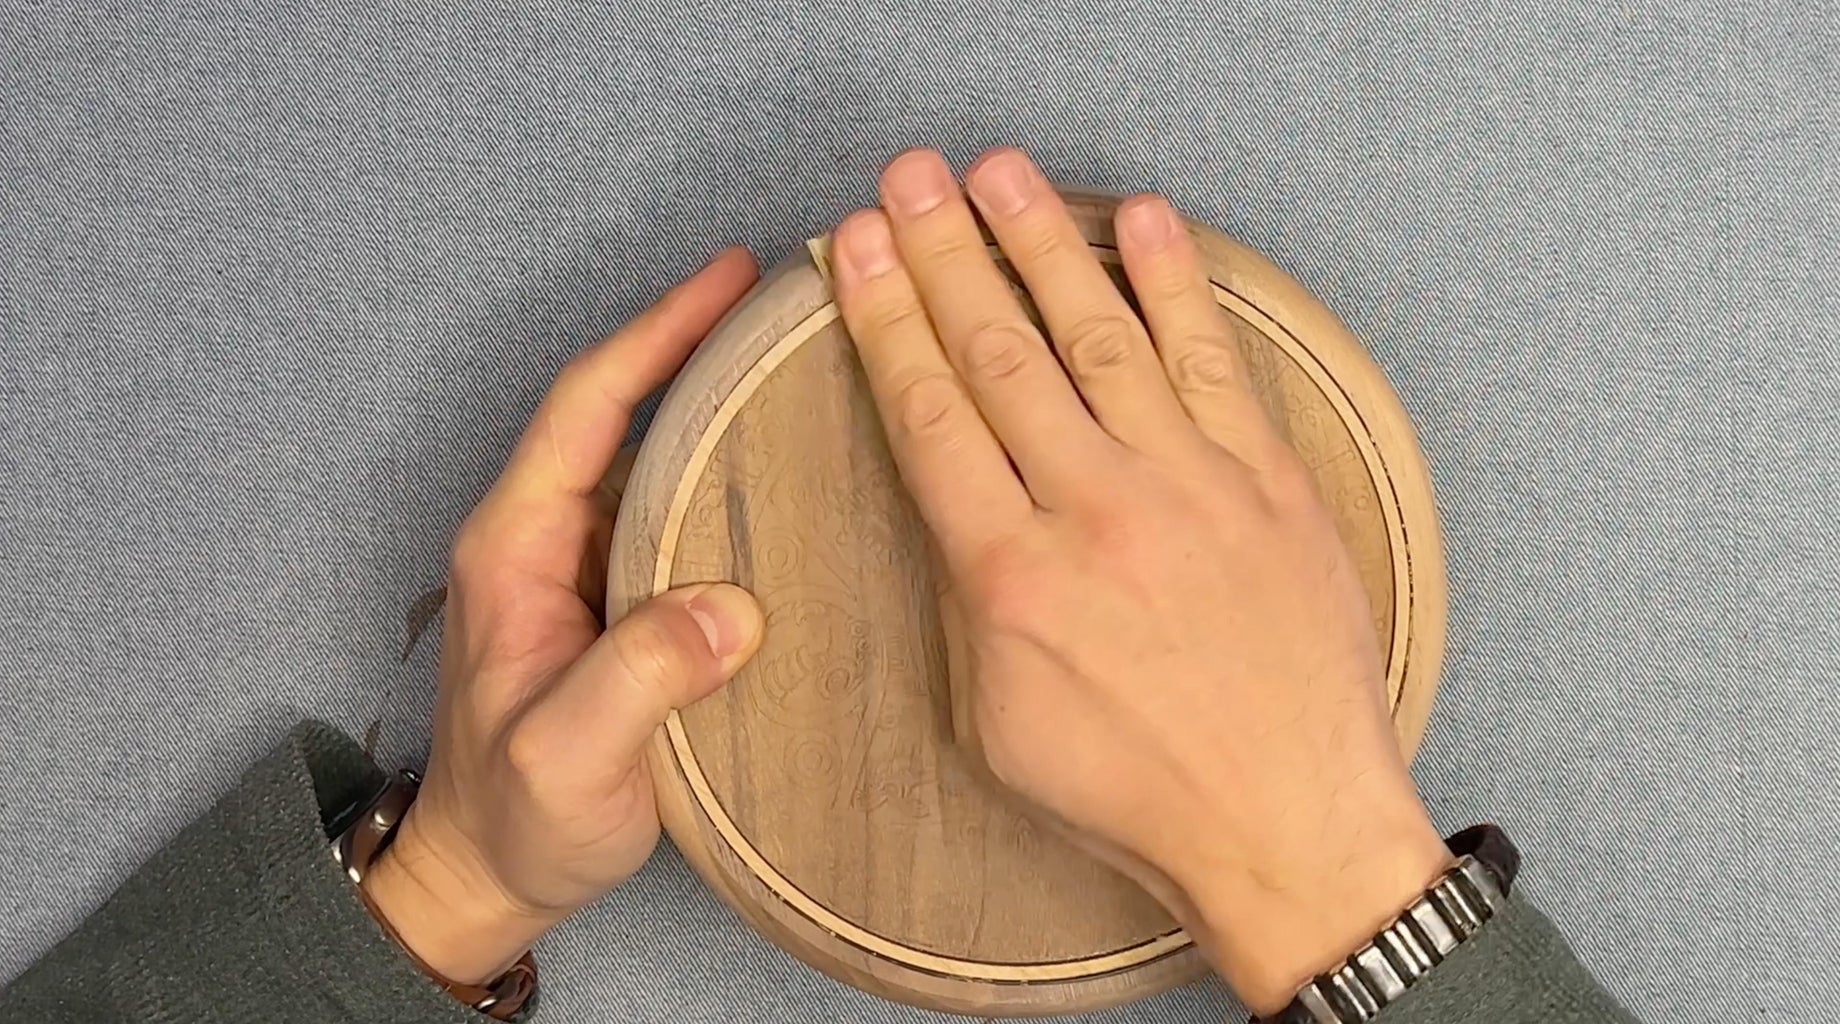
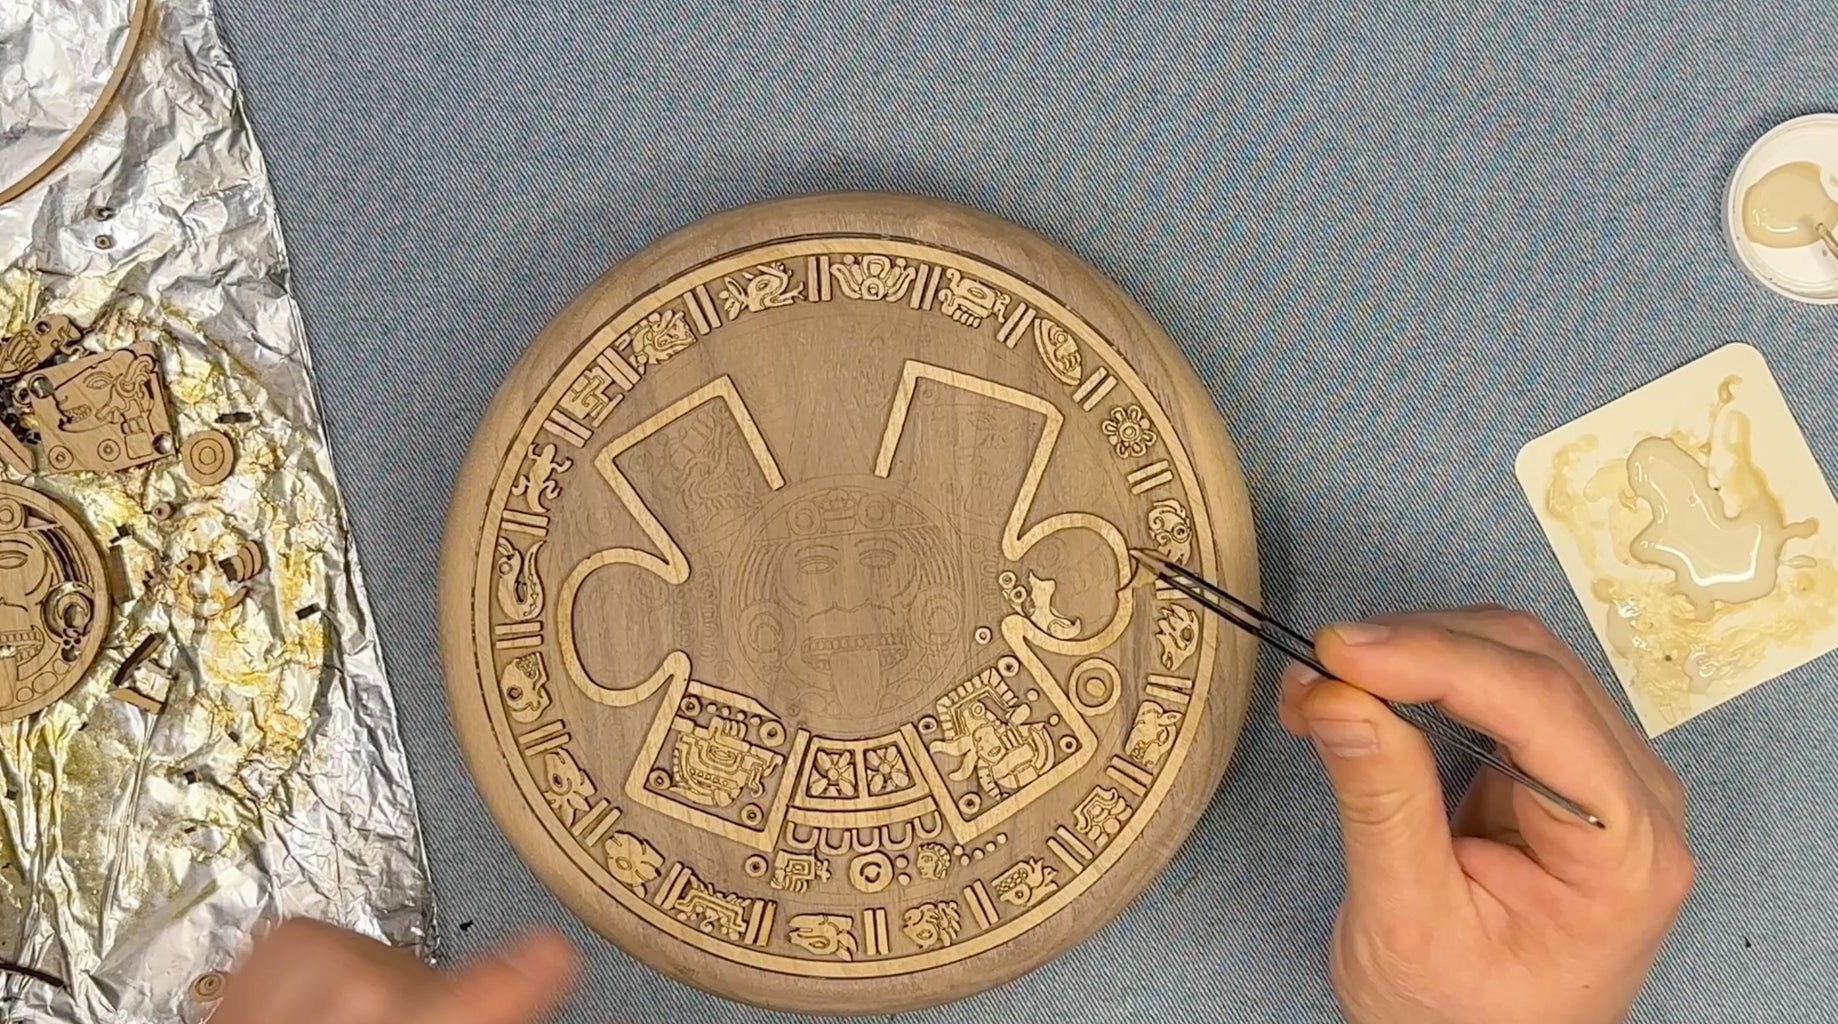
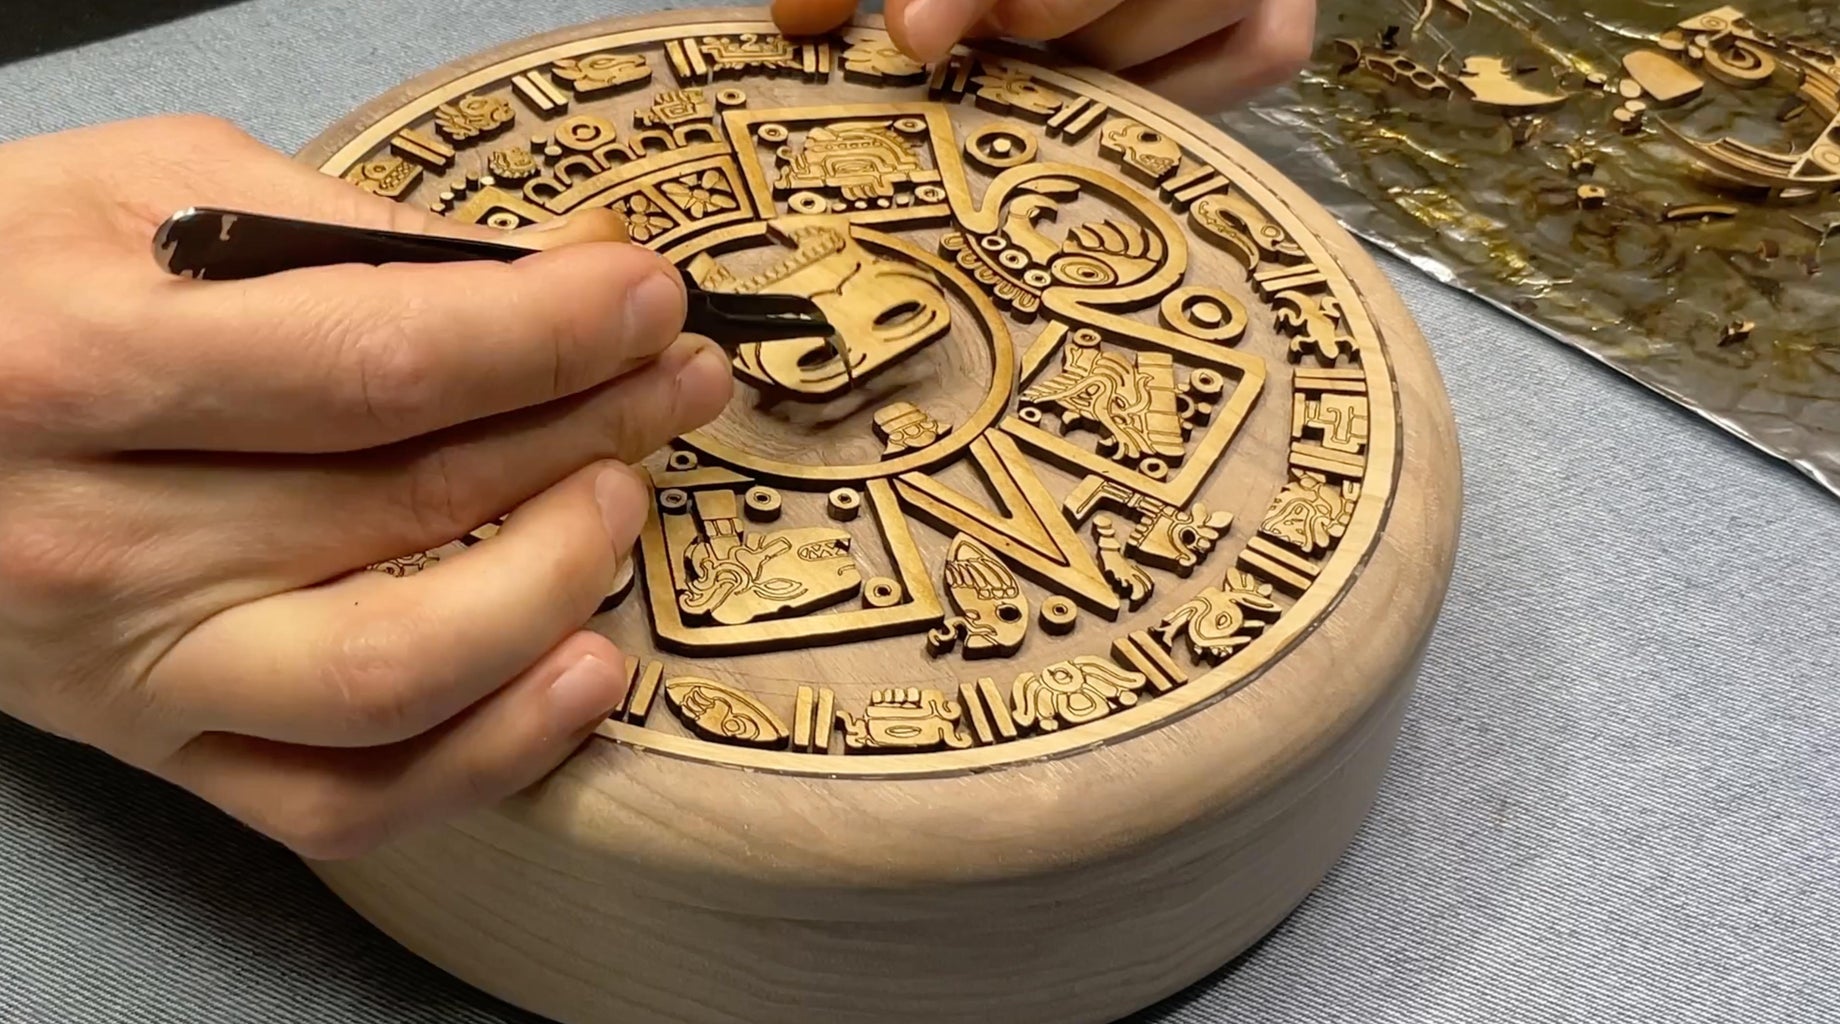
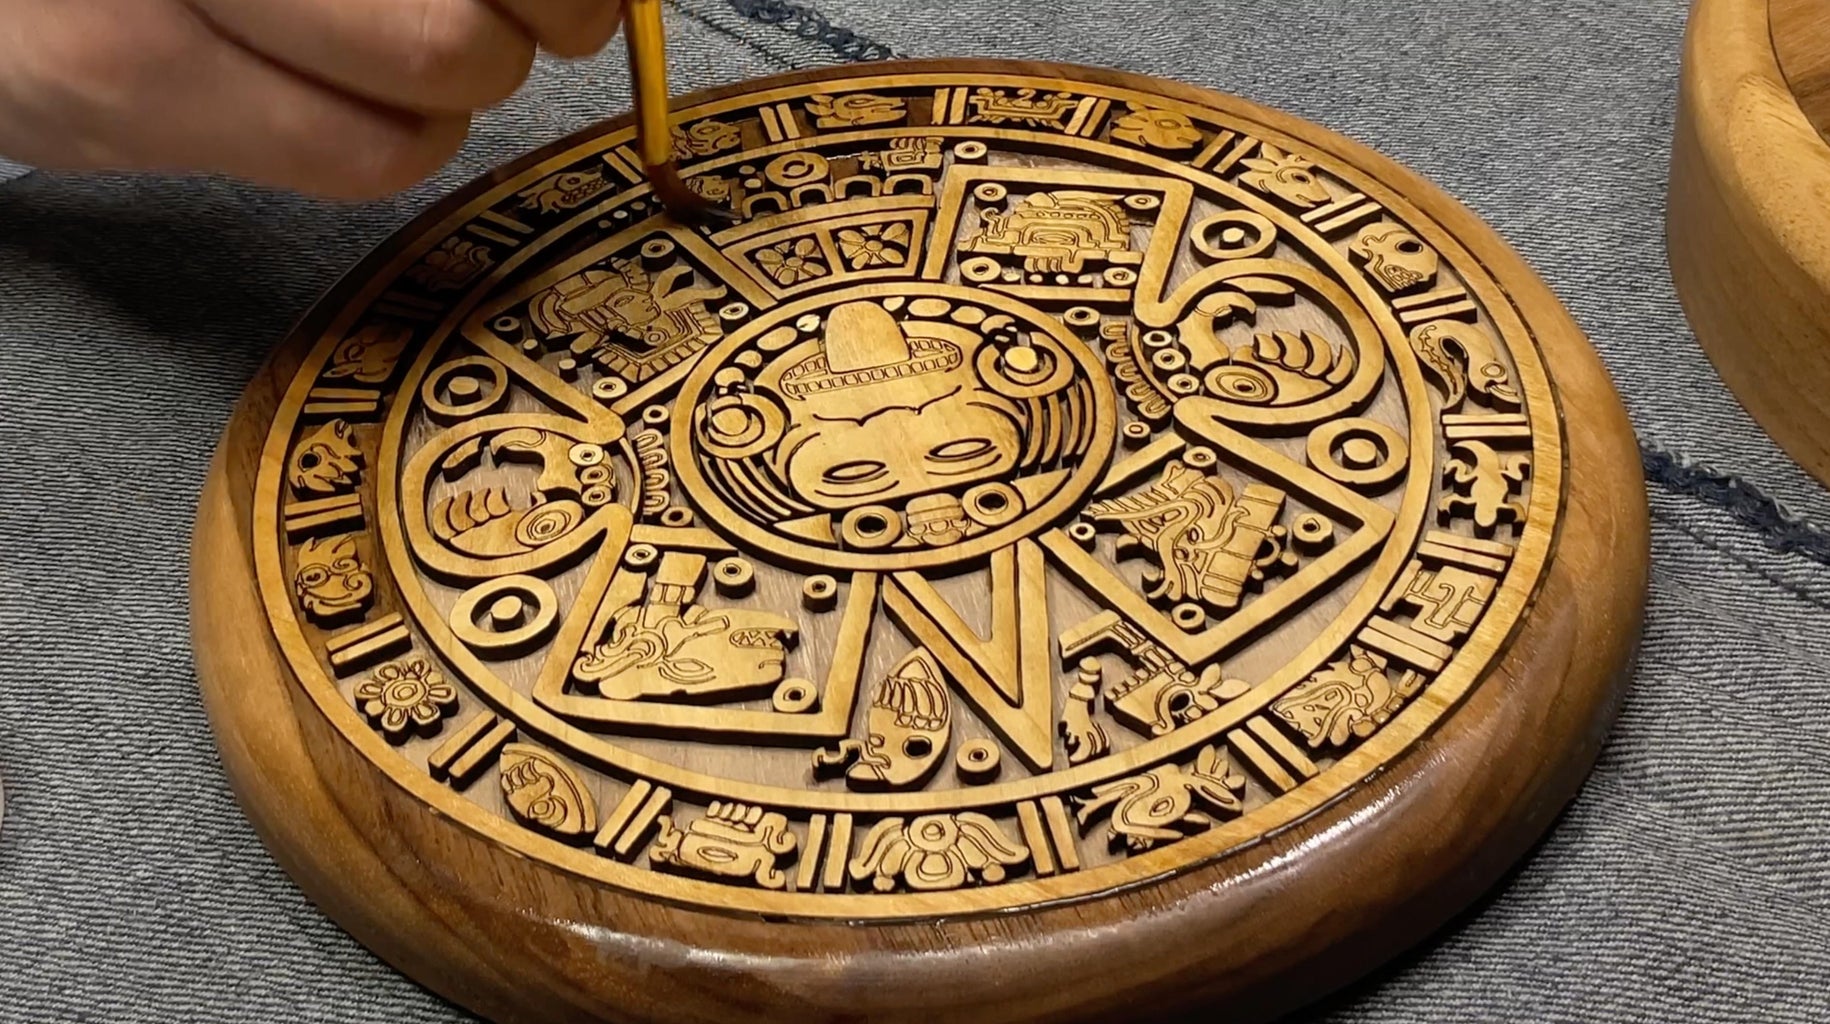
Step 14: Laser-cut the Decorative Pattern

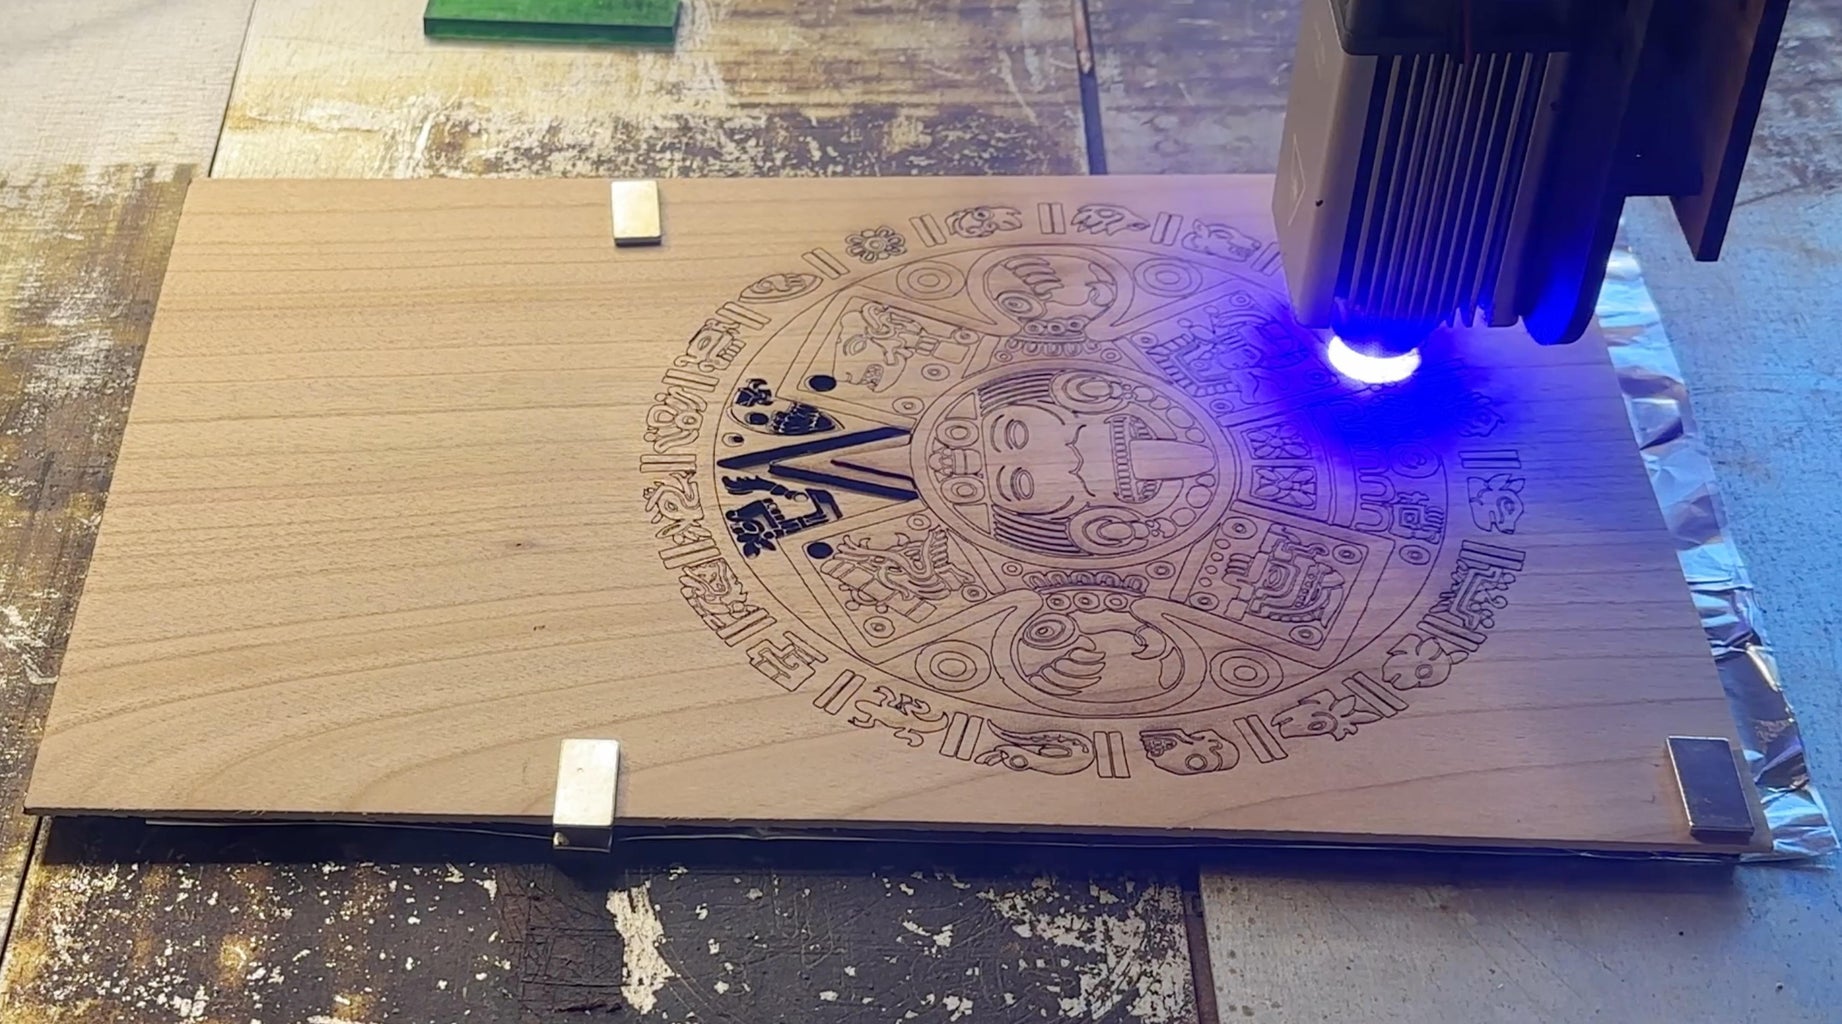
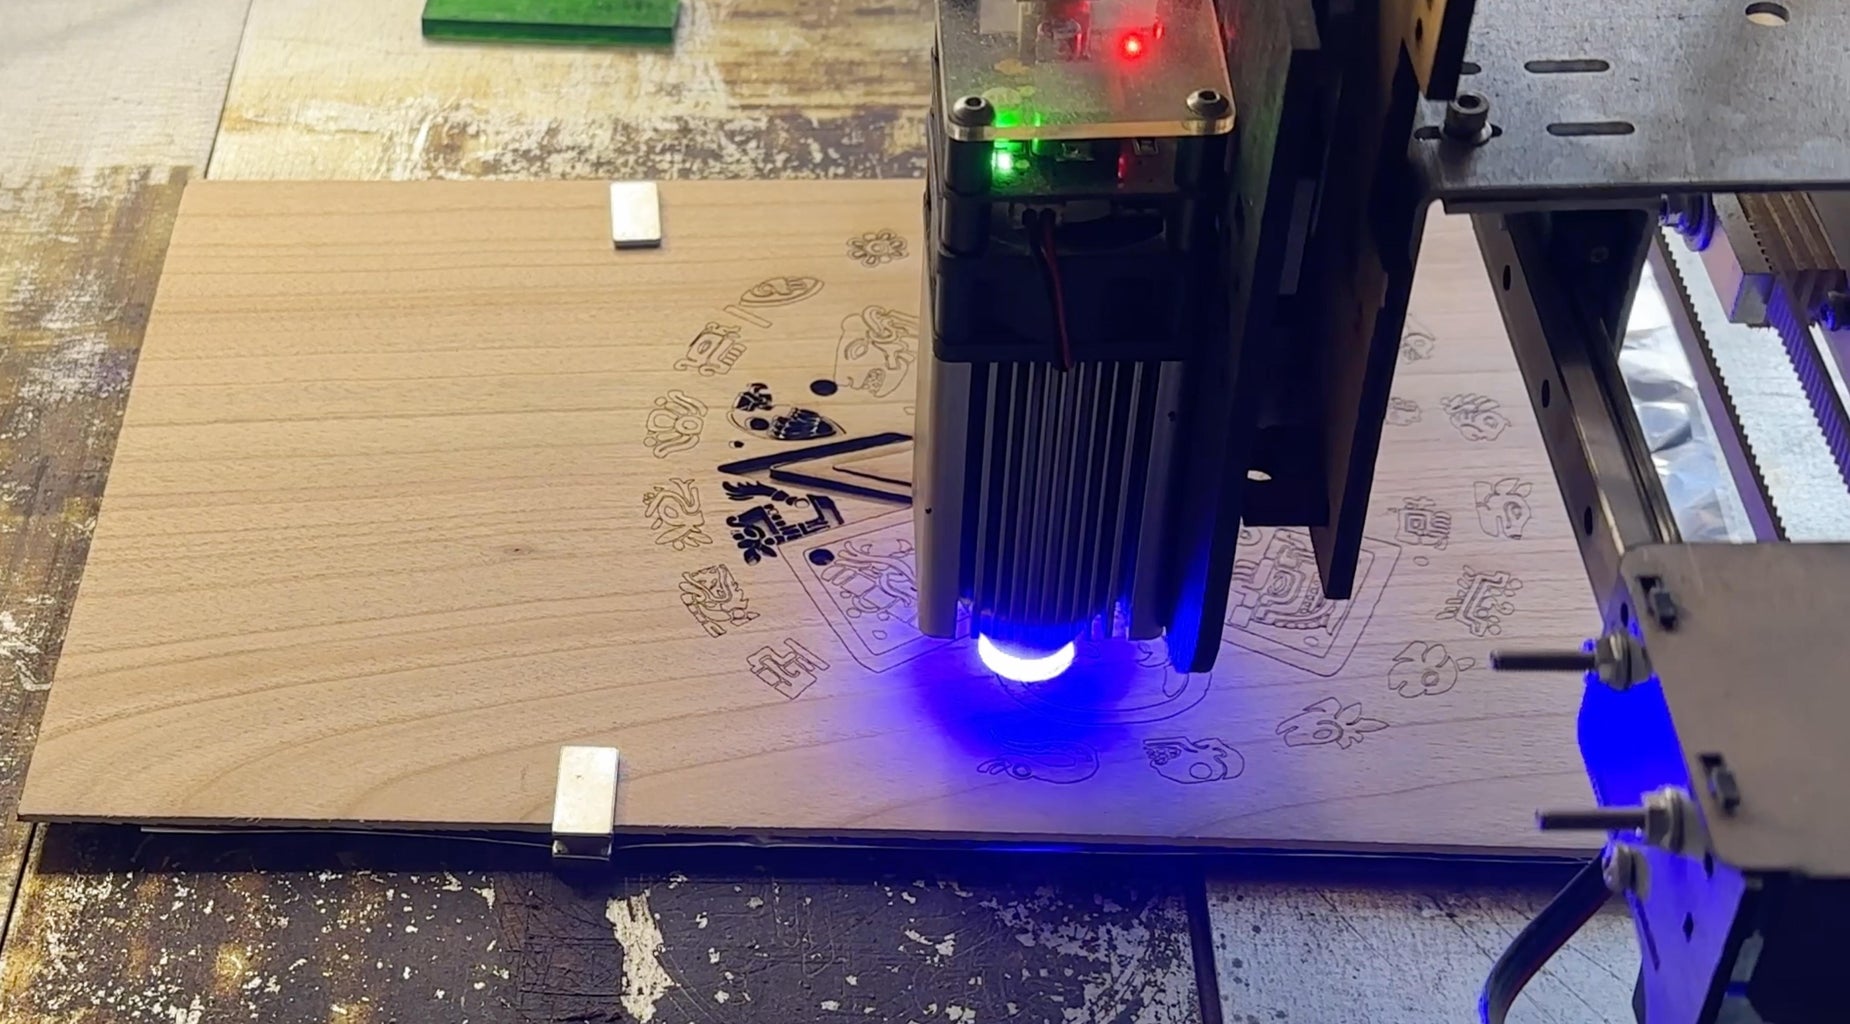
Download the SVG file below. (color marked for laser-cut and engraving).
Tip: I placed kitchen foil under the workpiece so as not to lose small parts.
Material: Cherry sliced veneer 2.5 mm

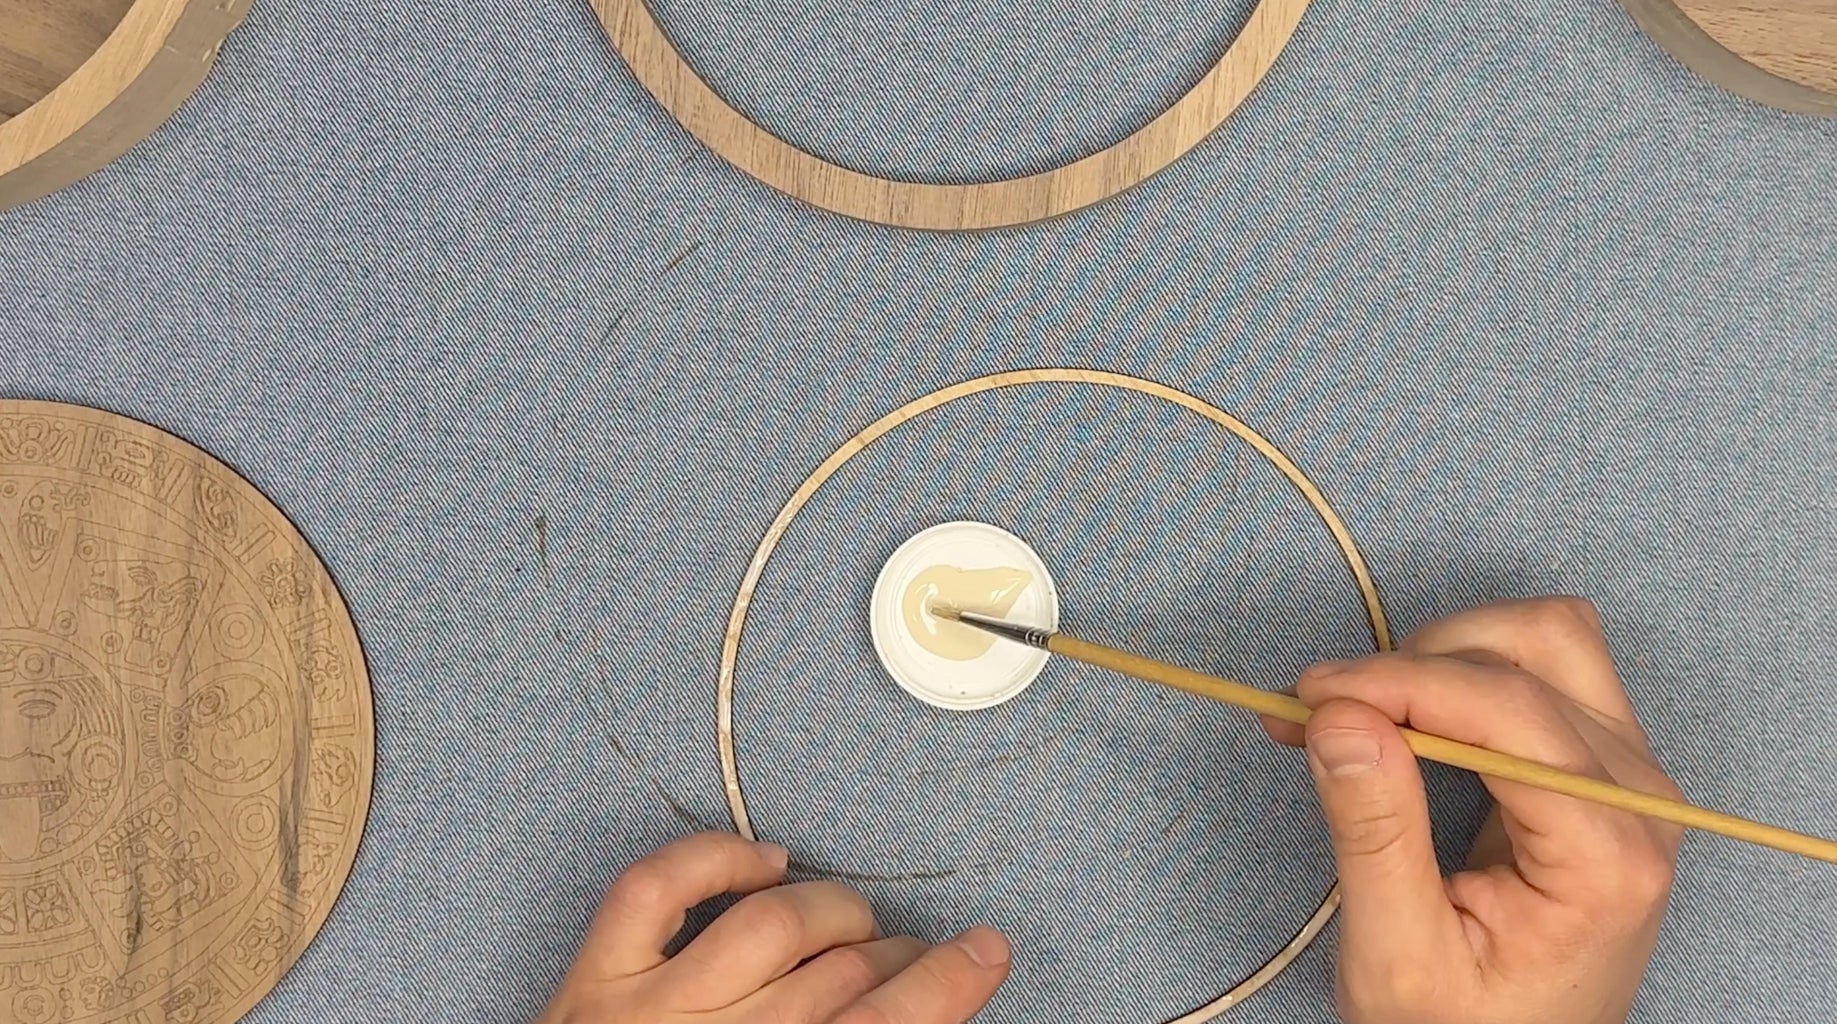
Step 15: Glue Decorative Elements to the Top Side

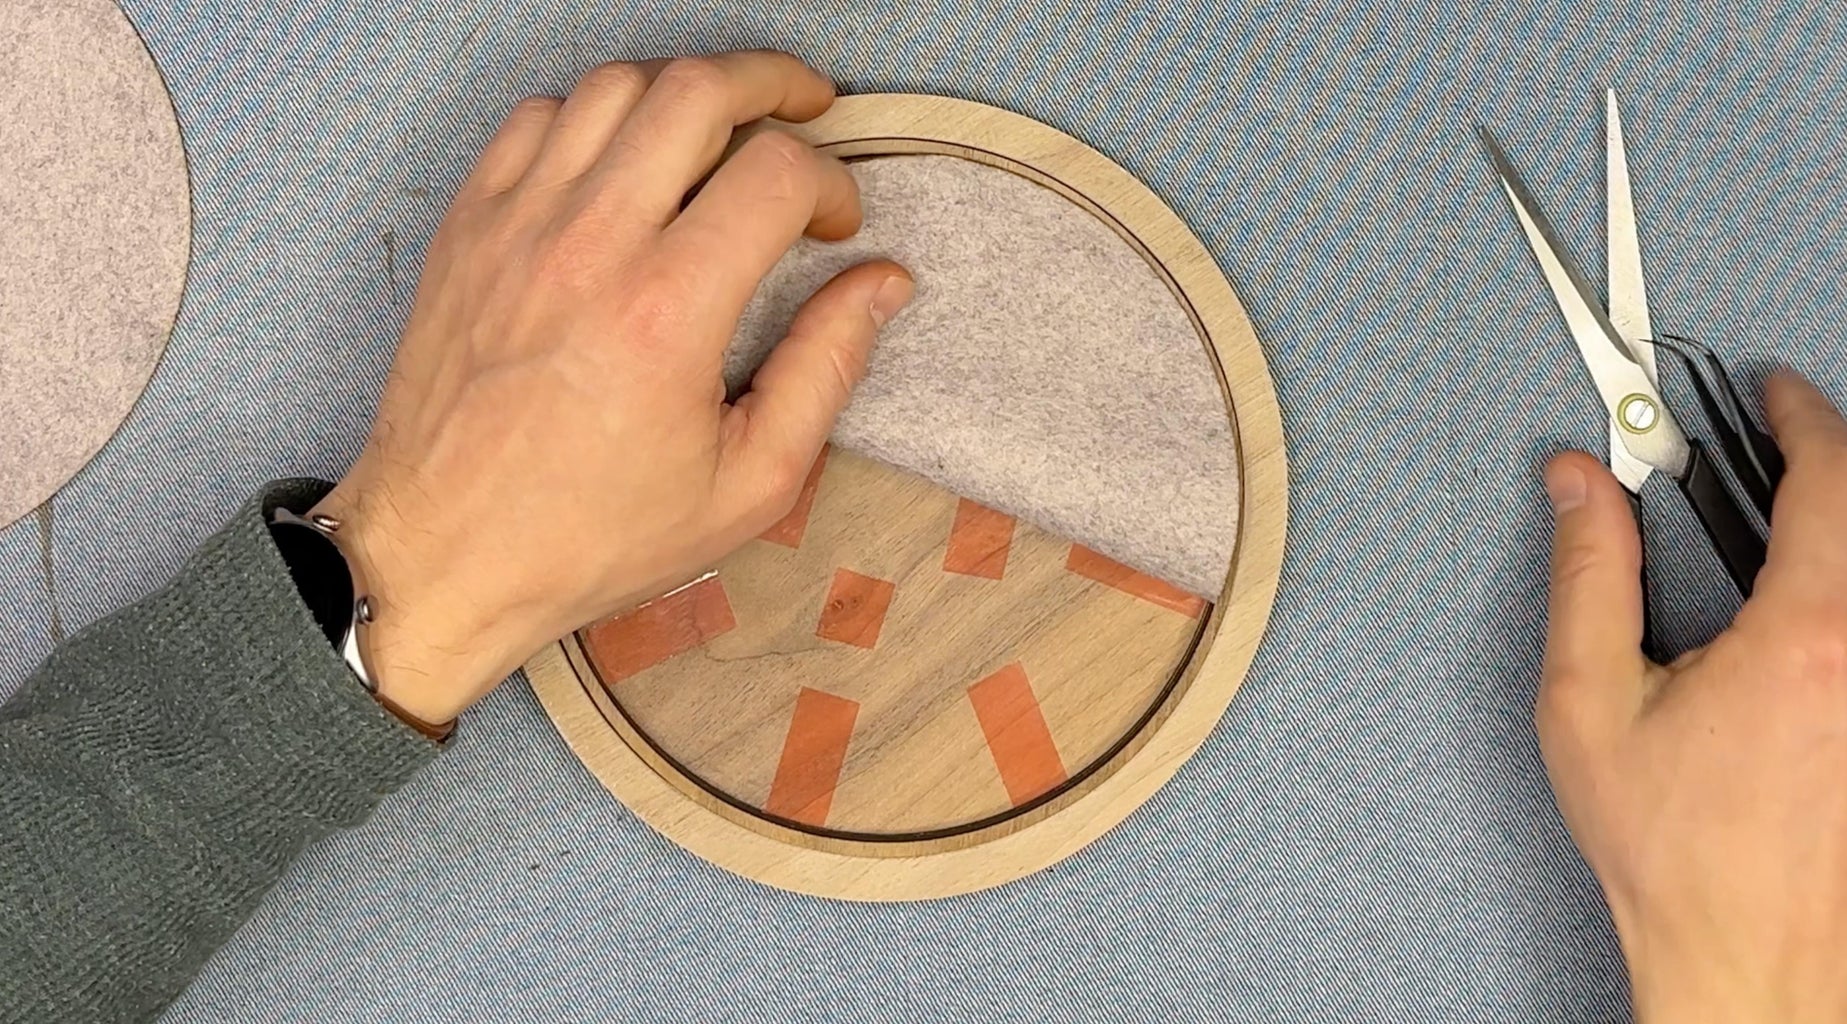
Step 16: Laser Cut the Felt
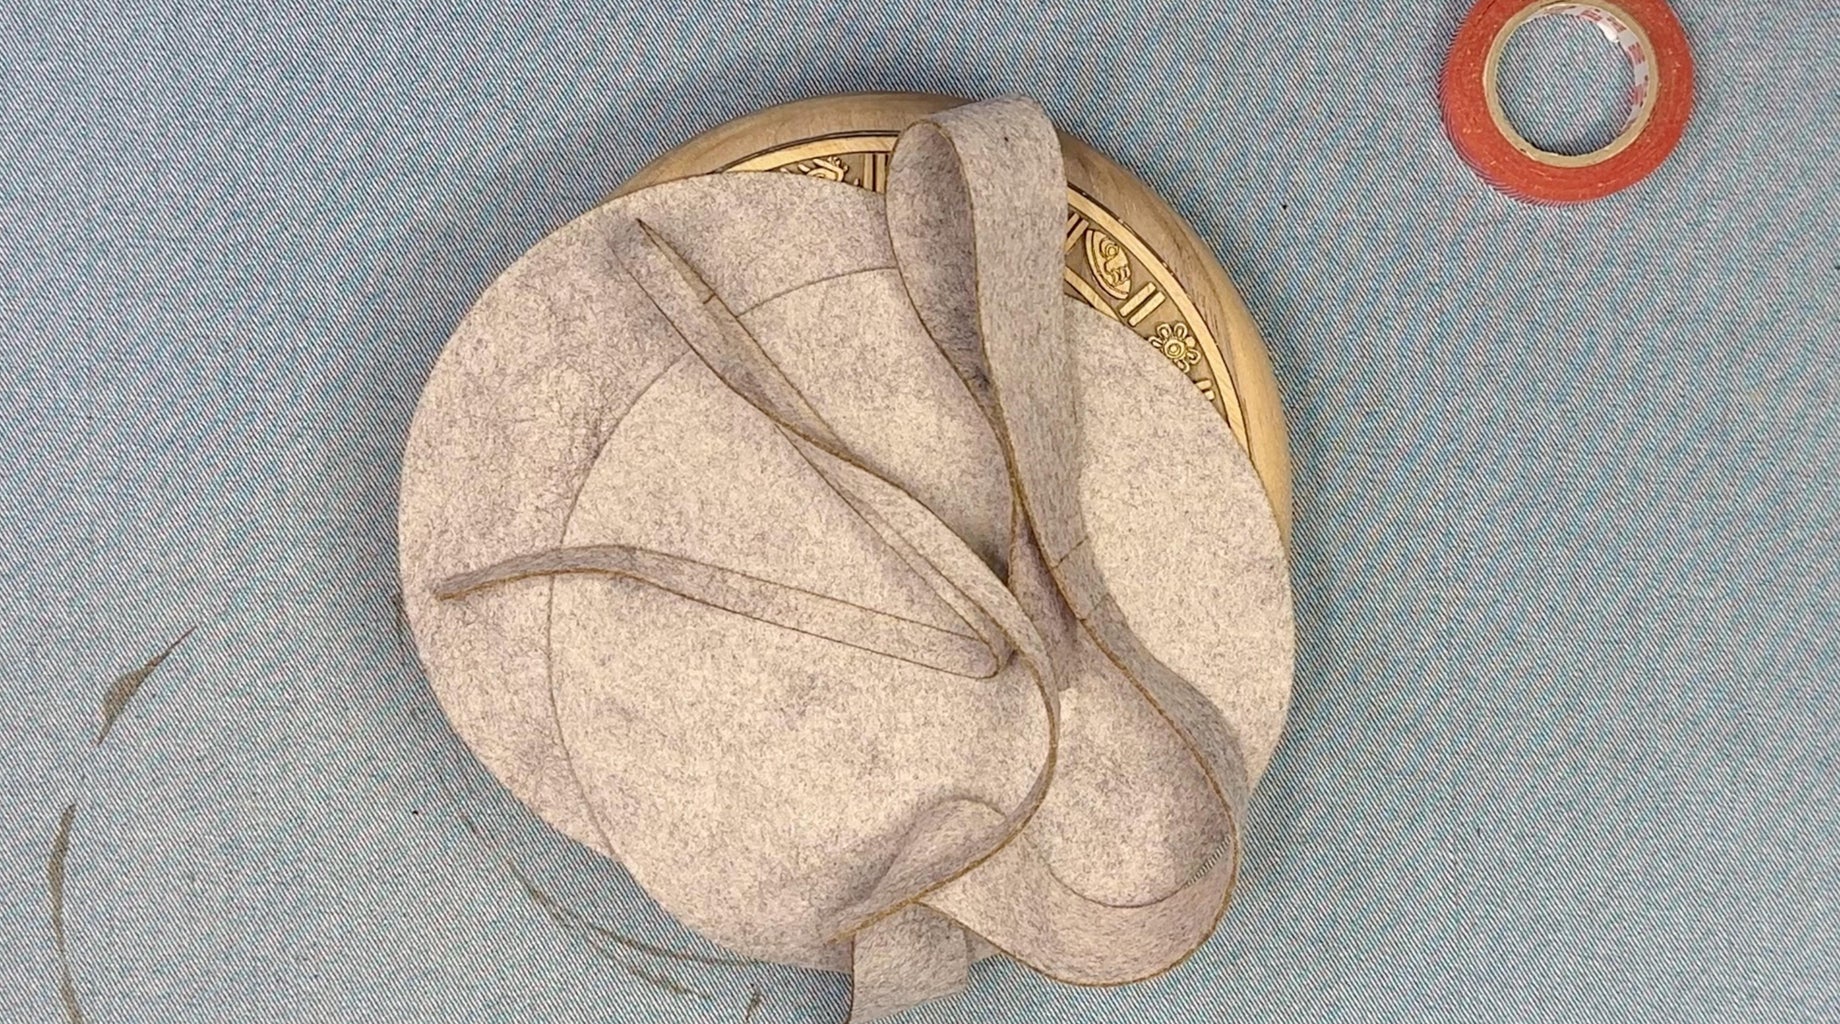
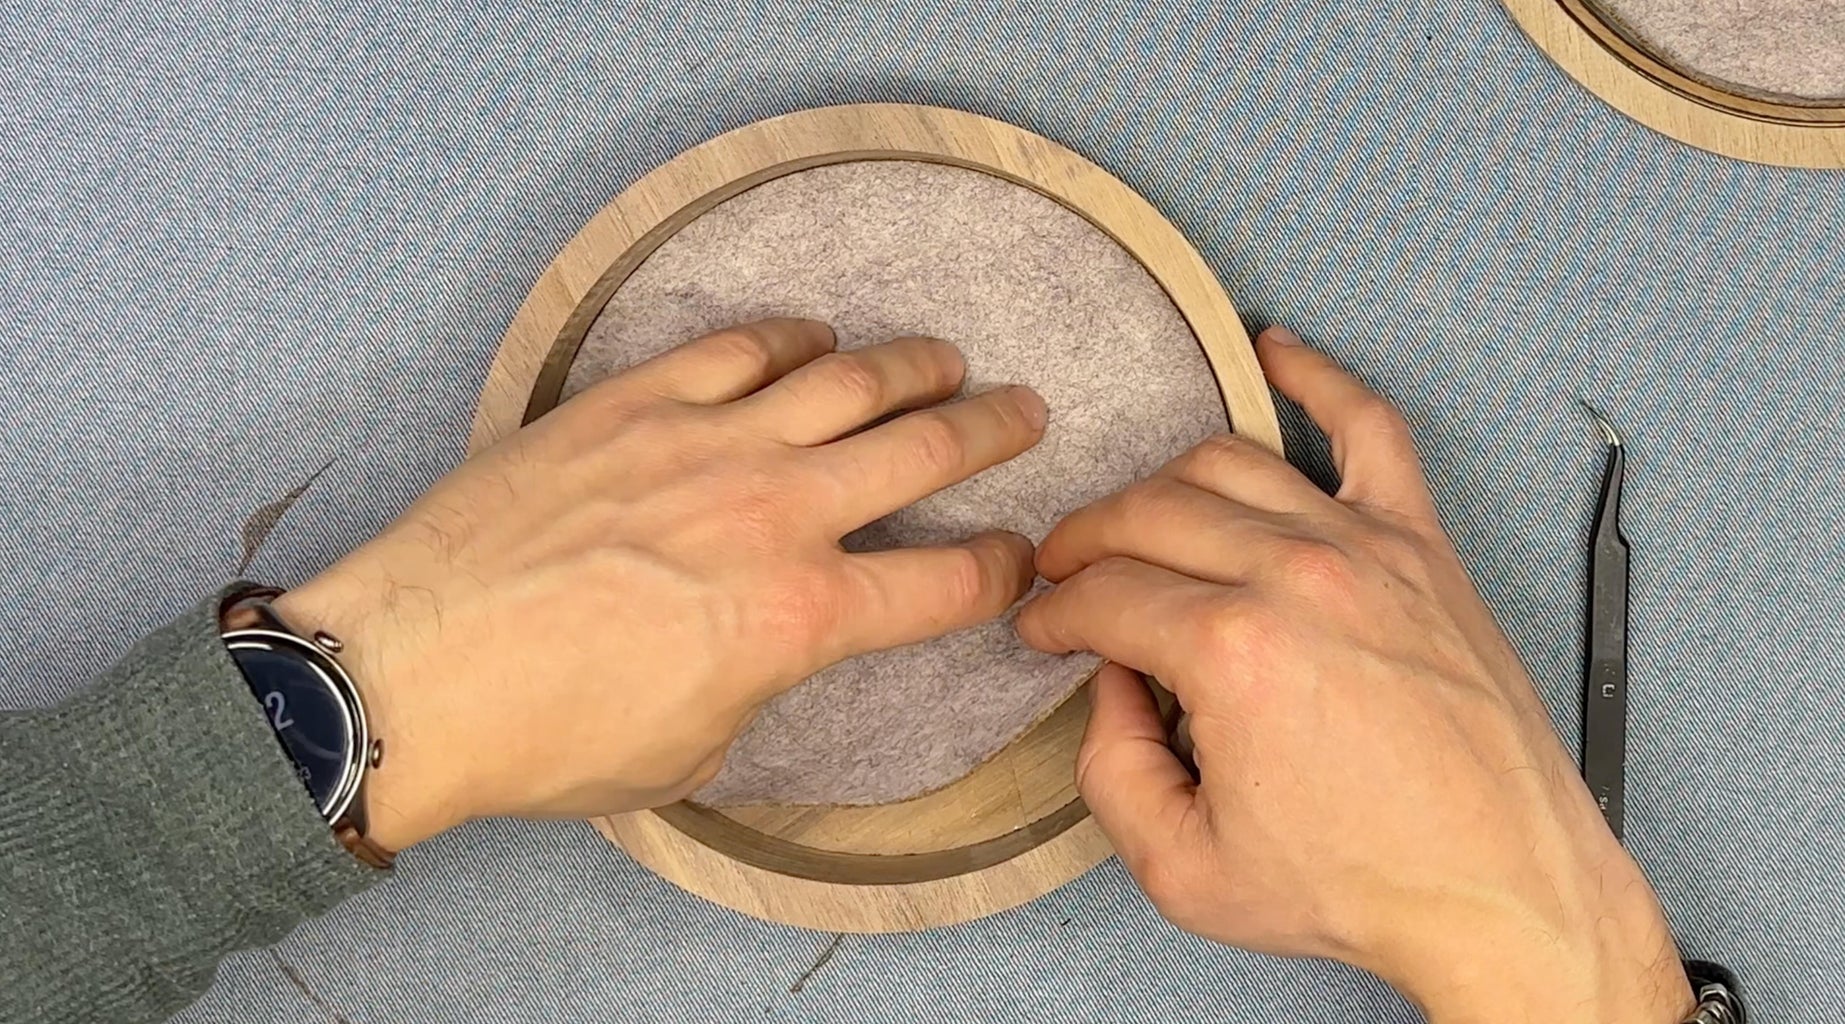
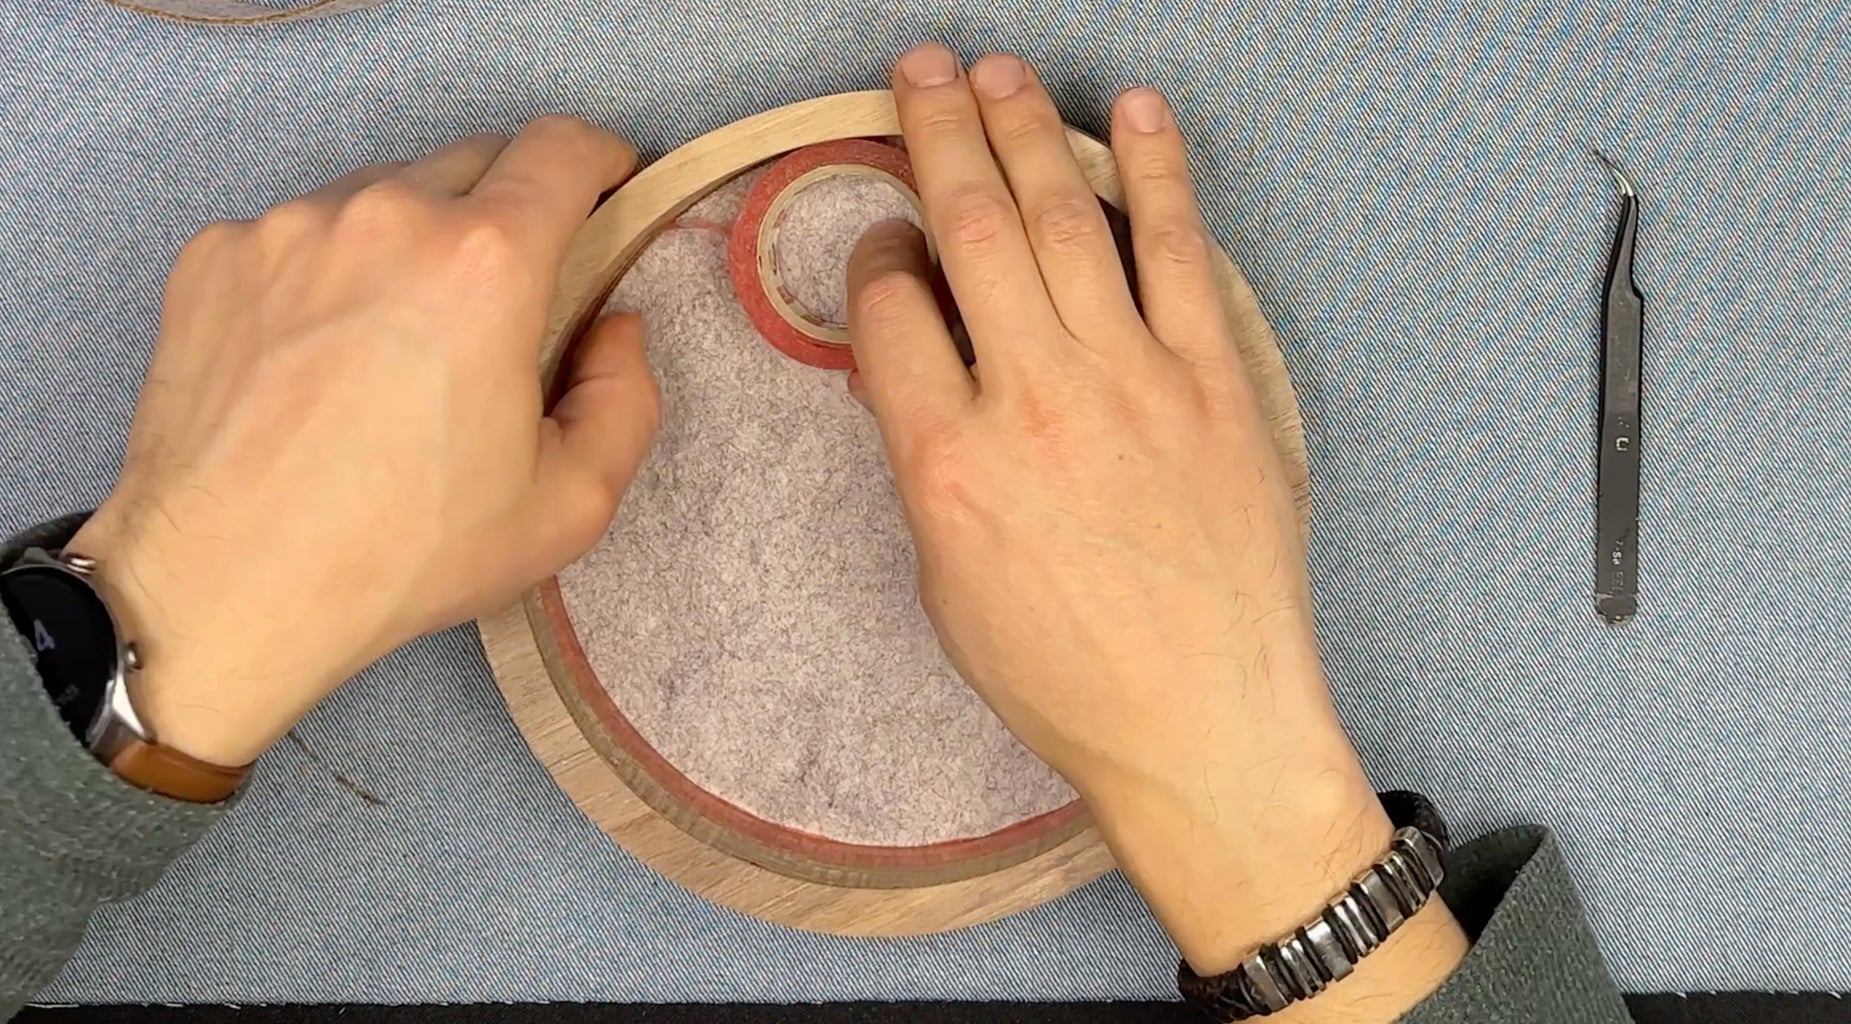
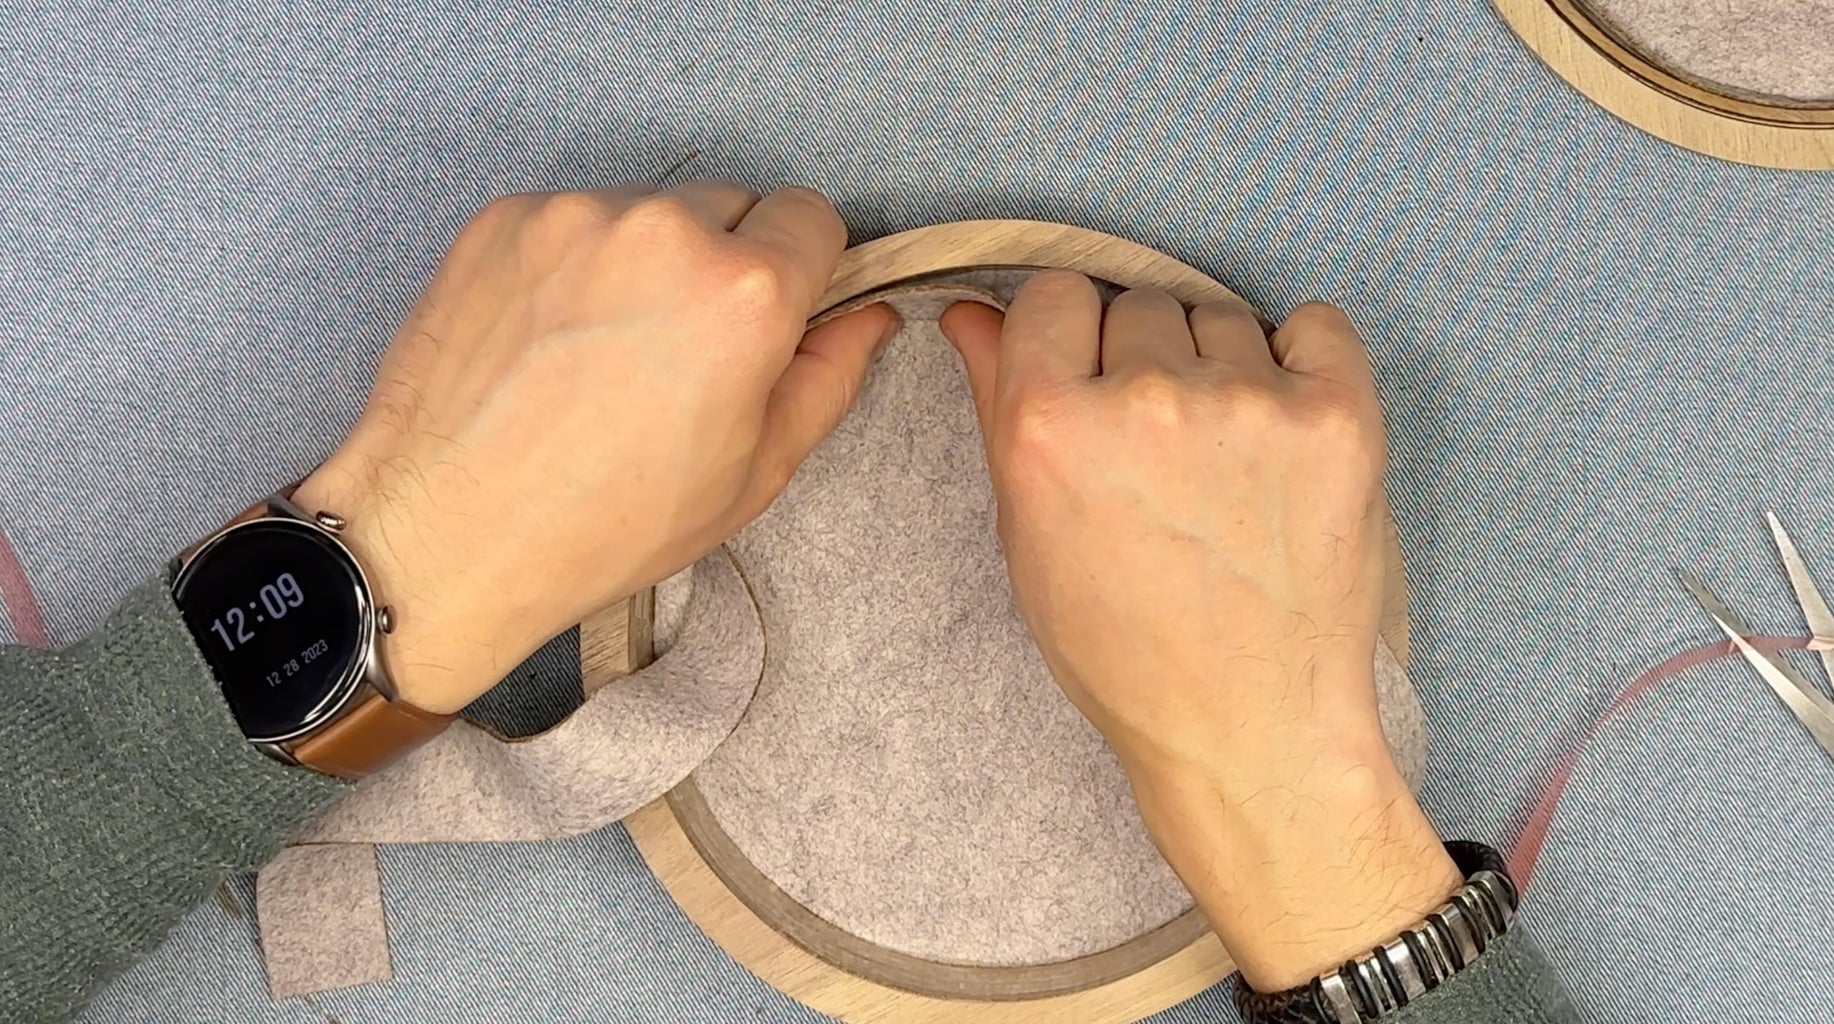
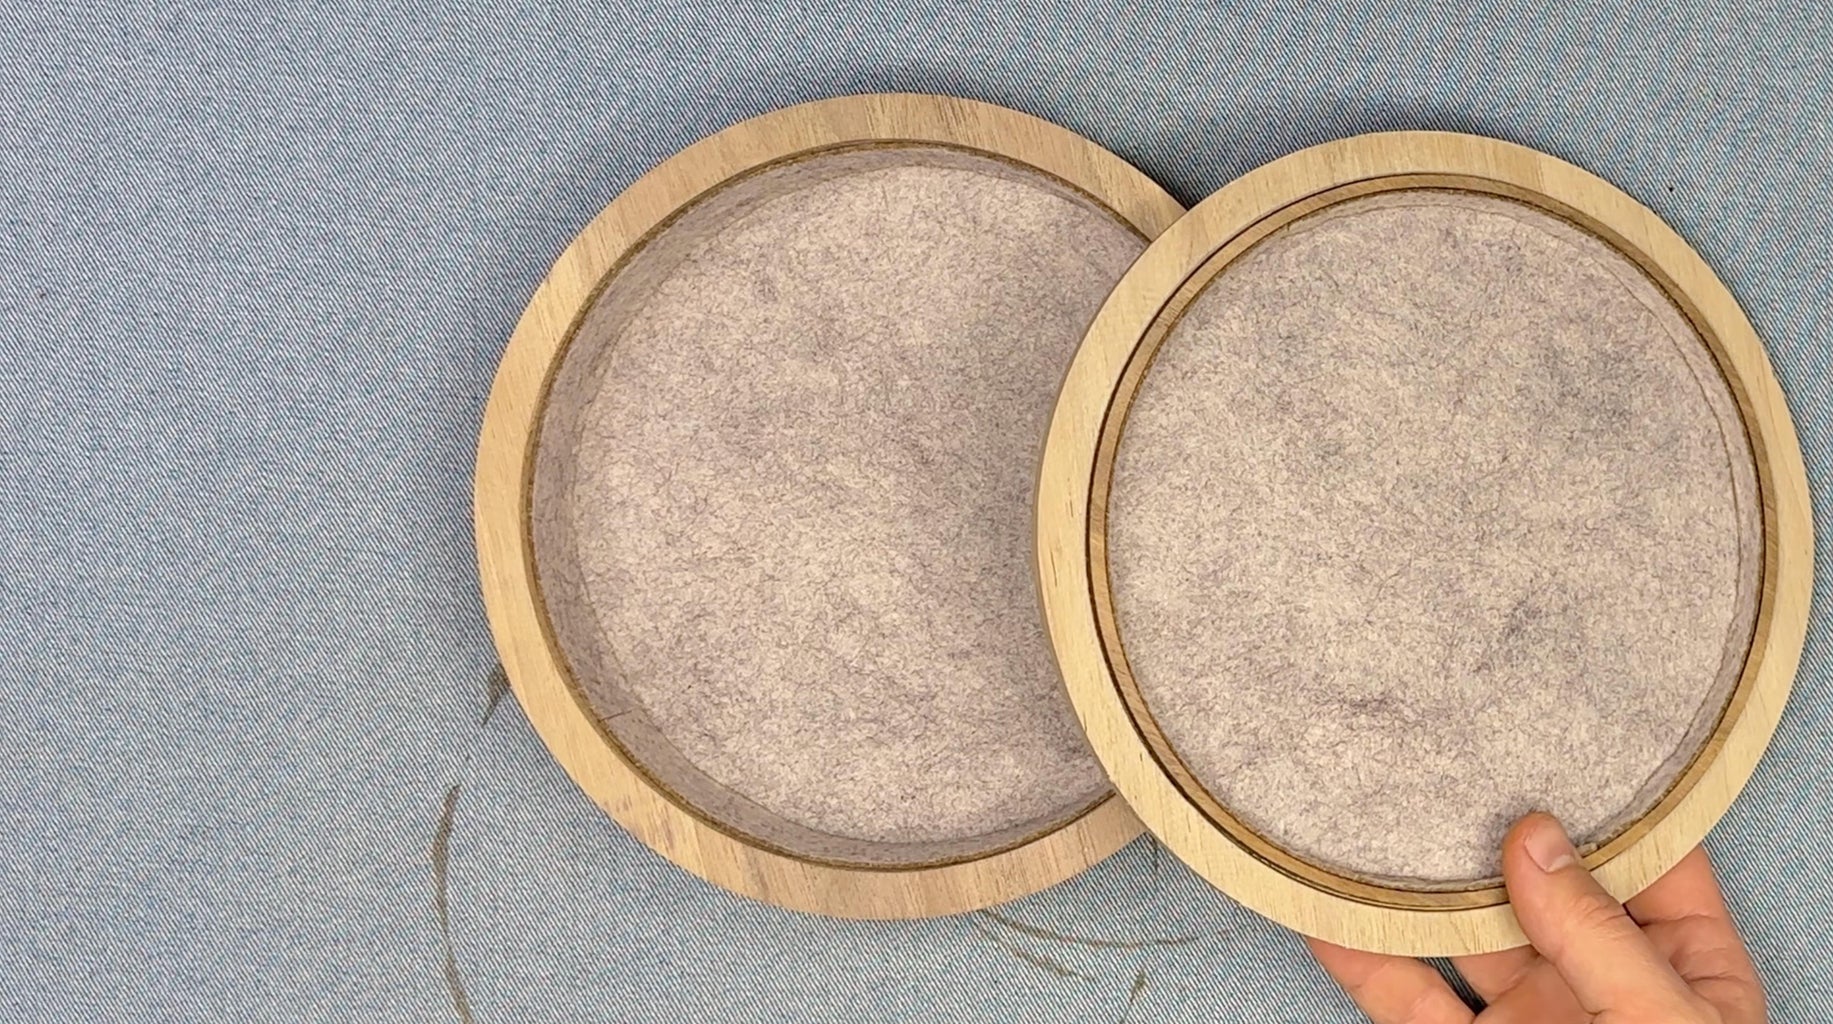
Step 17: Stick the Felt Inside the Box Using Double-sided Stick Tape
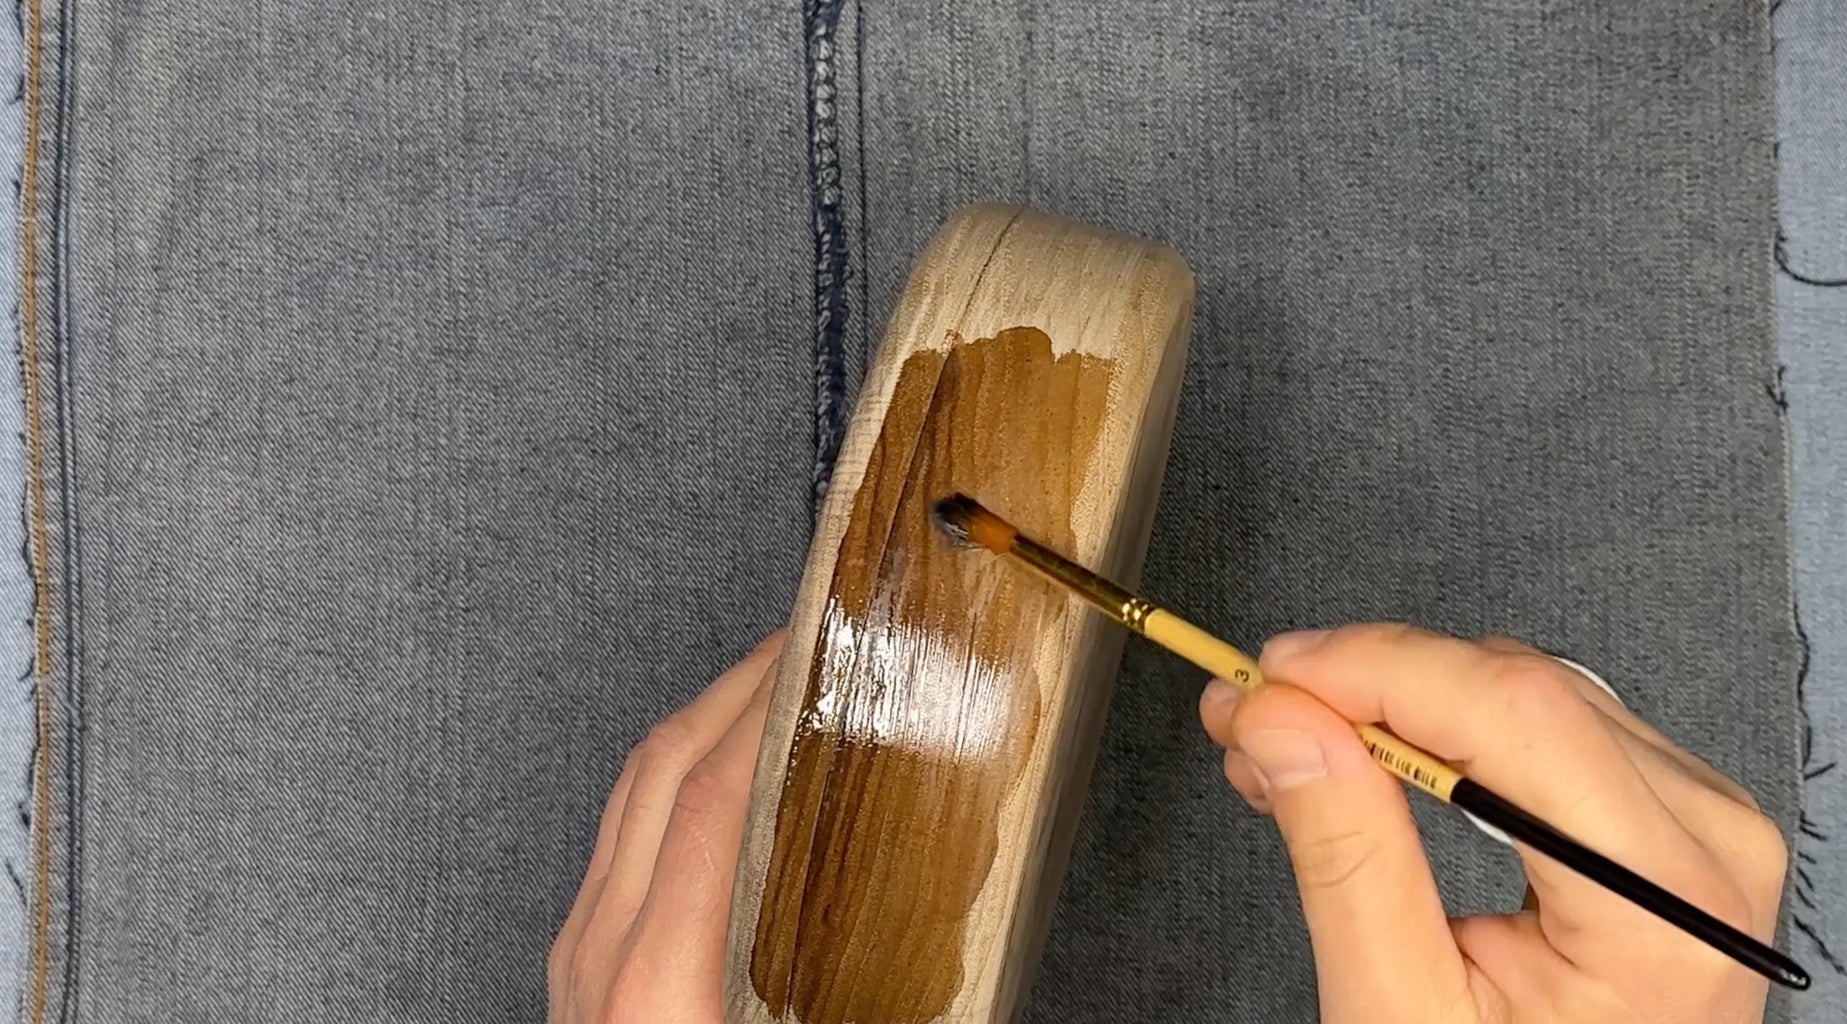
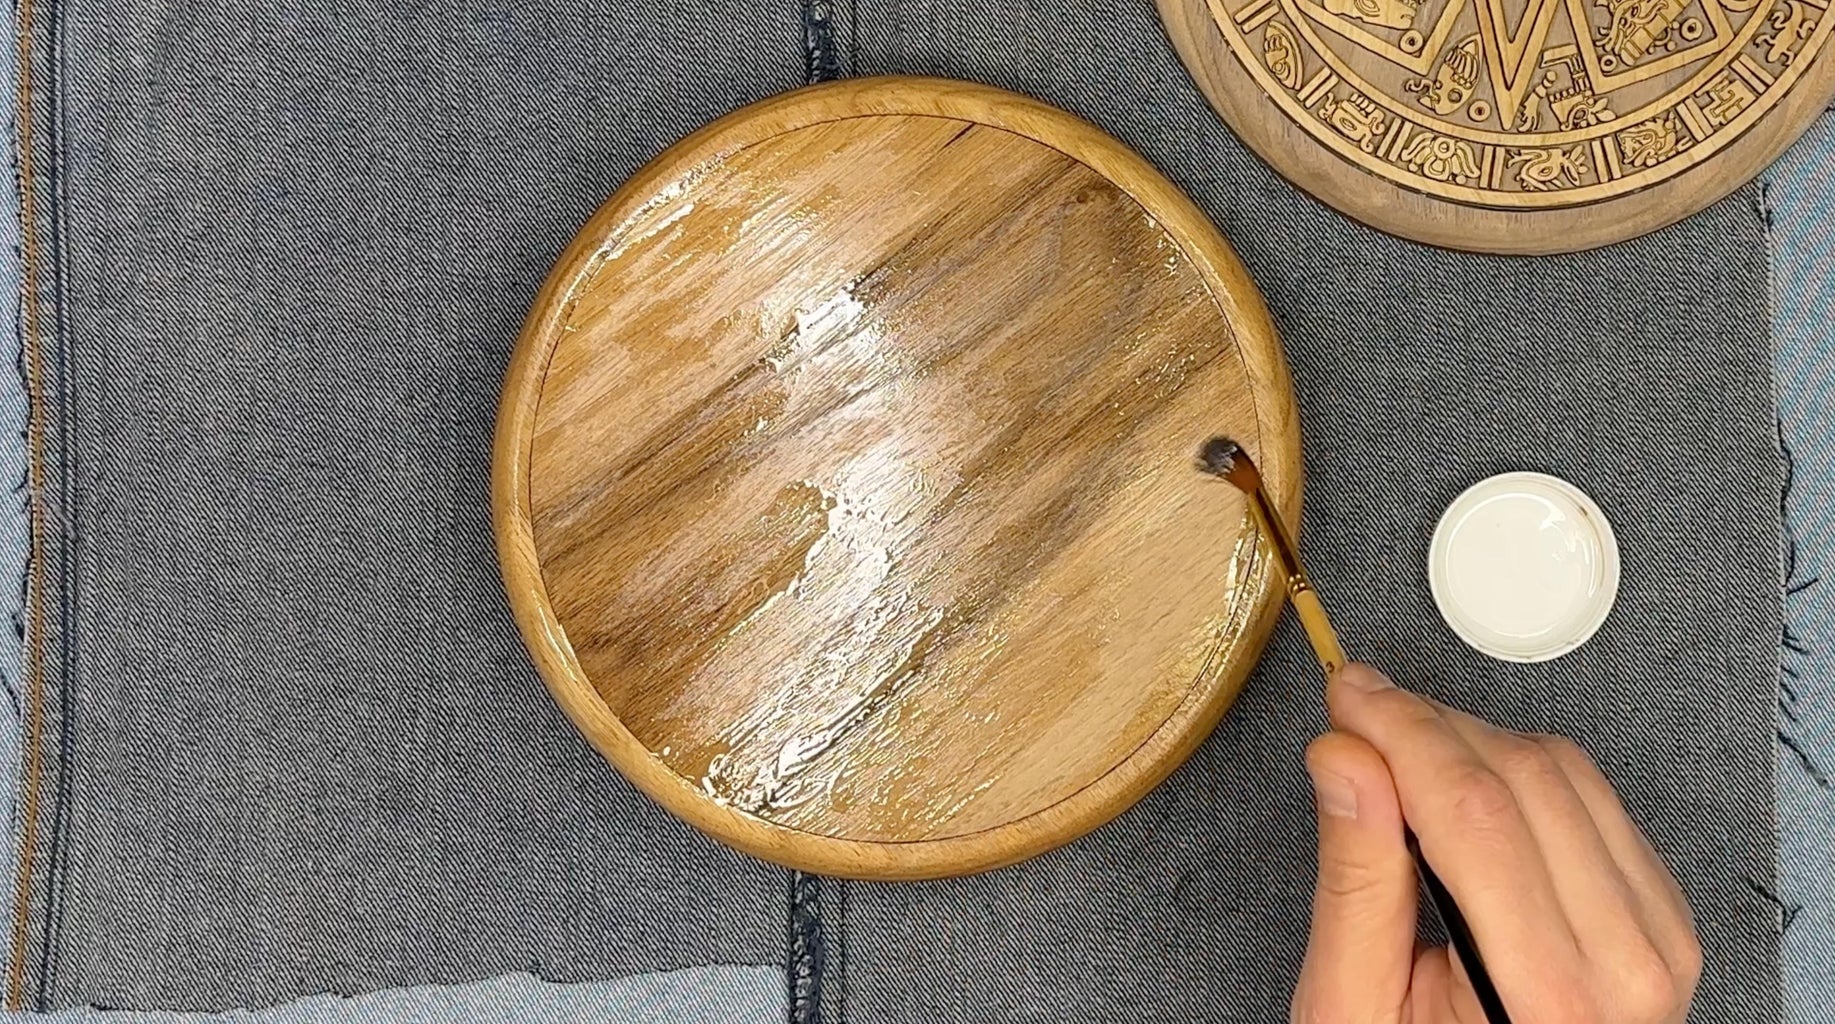
Step 18: Finish With Wooden Oil
Step 19: Final Result

This is an entry in the
Anything Goes Contest